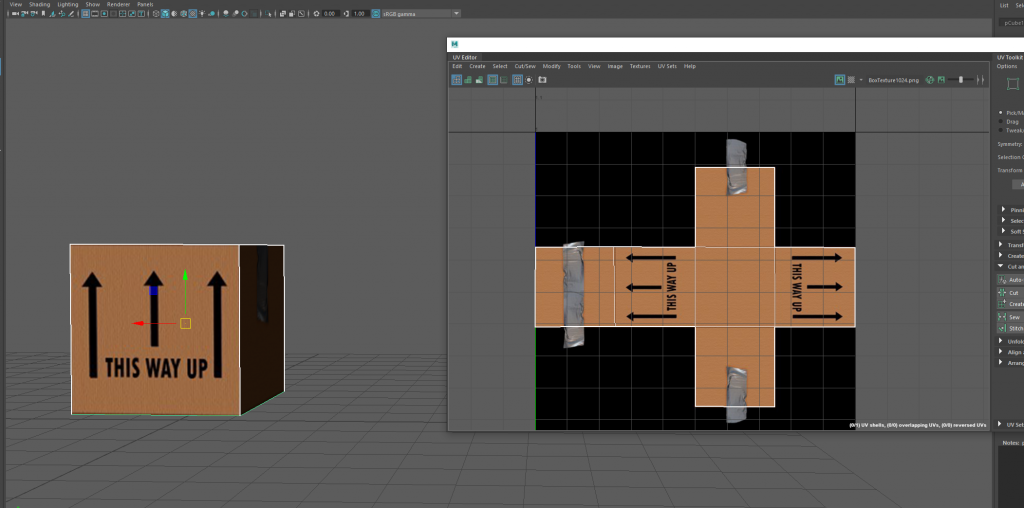
This week I started to work with UV’s within Maya, to start with I created a simple cube which I added a texture to and edited the UV to map the texture to the box, I did this by stitching the edges of the cube together within the UV editor, after this I scaled it down to an appropriate size and then reorganized the vertices to line up perfectly with the texture behind it, once I was done with this I pressed 6 on the keyboard to show it textured and this is the final result.

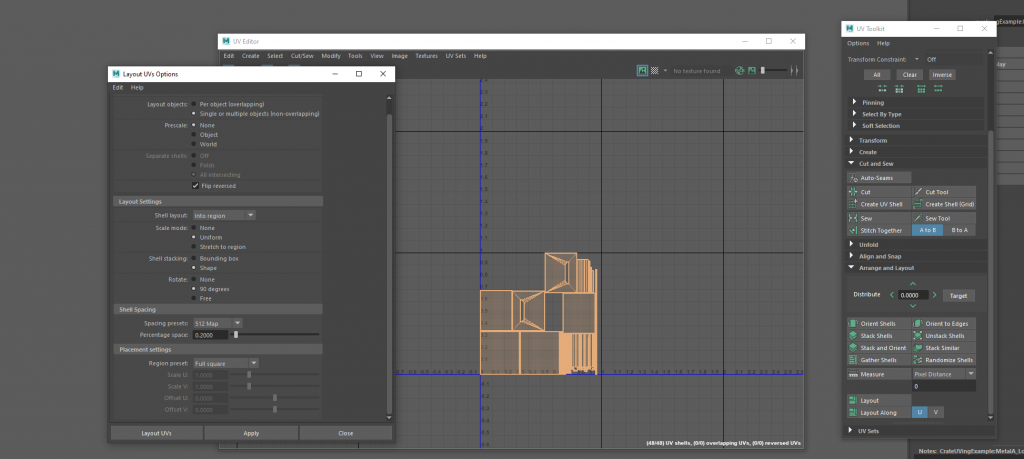
For the low poly crate UV task I began by automatically unwrapping my crate so that everything is visible and not over the top of each other.
After this I went onto sew some edges together where I encountered a few errors due to a few dropdown menus not appearing limiting me from doing any more tasks.
