In illustrator I have drawn with perspective multiple times, not always successfully, but this blog post will outline my trial and error in this way of drawing and will highlight what I did to become better at it.
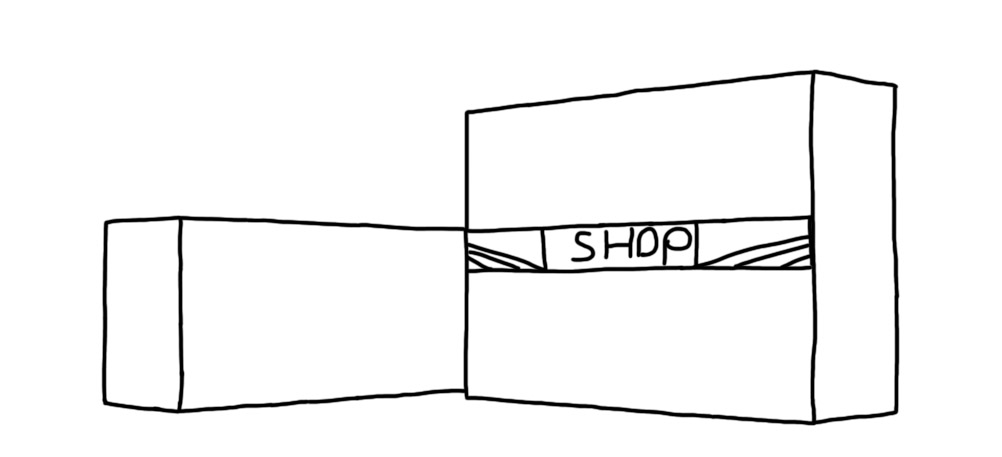
Here is my very first attempt at perspective drawing in general, I used blender to create a small scene which i then cropped and brought over to illustrator. Then I drew over the objects in illustrator.
I feel like I could’ve done a lot better with this first attempt, however that’s what first attempts are for, and from this, i improved my skills in perspective drawing, and created far better drawings using the technique.

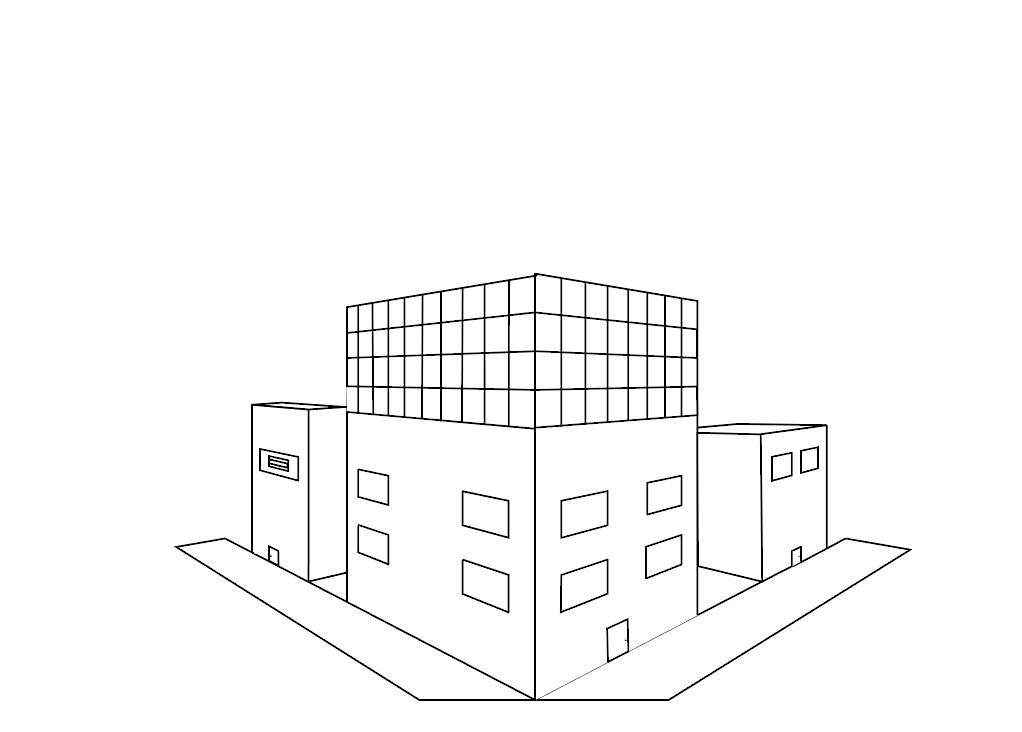
Moving on from the first attempt, I created my second drawing using perspective.
When I used the technique for the second time, I used the built in perspective grid which is in illustrators view menu. to map out the perspective lines. I used the pen tool to draw on the lines of the grid so that they were perfectly straight and look to be in the form of perspective and so that they replicate 3d. I found this challenging to start with, however I got the hang of it once I continued with it.
I feel this could be improved if I would’ve added more buildings and also colour to it too.
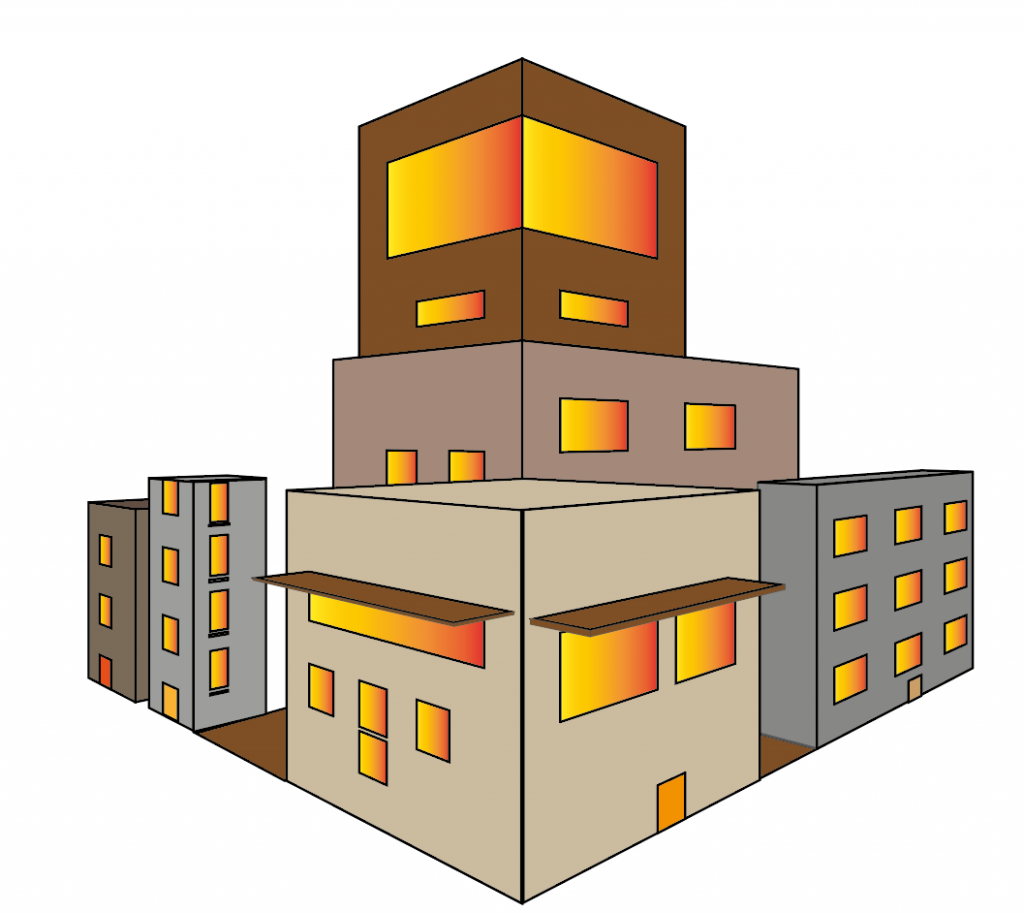
Finally I moved onto my final perspective landscape where I improved on both previous pieces of work by adding colour, and also more buildings which I wanted to.

I used the same tools as before, however this time i also used the shape tool which helped a lot in getting perfect sides and roofs to buildings, I anchored the shapes to each other to make them stick together and form a continuous building without any gaps or errors in the look of it. I think this worked quite well as the different colours going together create a nice atmosphere of a small built up area
