To begin the creation of my model, I added some spheres which I began shaping once I put them together in a rough human shape, i created these spheres for each area of the model such as shoulders, upper arms, forearms etc.
After this I began to make them look like limbs extruding the forearms down and out away from the upper arms, thus making elbows. and i did the same with the legs.
Once I made the arms i moved onto the legs where i did similar, however i decided to crease the upper legs to imitate ww1 British trench trousers. and for the lower part of the leg, i added webbing around which is also the same thing the British army did in ww1.
For the head i made a rough shape of the head as it will be covered with a gas mask and helmet so it would not be that visible underneath it.
Below are walkaround images of my character in its early stages.
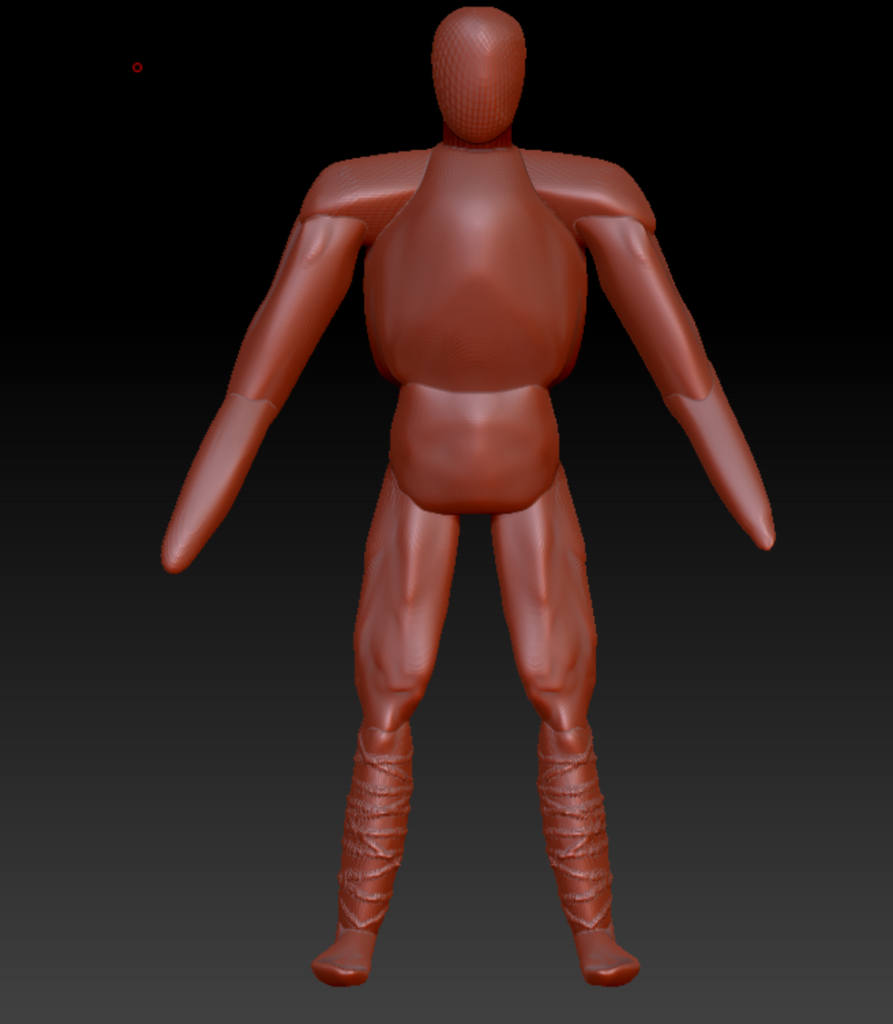
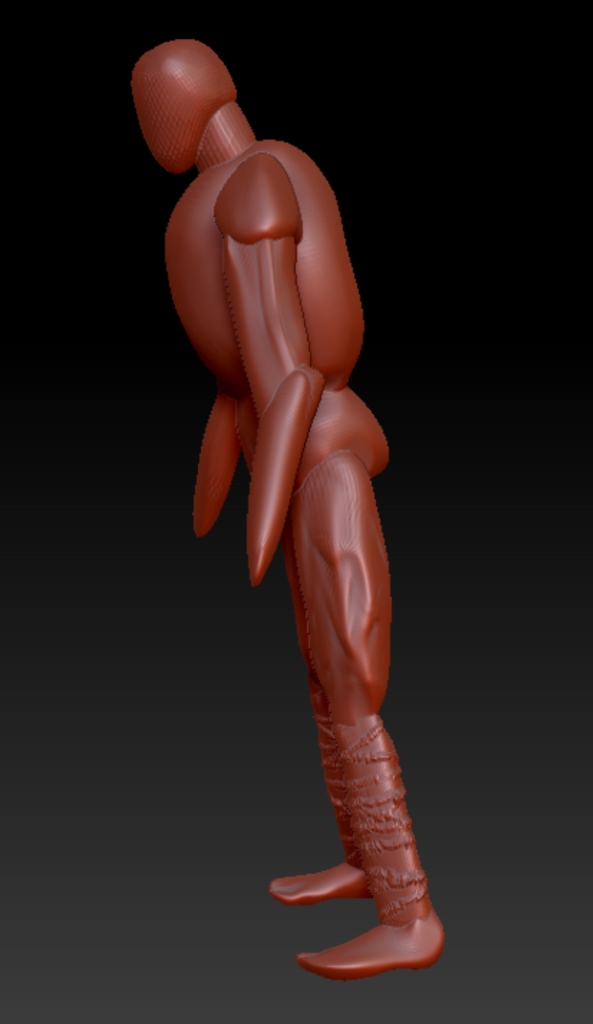
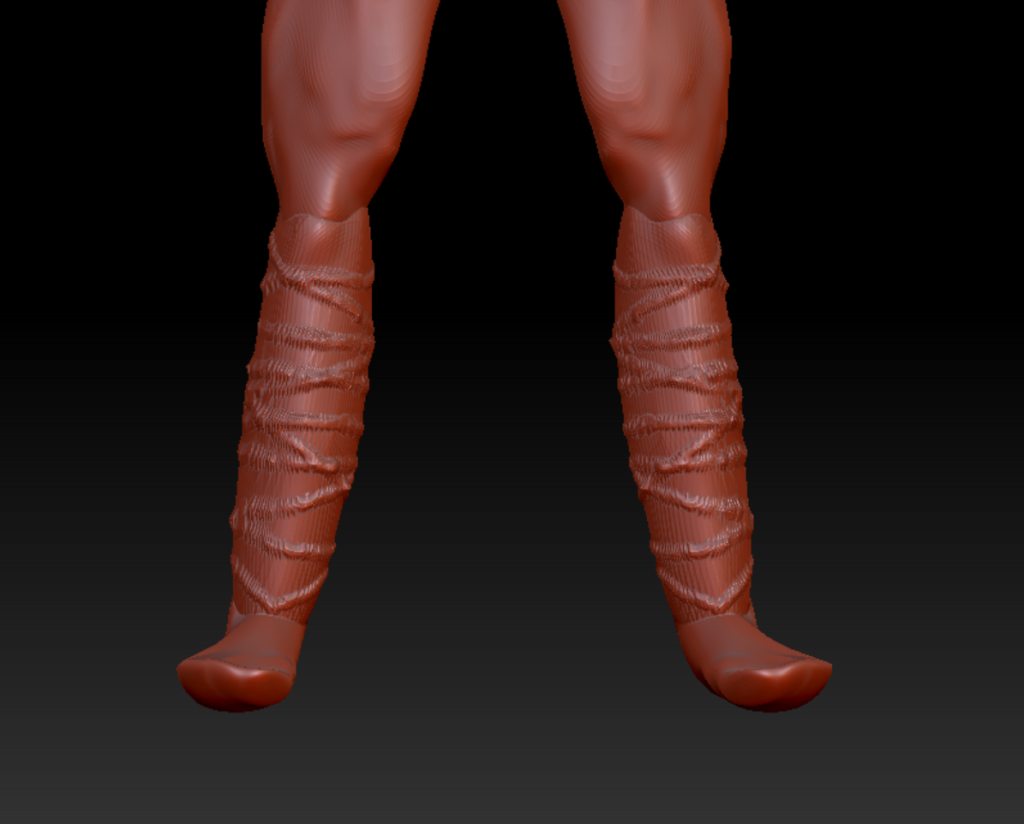
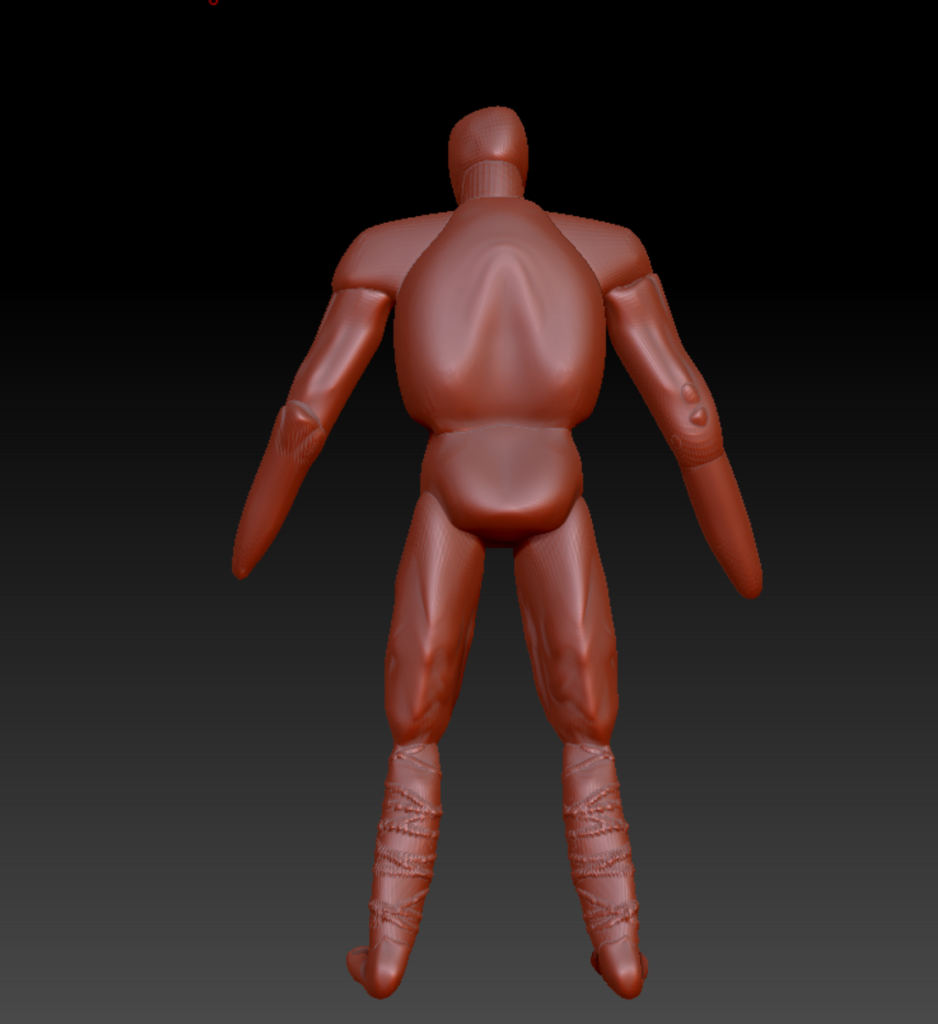
Once i completed my base mesh for my model I decided to cut out unwanted areas of the body mesh, this is to ease the workflow for animation and rigging later on. This is also good for lowering down the polygon count by quite a large amount, this helps me with speed of Zbrush when i’m modelling it.
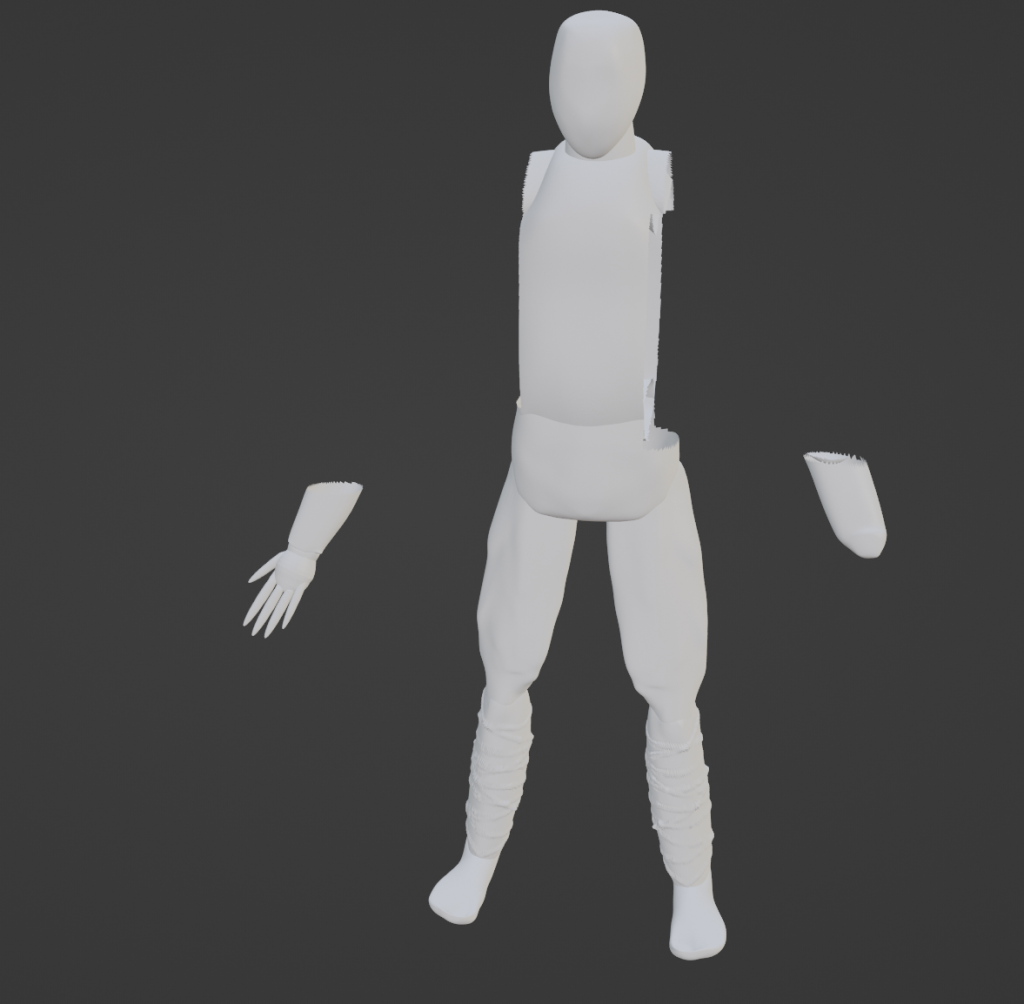
For the shirt I inflated the mesh while the arms and torso were still full, making the thickness similar to an actual ww1 tunic. I then puffed it out a little bit so that it could have a bit more thickness and depth, then I saved that and started molding it around the torso, making sure that it wasn’t clipping with anything.
Once I removed the upper arms and the sides of the torso, the creation of clothes was so much easier and took less time then before.
I began shaping the tunic and decided to add buttons down the uniform so that I could know how to style the uniform later on. I also did this because it goes with the style of uniform and would look more realistic
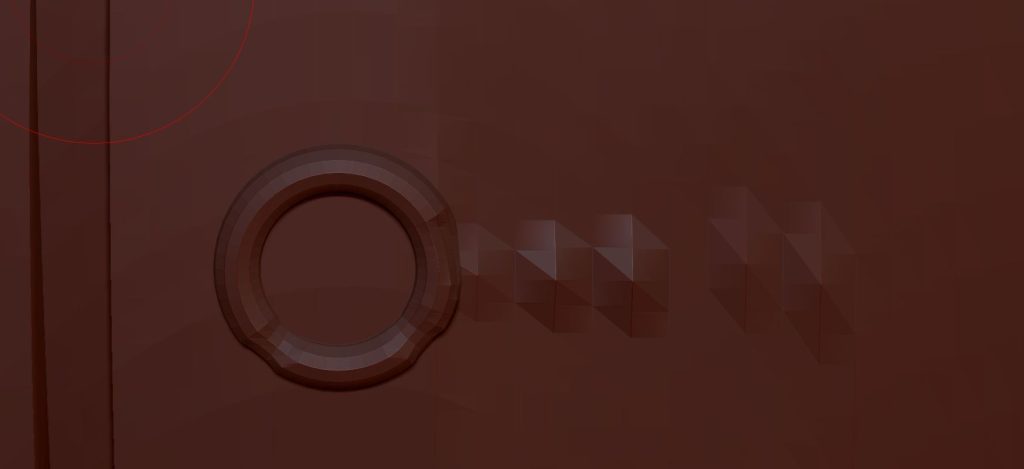
I also added a belt by using 3 cubes and scaling them down appropriately to create the buckle, I then inflated the area around the buckle to create the belt itself. Once it has a material added it will be a lot better.

I created the hands and fingers by firstly extruding the forearm downwards to make the hands, and then by adding spheres and extruding them downwards to create the fingers.
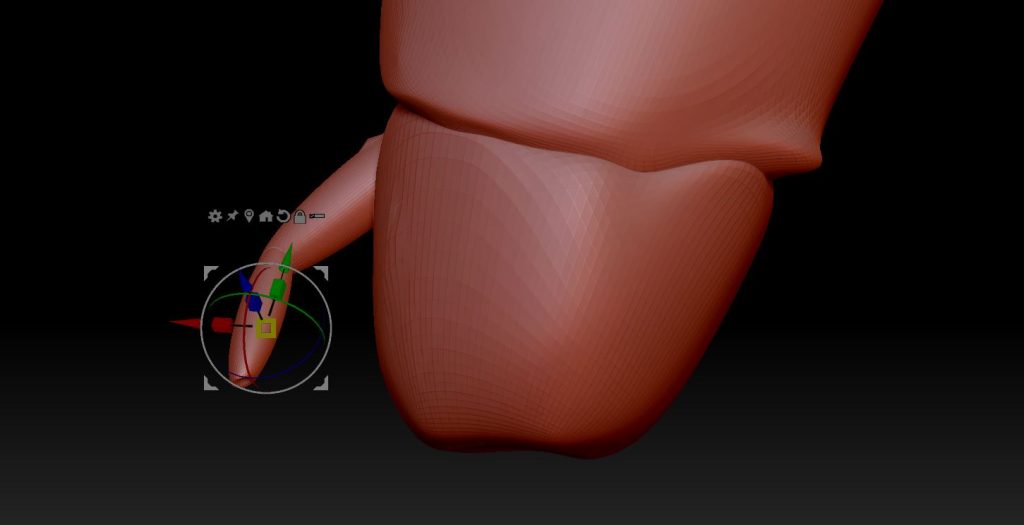
Once I had all my fingers in place I masked out the top part of the fingers and then used the move tool to bring them up slightly to make a more realistic start to the finger.
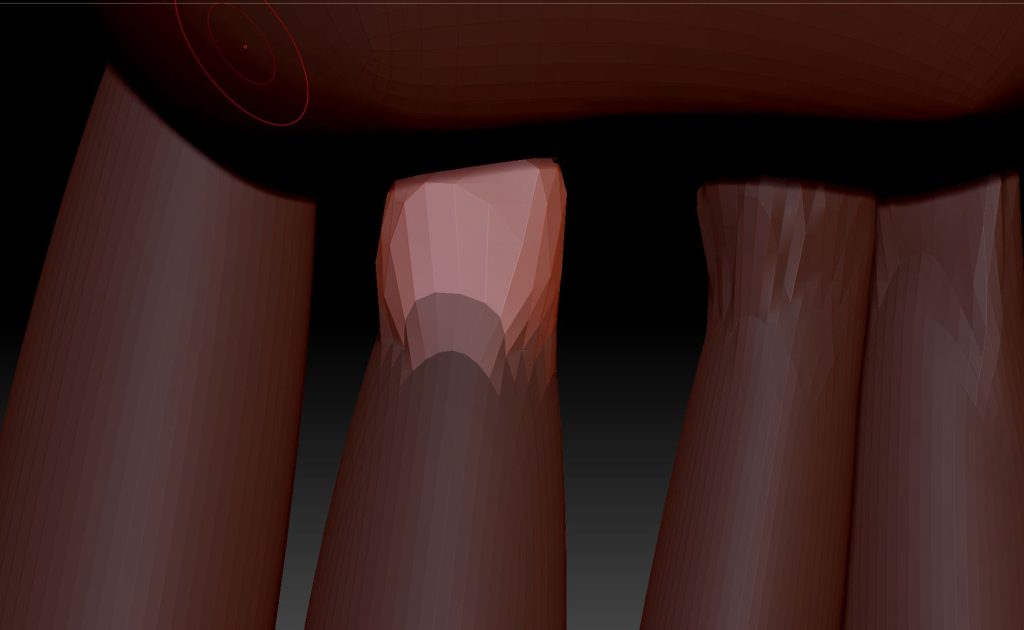
I created bandages for my characters left hand as they do not have one due to injuries sustained in ww1.
I began by using the clay buildup tool on the lower part of the forearm clothes and created bandage type stripes around the arm.
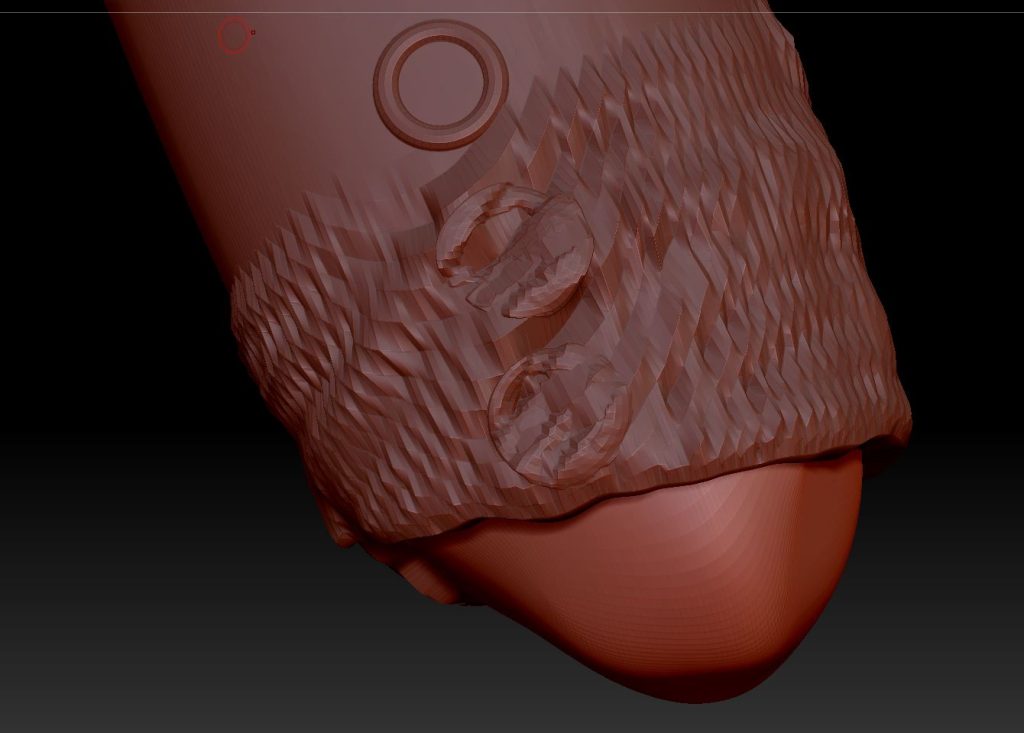
Bandages on clothes.
After this i moved onto the hand where i added more in a more unorganized fashion to imitate parts of his hand still being there and others not. I also wanted it to be all over the place as it will help me add materials to it in the future because it will look the part more than it would have without it.
It also looks like the hand is burnt too which will coincide with the injuries sustained.
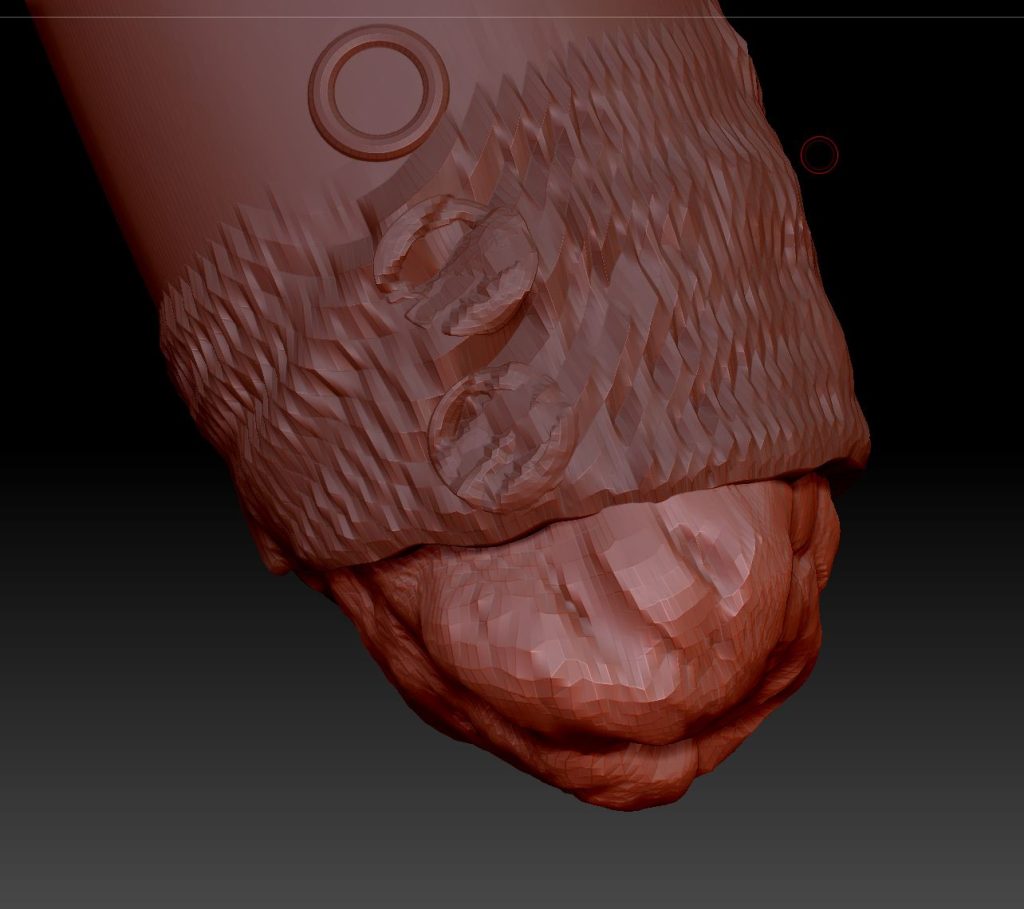
Bandages on hand.
For my characters torso and tunic, I decided to add some weathering and cuts to the uniform as my characters backstory sets him as a person who has scavenged for different uniforms just to keep warm, therefore the uniforms have different cuts and holes inside of them to signify previous use and ownership by people less fortunate than my character.
I did this by using the alt key and the clay tool to dig down into the tunic exposing the skin mesh, and then adding some texture by doing the same to the skin underneath.

Tunic break and skin.