As my character is in ww1 i need to create era appropriate additions to the model, these being a helmet and a gas mask.
Firstly i created the gas mask.
I first went into blender and added a UV Sphere, i then cut the top and bottom parts of the mesh off and bridged both faces to create flat ends to the mesh. I then extruded the top layer of vertices and shrunk them down to create the canister a the front of the mask.
I then levelled out the vertices and extruded them further back to make the rough shape of the fabric part which covers my characters face.

View of early progress mask.

Wireframe view of same image.
After this stage was finished I moved onto creating the eye holes. Firstly I added loop cuts all around the fabric area to ensure high quality if I were to move the vertices, I then I then pressed I to indent it and then right clicked and made the selected vertices a circle via the loop tool addon in blender. i then right clicked again and bridged it so that the middle vertices would attach themselves to the outer wall of the circle creating a hole which can be used for the eye holes.

Mask after the holes were created.
After this i then extruded the outer hole vertices down to cover other vertices to make it look realistic, i then extruded all of the vertices on the hole upwards to bring the circle forwards from the mask so it wasn’t all flat.
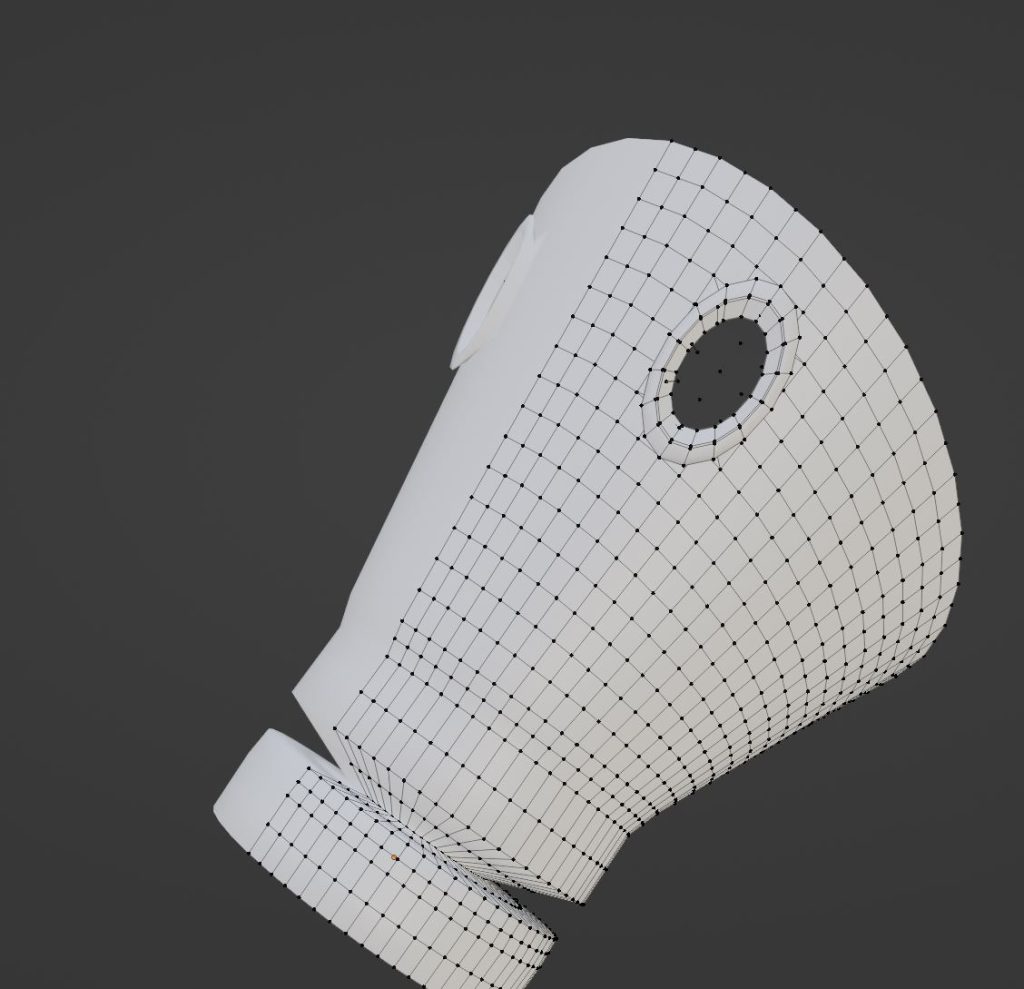
View after I extruded the vertices upwards.
Finally i cut out the back vertices to create a smooth edge to the gas mask so my characters head and face could fit inside of it. I did this by removing certain vertices and then adding faces in-between 2 other faces to create an appropriate edge for my characters face.

View after smoothing the back edges out.
Helmet
Secondly I gave my character a helmet, initially i gave him a German Stalhelm, however due to issues creating the model I gave it a a British Brodie helmet instead, this was because its an easier model to make and in my opinion looks nicer on the character.
I started out by creating a circle and filling in its face, i then extruded it downwards and outwards in the shape of the helmet and made sure to make it all even so it doesn’t look odd. I then used the bevel modifier to make sure the flick at the bottom of the helmet looks good instead of being a straight 90 degree angle.
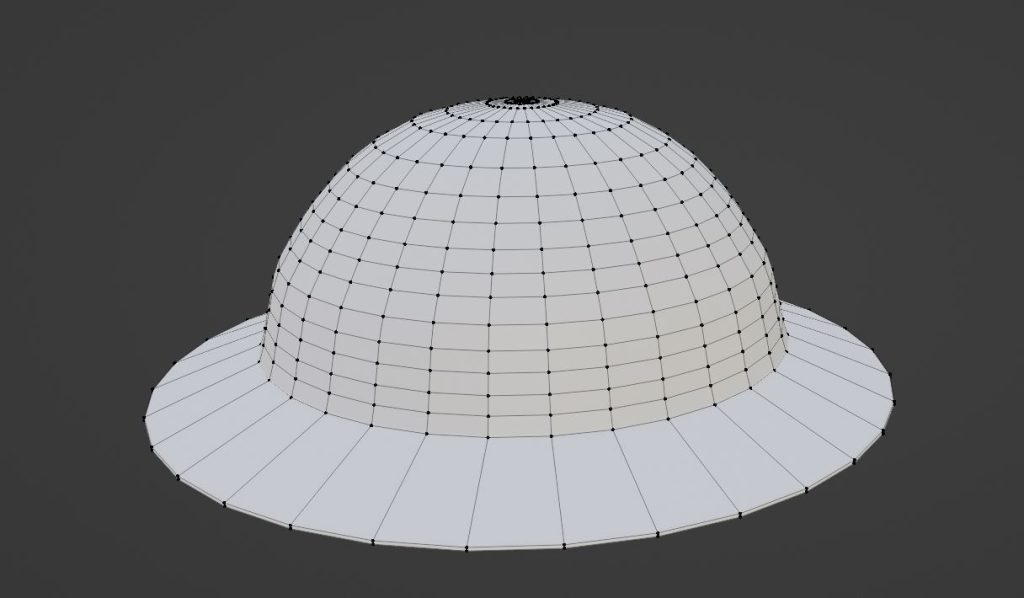
Finished helmet with vertices visible.
After this i joined both of the meshes up into one to test how they would look when joined together.

Gas Mask and helmet joined.
Finally for the helmet and gas mask i added straps to the back so the gas mask isn’t just floating off the front of the characters face.
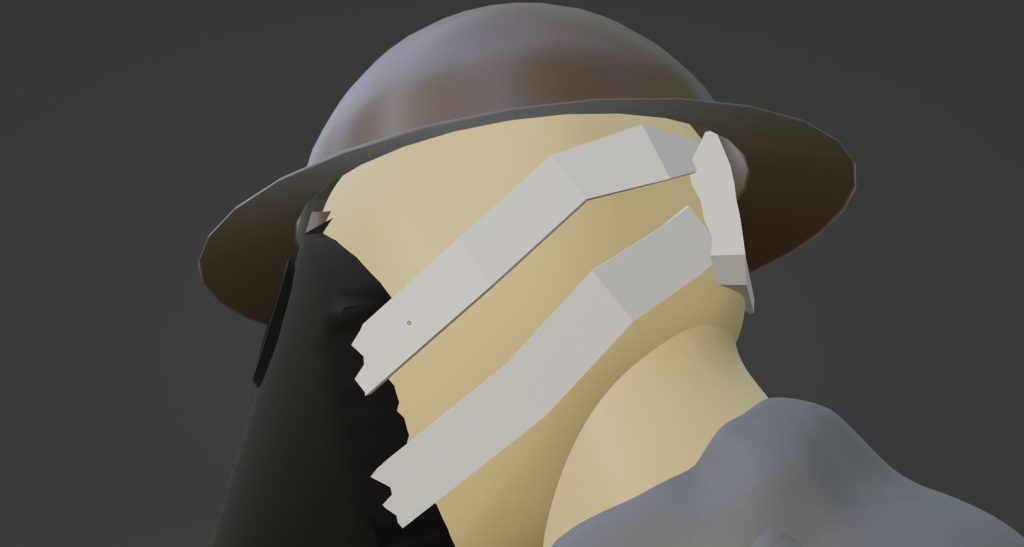
Mask straps with colour added foor definition.
Further Details
Once i finished with the creation of these assets i then decided to move onto detailing them so that they don’t stand out as being bad or look weird compared to everything else on the model.
I began by dynameshing the helmet so that it was smooth, this created small dents in the helmet which i decided to keep as i thought they added extra depth to the helmet.
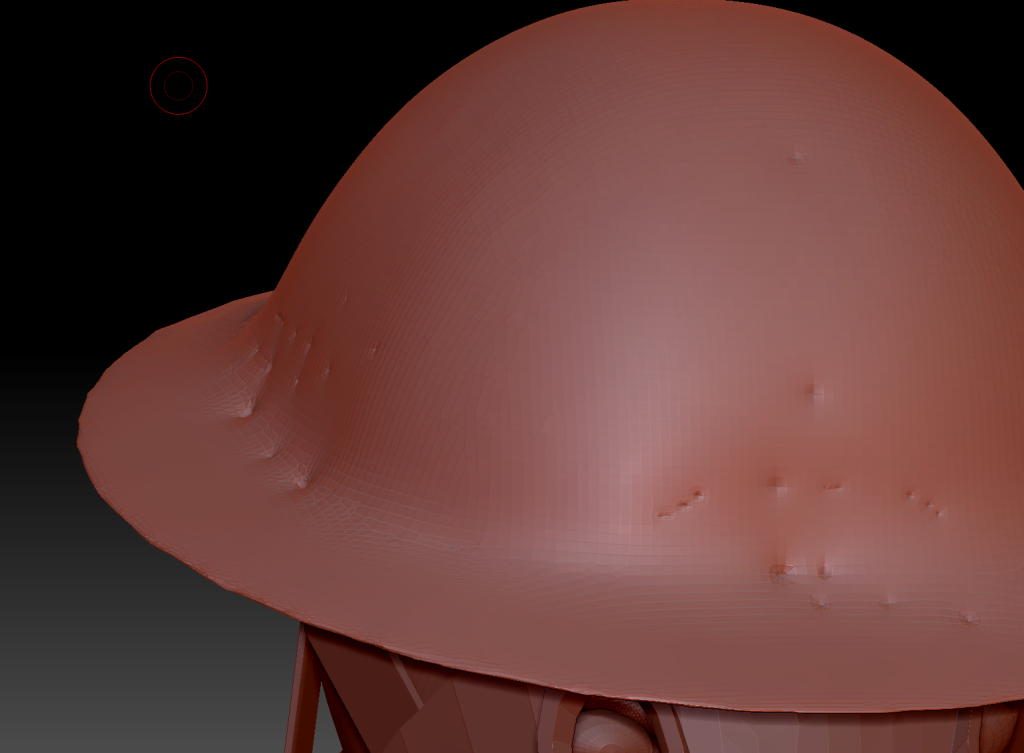
Helmet after dynameshing.
I then started to add chips into the helmet this is so that it adds onto the dents in the helmet and adds onto realism so its not perfect, as nothing in the real world is perfect. In addition to this my characters style would not suit a clean helmet so dents and chips would be great for it.

Helmet Chip.

Helmet after weathering is complete.
I moved onto the Gas Mask after the helmet, i decided to go simple with this so i just smoothed out some of the very rough edges on the gask mask front and center.
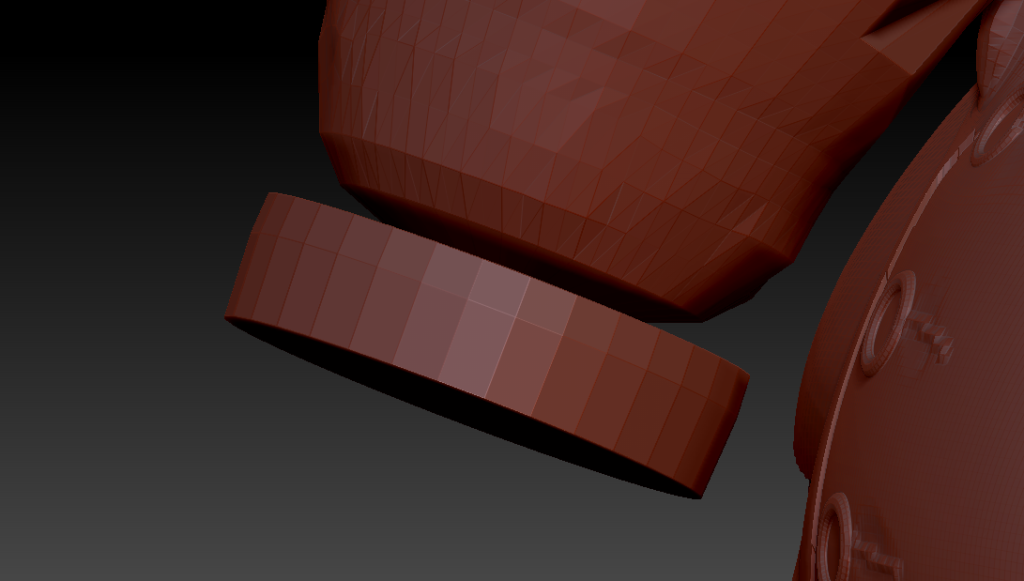
After I added some detail to the gas mask I decided to use the pipe tool to add a pipe to the end of the gas mask. I then used the move tool to move the top parts towards the gas mask to cover up any nasty seems and then smoothed the bottom part of the pipe to stop it looking like a pipe and more like a tube that would be connected to a box.
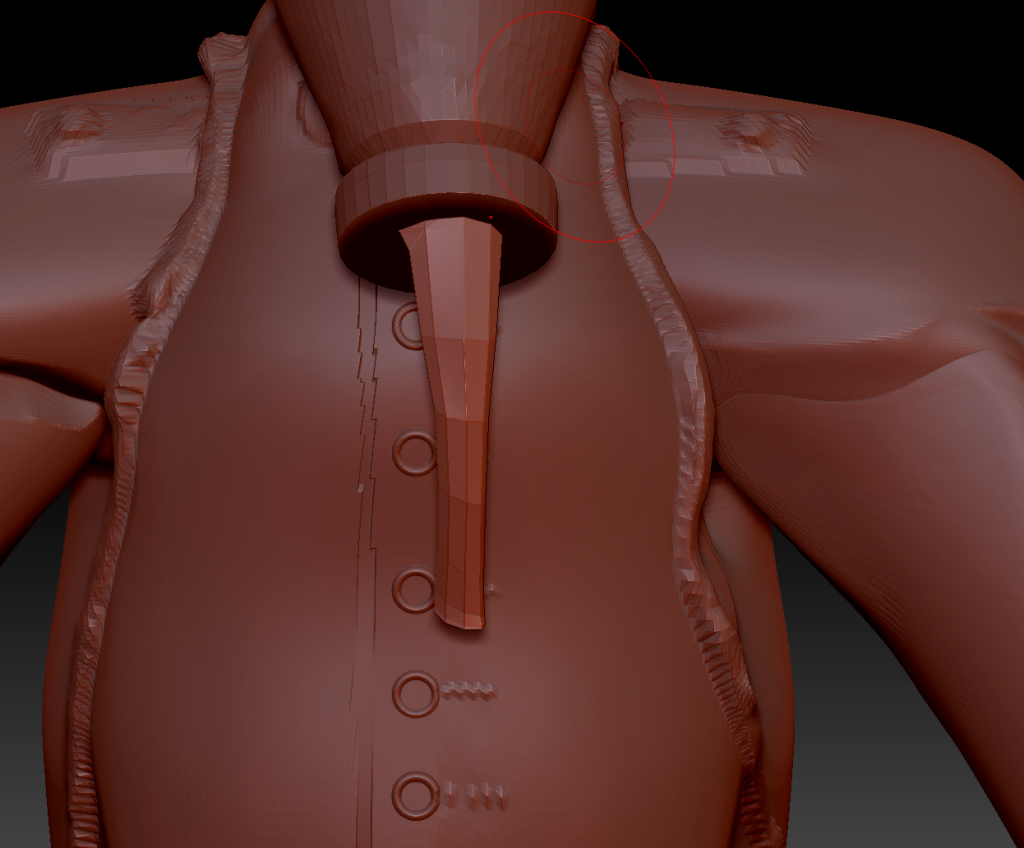
Smoothed out Pipe on gas mask.