For this module I rigged the character using Blender as I have done all this module within Blender.
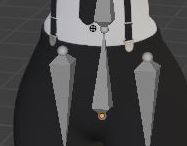
I started this process by adding the root spine bone to the lower pelvis area of the model.

I then extruded this bone upwards to create the bones in the lower and upper torso areas. I chose two bones as this gives the character more movement then if I only added one bone to the torso.

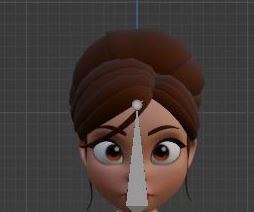
I moved onto the neck/head after this, only using one bone as i thought that would be enough instead of an individual neck and head bone. I also made it big so that I can easily control it when I need to.

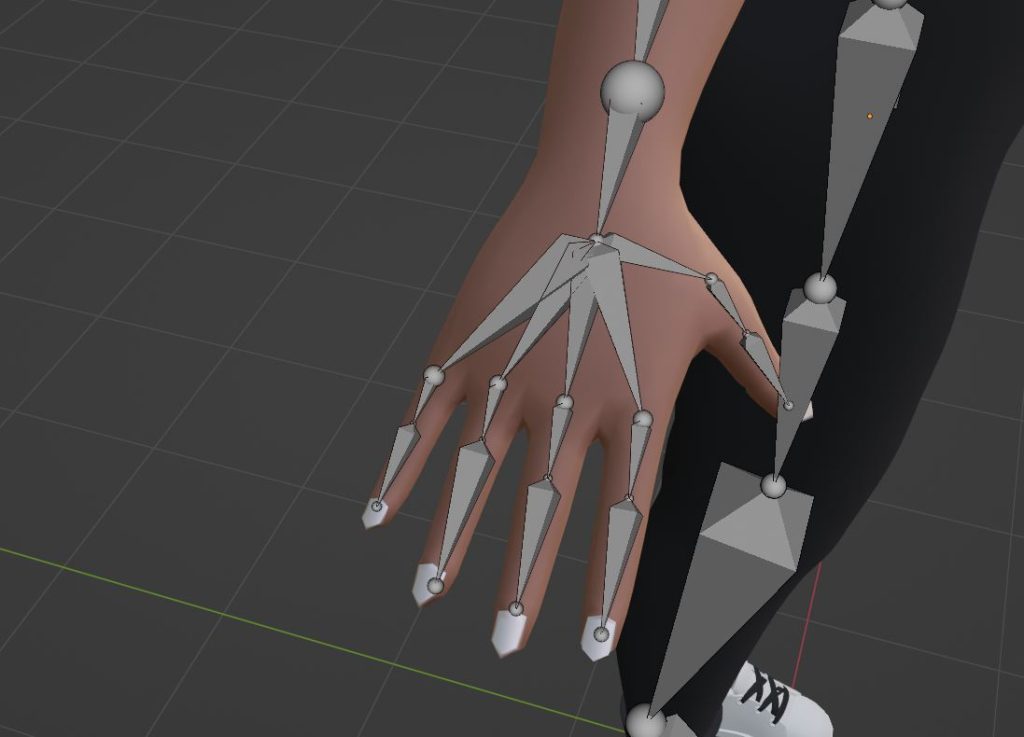
Once I completed the torso and head I moved onto the arms, I did this by extruding from the lower neck joint and first made a clavicle bone joint, this lets me move the entire arm back and forward along with the clavicle, I then moved to the other arm bones, first making the upper arm bone and then the forearm bone. I also made a wrist joint to let the characters hand be easily posable.

After this I created all of the finger joints in the hand, I struggled with this at first as I didn’t really know how to make the bones work together, however after a while of trial and error I found a solution and acted on it. This solution was having 5 big bones connected within the hand itself which then go down lower in the hand to the fingers and then once that was done I could make the finger bones themselves by extruding from the big hand bones.

Once I finished with the right arm and hand I moved onto the right leg i did this by extruding slightly down from the root spine bone and then disconnected them both from one and other, this let me place the bone wherever i wanted. This also helps with positioning to avoid any errors when it came to weight painting. I then extruded downwards once to make a lower thigh bone which can help with animations which involve a walk cycle or leg movement. Then I extruded down from that bone and made a lower leg bone so that I can control the knee and finally I made the foot/ankle bone by extruding the lower leg bone and rotating it slightly to meet the same sort of angle as the foot itself.
To make them all connected I reconnected the highest leg bone to the root spine bone so that they are both binded and can also interact with each other when needed.

The final part of my rig began with me giving appropriate names to all of the bones that I have so far created. I did this by using a standard naming convention of Upperarm.R and Lowerleg.R for example. This was needed so that I could mirror these bones onto the left side. Blender does this by acknowledging the .R as right or .L as left and mirroring the joints to the other side of the selected mesh. Once I named all the joints, I mirrored it and my rig was complete.

Once I finished this I binded the rig to the mesh and moved onto weight painting.