The first thing I did during my development was create a plan for what I was doing, I did this in the form of a script draft. Once I did this, I then quickly moved onto a blockout for the environment, I created it using blender and used simple shapes to create the inside of the castle environment that I was creating.
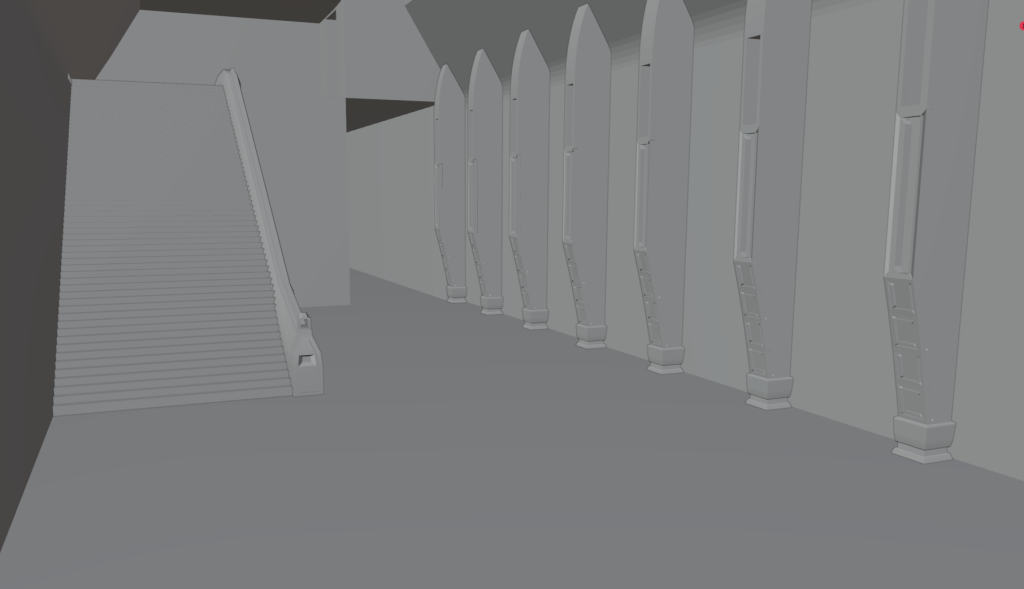
Once I created the blockout I began to add more detail for it by adding textures and some extra details to the interior of the castle, I used different marble and wood textures to create a realistic interior that I think suited the design well.
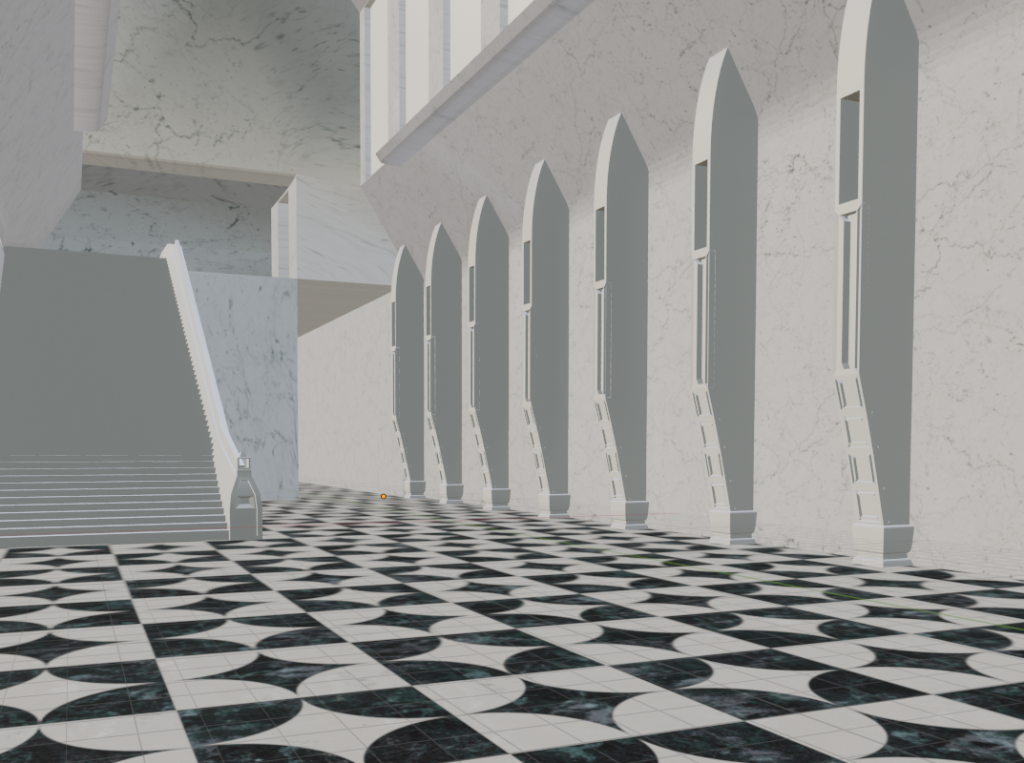
Once I finished texturing my castle, I moved onto asset design, for the most part I used previously made assets that I created myself to save on the amount of time I would need to make them.
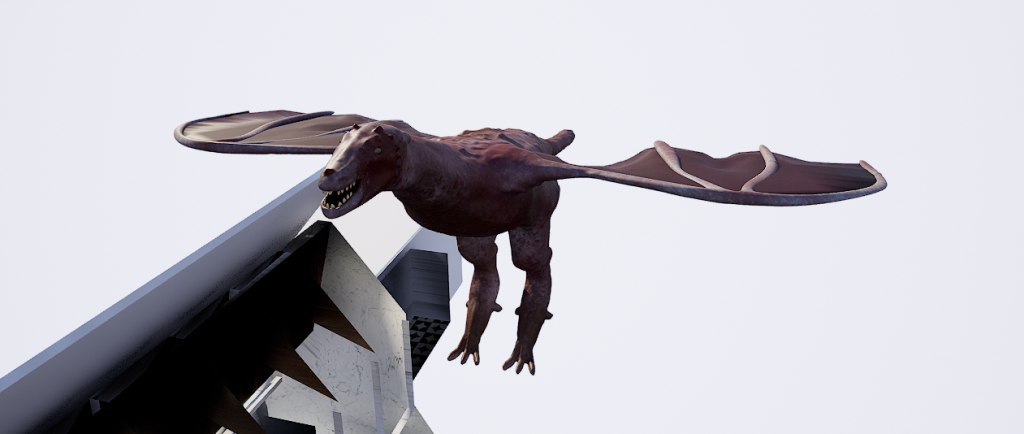
However I also made the Dragon that would fly around my scene from scratch, I used many techniques such as sculpting, texturing in substance painter, rigging and weight painting to create the final result which will be used in my submission.
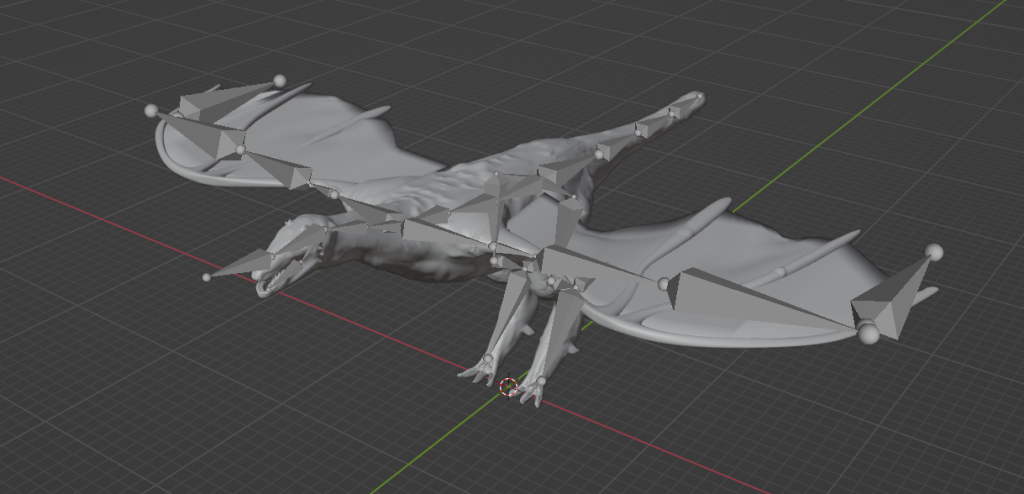
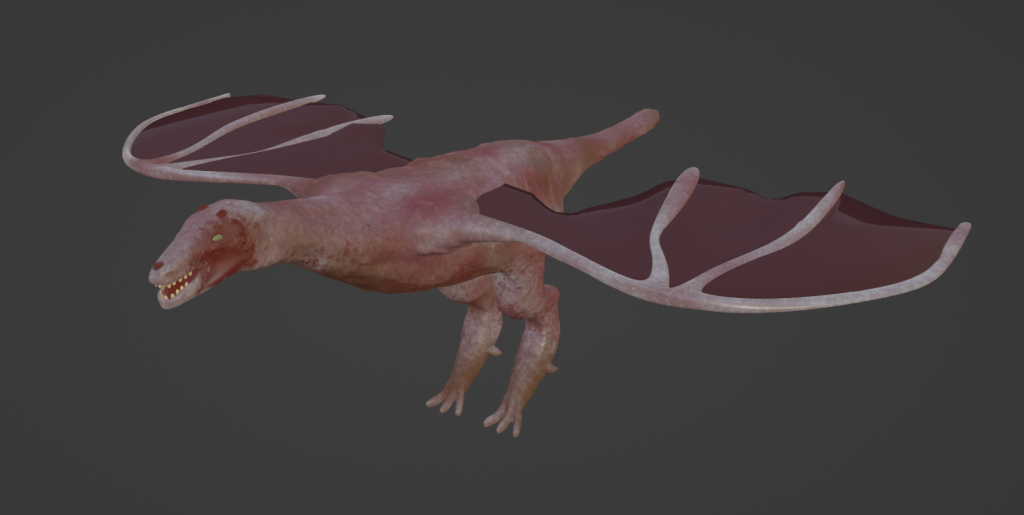
Once I got all of the models and environment design figured out, I then moved onto creating the scene inside of unreal engine, firstly I set up the scene with the 360-degree camera and tested that it works fine with some test renders, once that was working I then imported my castle into unreal.
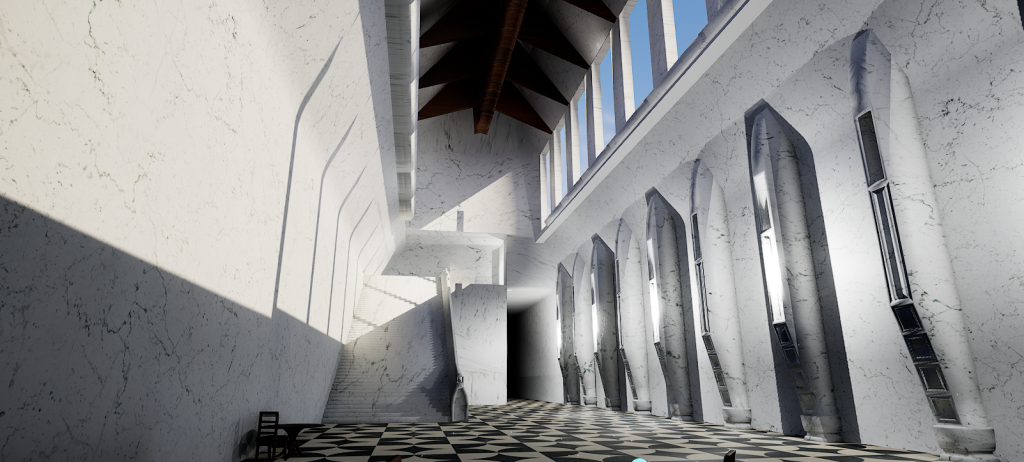
Once I did this, I then added some of the important 3d models into the scene, these were the dragon, and furniture that is around the viewers location during the scene.
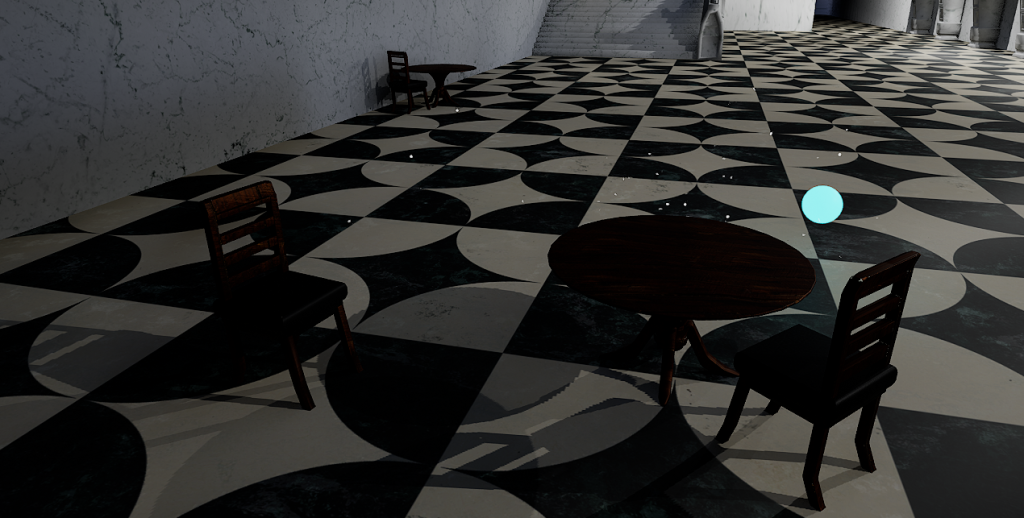
Once I finished adding the initial assets into the scene, I started animating, I first animated the glowing orb which travels around the scene telling the viewer where to look.
I then animated the dragon flying around the scene, however due to some issues within unreal, I wasn’t able to use my rig that I had created, therefore I was only able to animate my Dragons mesh instead.

I animated the dragon travelling around outside the castle first, then animated it approaching the open window area above the viewer and poking its head around and causing damage.
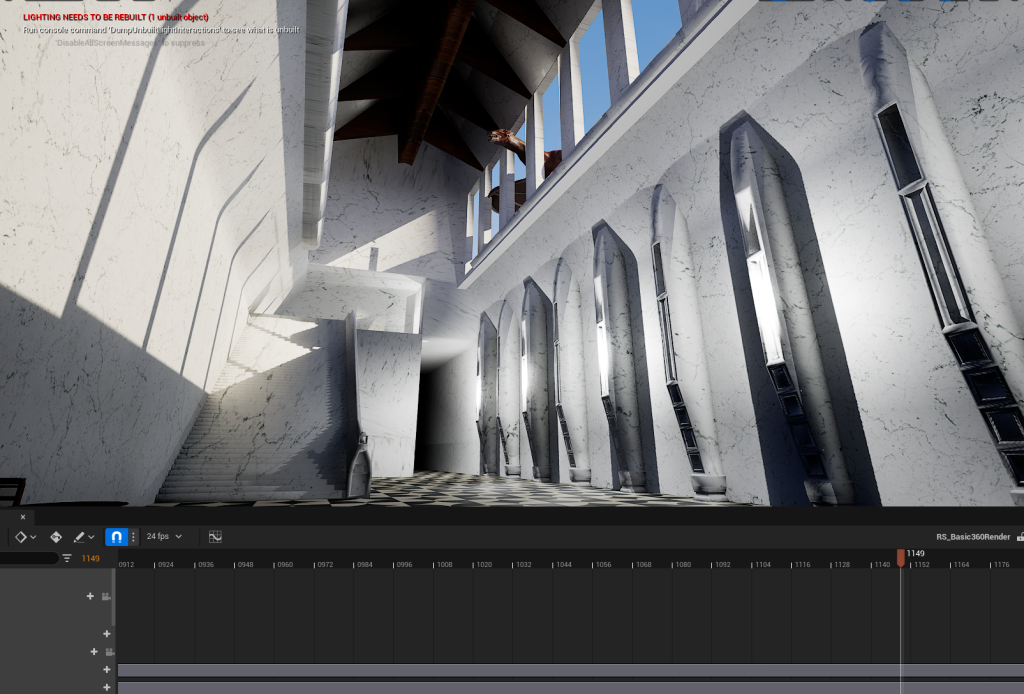
Once I animated the two main details of the scene, I then animated the smaller details, such as bits of wood or marble falling off the roof/walls, I did this to create the feeling that the dragon is really powerful and deadly and that it doesn’t take a lot of energy for it to break extremely hard materials.


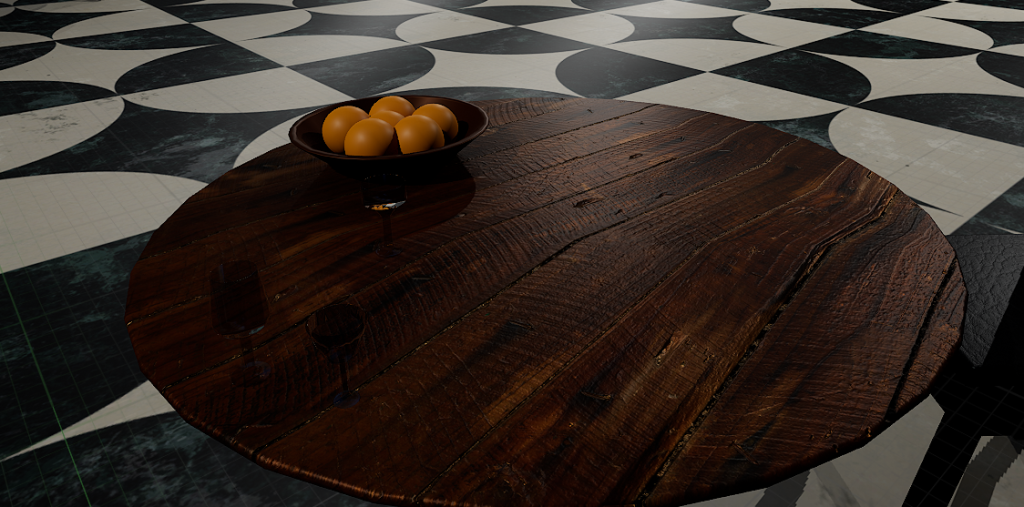
Once I finished with the animation, I moved onto set dressing, I did this because I wanted to flesh out the environment more and have more models inside of the scene, so it is more visually pleasing to look at.
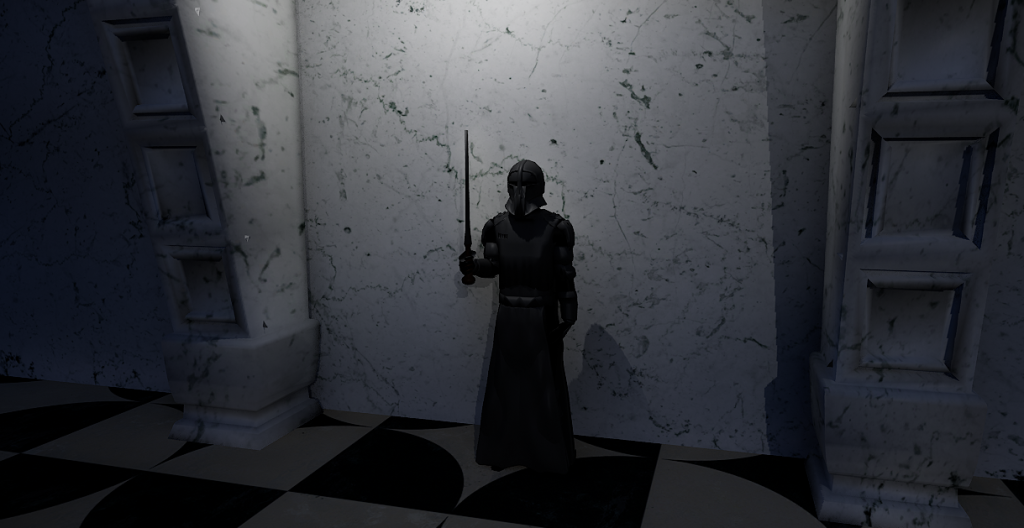
I also added knights in armour to the scene, this was to make it feel more like a castle.
After everything was added to my scene, I encountered some errors with the project.
Firstly, the quality drastically lowered itself despite being rendered in 4k, I discovered a work around to this and it will be fixed for the final render.
I also discovered it has a frame rate issue despite the actual scene being rendered in 24 fps. I later found the error and fixed the problem so that it plays in 24 fps.
Below is the test version before I fixed lighting, added my guards, and also fixed the animations issues.
I then moved onto a second test, this time including 3 scenes, and cuts which are fade in and out to black.
I once again encountered some quality issues when exporting from premiere pro to YouTube, this being despite having rendered it in 4k, I attempted to mitigate this by rendering in 8k, however failed due to limits of my PC when rendering at such a high resolution.
Testing
With the help of a friend, I managed to have my VR experience tested within VR.
I received some feedback, this being, moving the camera closer to the table, changing the upstairs area to look more blocked off, adding liquid to my potion glass, and some more things.
In addition to this I also had feedback on some issues I encountered, such as the area not being rendered correctly, however after I got feedback I was able to fix the issue and continue on rendering like beforehand.
After implementing all my testing feedback, I moved onto changing the middle section, I made it appear different to imitate the look of a delusion/ dream, I did this to further link it to Alice in wonderland.
The above video is an early audio test version of my project, it also includes the audio that I plan on having in my final version, however as it’s a test I didn’t use any immersive audio, opting to only include rough snippets of audio. This video also includes the “dream sequence” in the middle which explicitly shows that it is a dream and not like the potion drinking scene.
Bugs/Errors
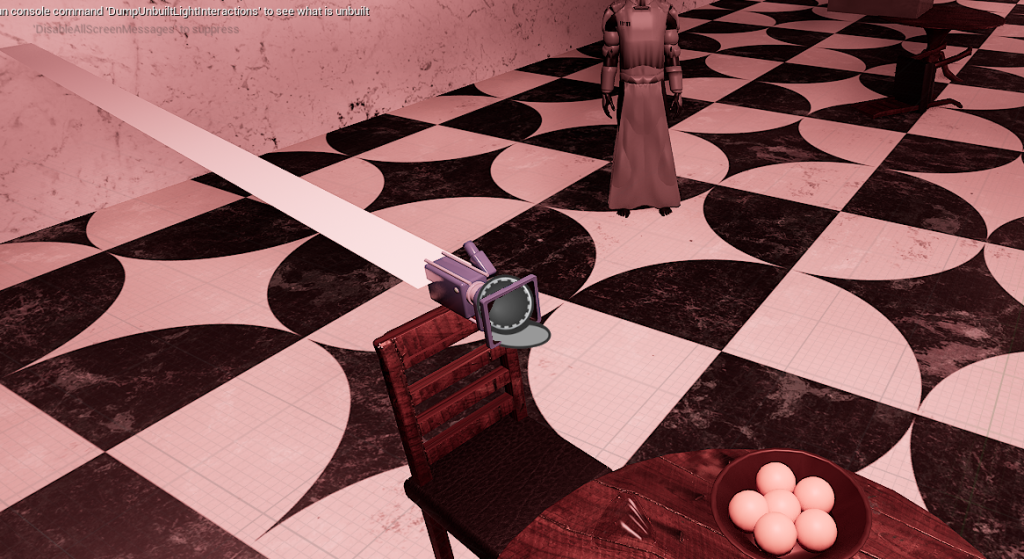
A prominent bug in my project was the camera rendering in the wrong direction, no matter which direction I had it facing, the camera would always face the wall when fully rendered, I attempted to diagnose the issue via friends who are more familiar with Unreal and also the internet, but to no avail.
Below is the camera facing the table, which should allow it to render from that direction.
Adding Audio
When starting the audio part of my submission, I used Adobe Audition, this is because it helps with the Binaural Aspect of the audio.
Below will include different images of the progress of my audition usage for my submission.
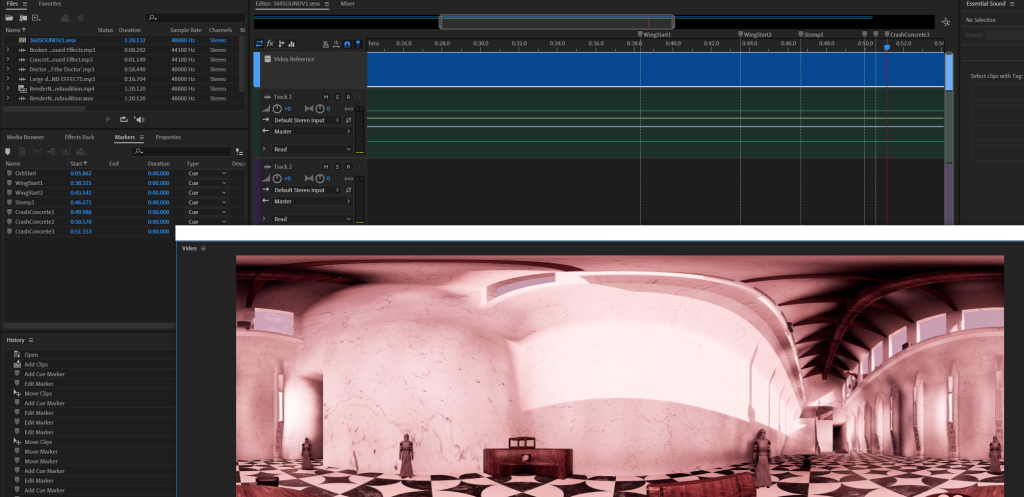
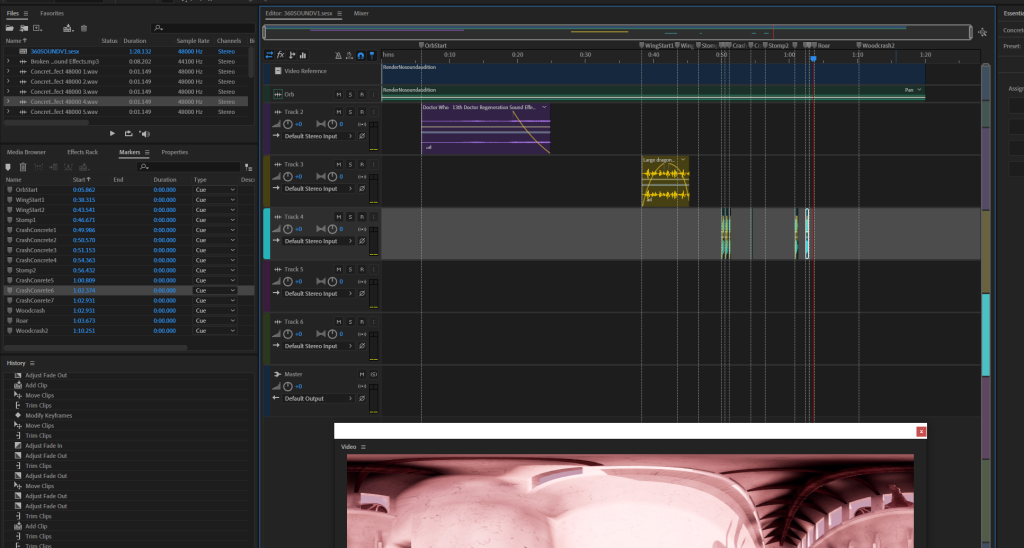
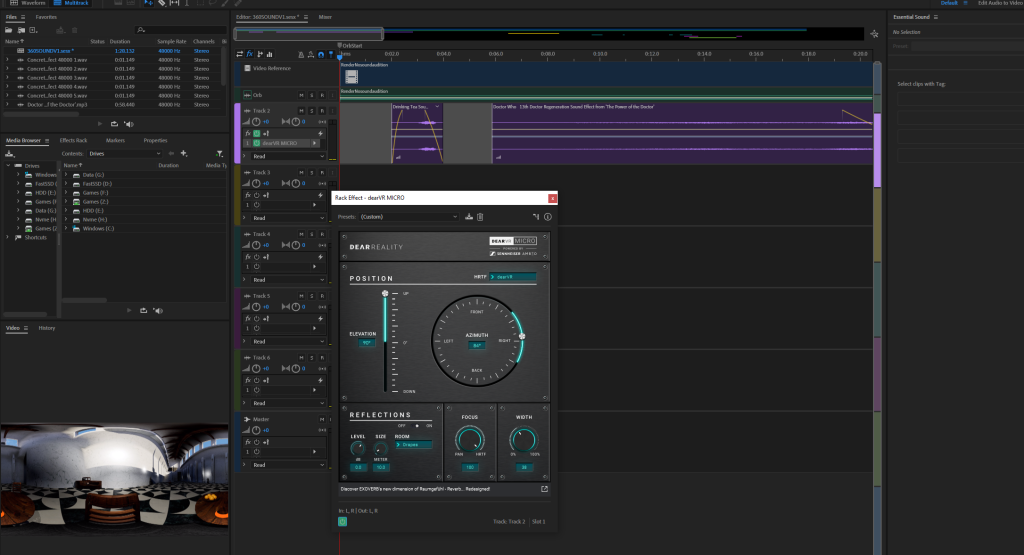
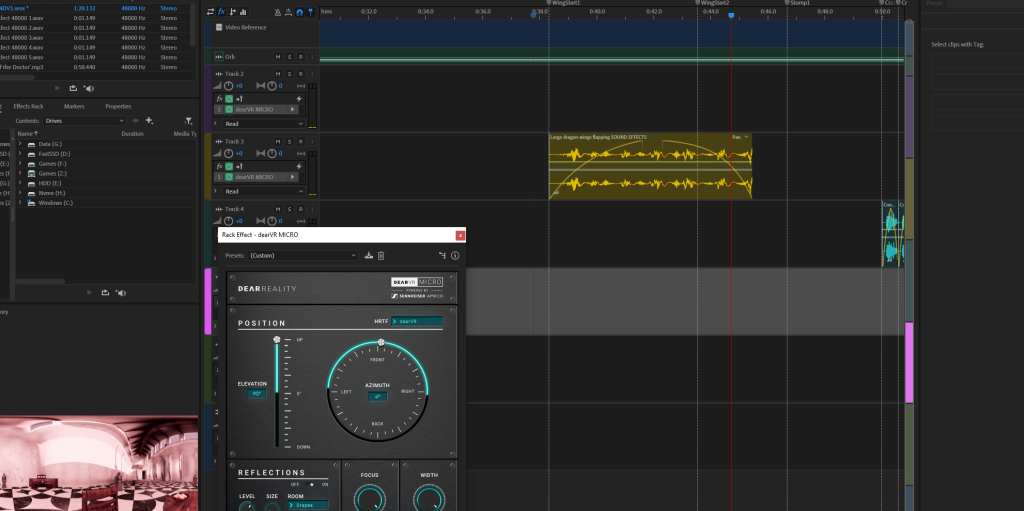
Above is the different steps I took to create spatial audio in my project, I used Adobe Audition and the DearVR Plugin which helped me direct audio into specific ears for certain tracks/audio clips. I however didn’t manage to make it change depending on where you are looking due to that aspect not working when I attempted to use it for my project. However I think directing audio into different ears mostly gives off the same affect.
Once I added the sound to premiere pro, I checked to see it was all working, and then exported the final version and uploaded it to YouTube.