In this blog post I will run through how I made all of the phase 1 assets that I was tasked with making for the major project.
Wardrobe
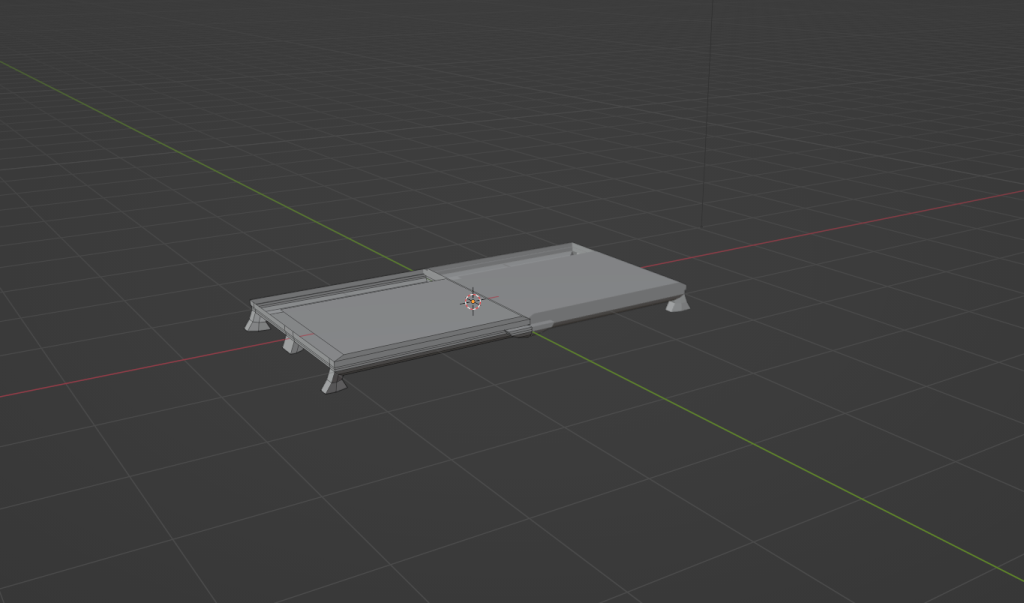
When I started out creating the wardrobe asset, I began by making a base to the wardrobe with 6 legs, I did this to get the rough layout of the asset, before continuing on with it.

After the base was complete, I then moved onto the body of the wardrobe, all I did for this was extruding the faces upwards to create the back, side and top of the wardrobe. I then created the partition in the middle of the wardrobe which splits both sides of the wardrobe apart for 2 separate areas to put in clothes.

I moved onto the roof and doors next, firstly I made the roof of the wardrobe slanted so that it wasn’t a simple 90 degree turn which looks unflattering,
After I finished the roof I then moved onto the doors which were simple cubes which I copied and put on either side of the wardrobe, I also created a door handle for it by adding a cylinder to the scene, changing its rotation, beveling/extruding certain parts to create a door handle shape.
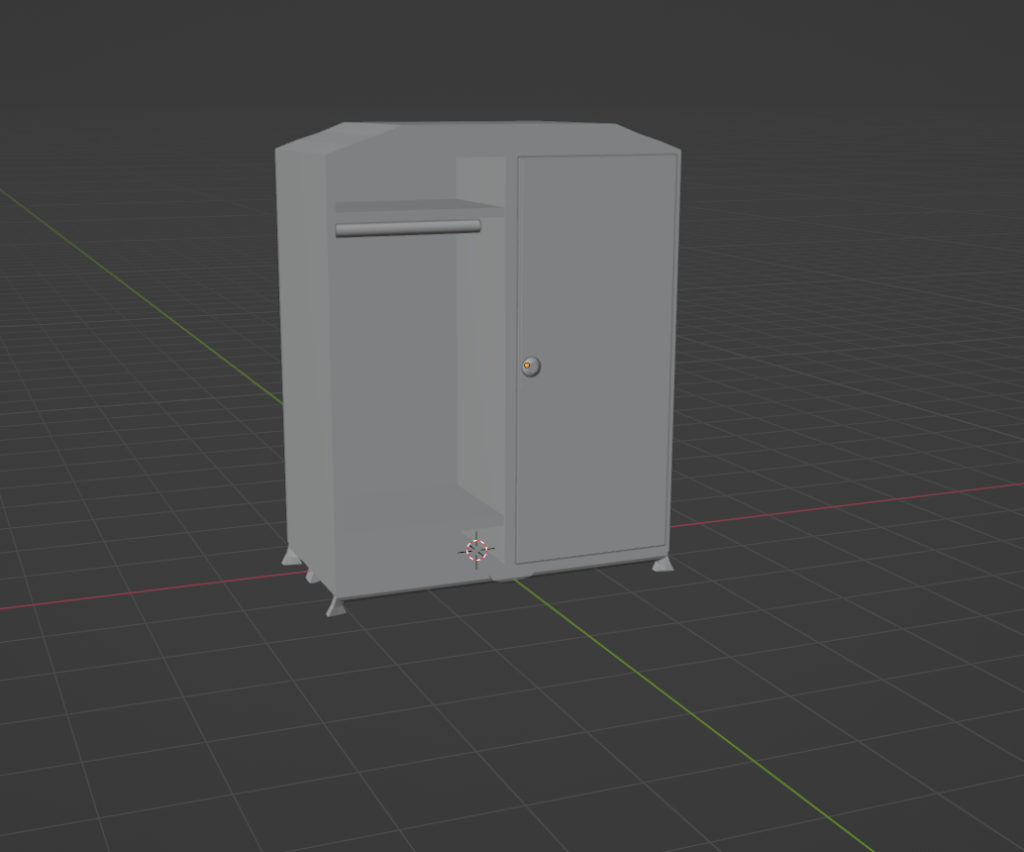
Once I created the door handle, I then moved onto the final touches, first being the inside the the wardrobe, I decided to add a shelf to the bottom and the top of each partition, I also added a clothes rail which can house coat hangers with clothes on it.
The final touches of the wardrobe consisted of checking that all the geometry was good and didn’t have any problems and also making sure the doors pivot points were in the middle on the side so that when exported into unreal, it will be able to open like a normal wardrobe door.
Sink

When creating the base for my sink, I looked at many designs of sinks from the 1910s/1920s, these gave me the general idea of what I was creating and assisted me in production.
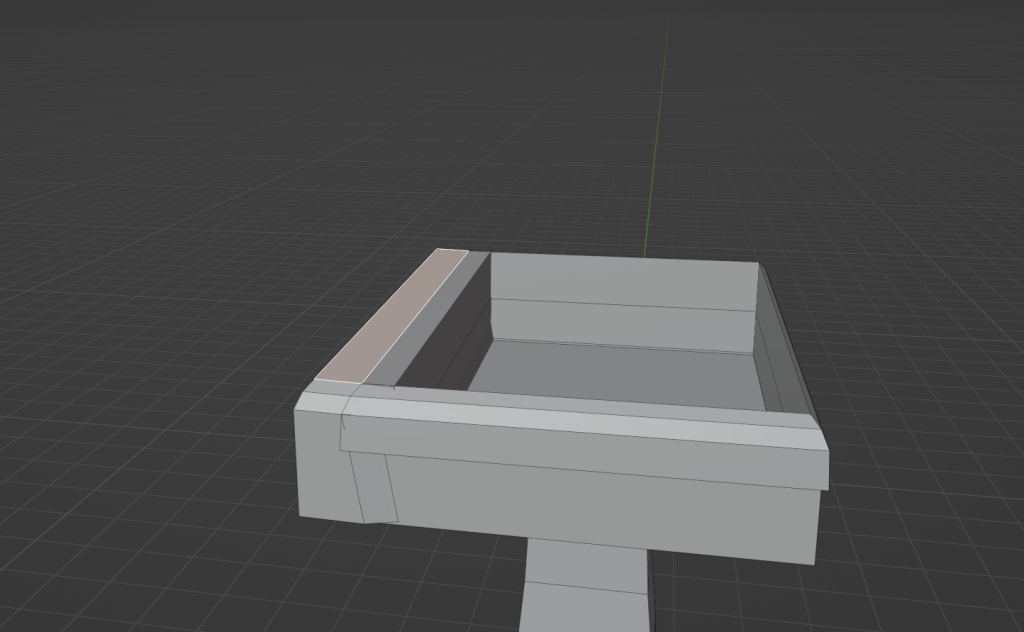
After the base model was complete, I continued on with the model and added detail to it, I started by adding a ledge to the back of the sink.
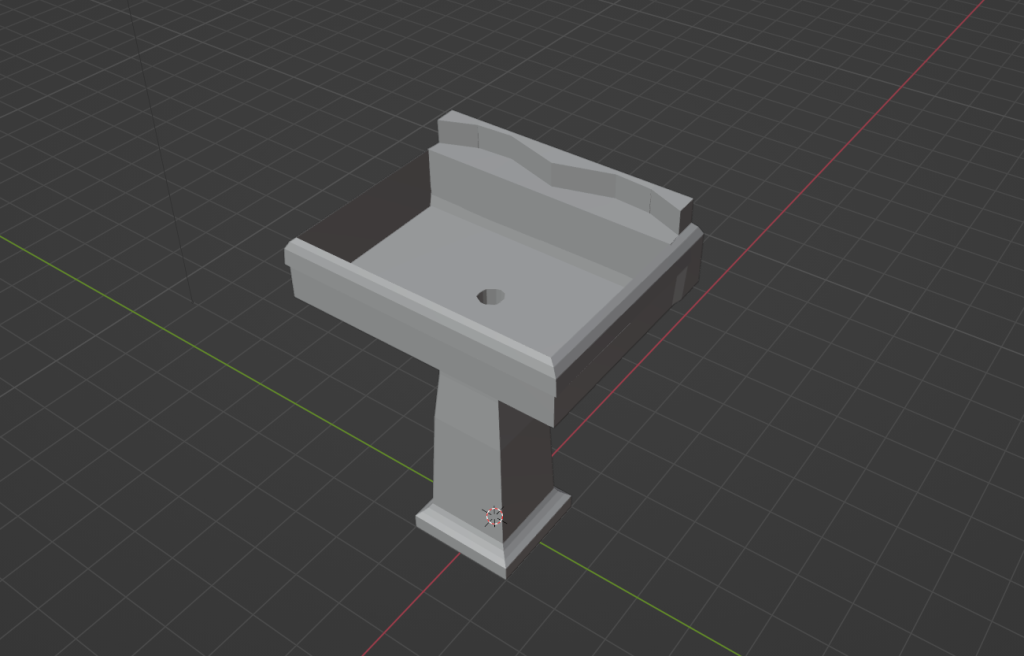
After I created the ledge, I then added the drain in the middle of the basin.

Finally I created both the taps for the sink as well as the plug
Snub Revolver

To begin creating the revolver, I started by making the grip of the gun I did this by using a plane which I shrunk and extruded in the shape of a grip.
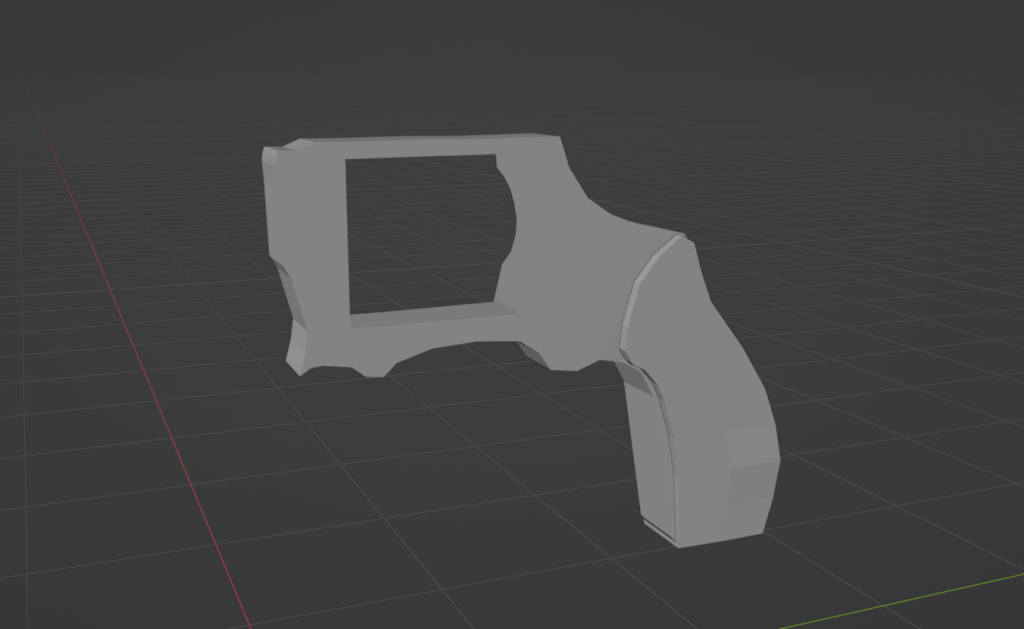
I then moved onto the body of the gun which I used the same technique for, however I created it as a solid block but used the knife tool to cut out the middle where the cylinder of the revolver lives.
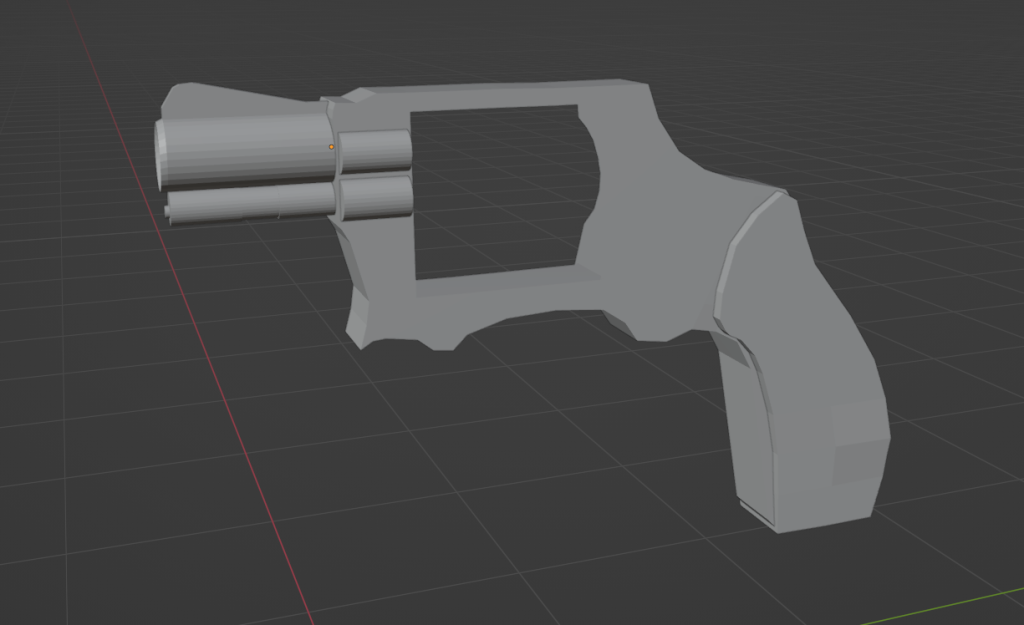
Once I finished the body of the revolver I moved onto the barrel which was 4 cylinders. Firstly I created the two cylinders on the front of the gun and then the two half cylinders on the side which I sliced in half and mirrored it onto the body of the gun next to the barrel.
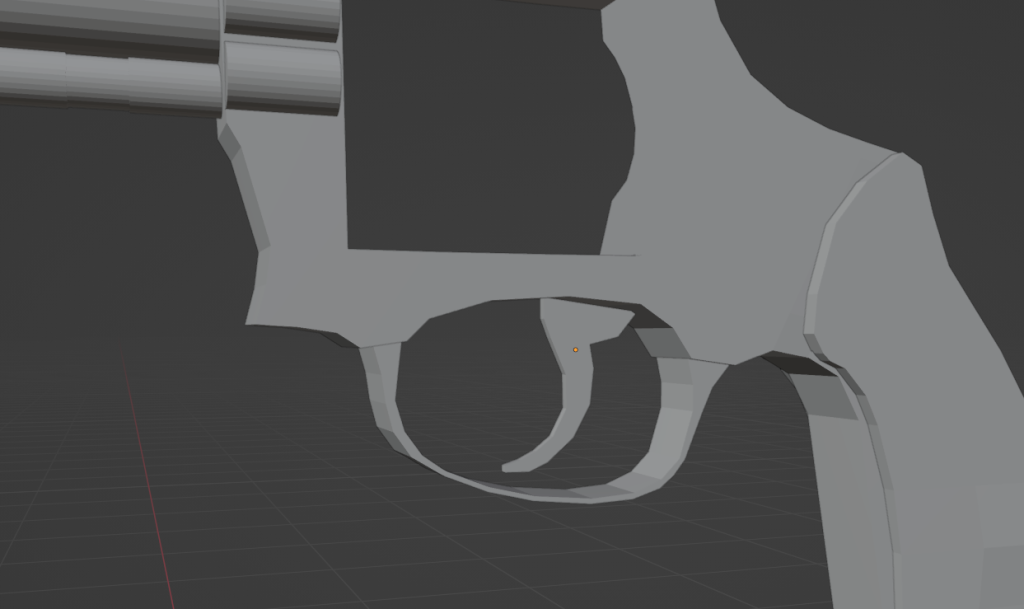
I then created the trigger and trigger guard, I used 2 cubes for this and extruded them to create the appropriate shape of the objects.
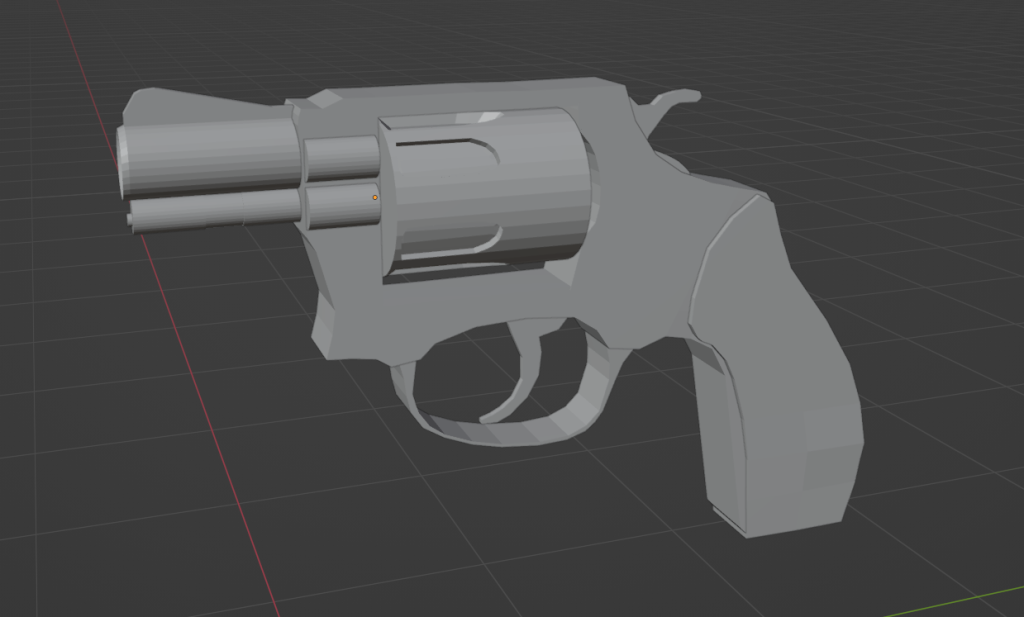
I finally moved onto the cylinder of the gun which I used a simple cylinder for which I then cut shapes into to make it look like a real revolver, I then created the hammer of the revolver and put it on the back of the body.
Bathtub
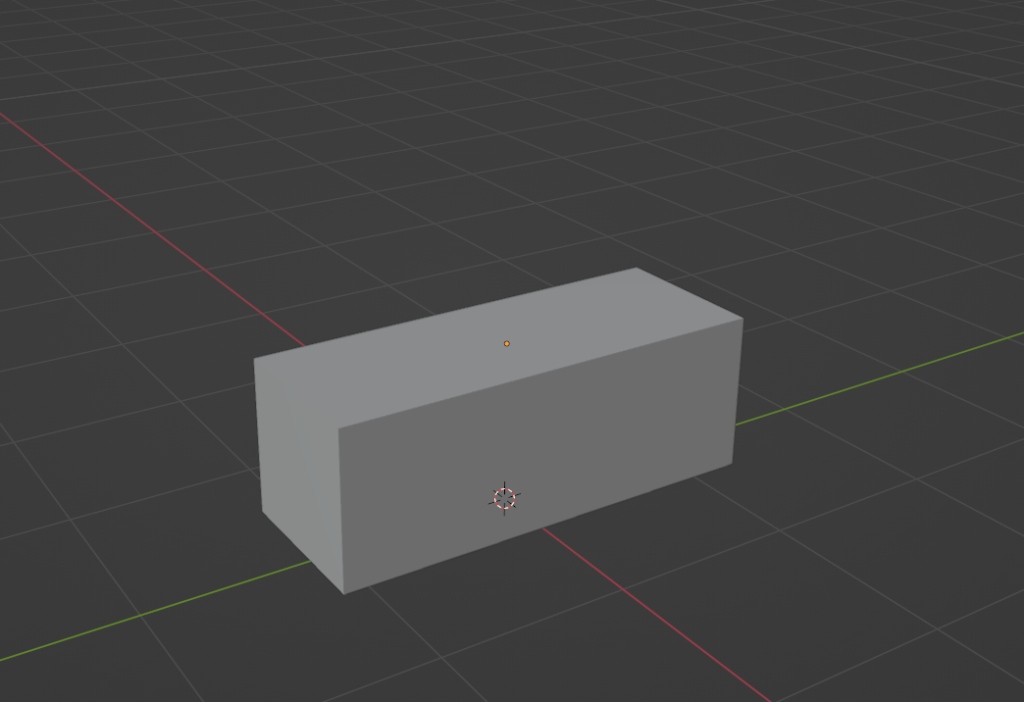
I started the bathtub by adding a cube to the scene and extruding it along the y-axis to make it longer.
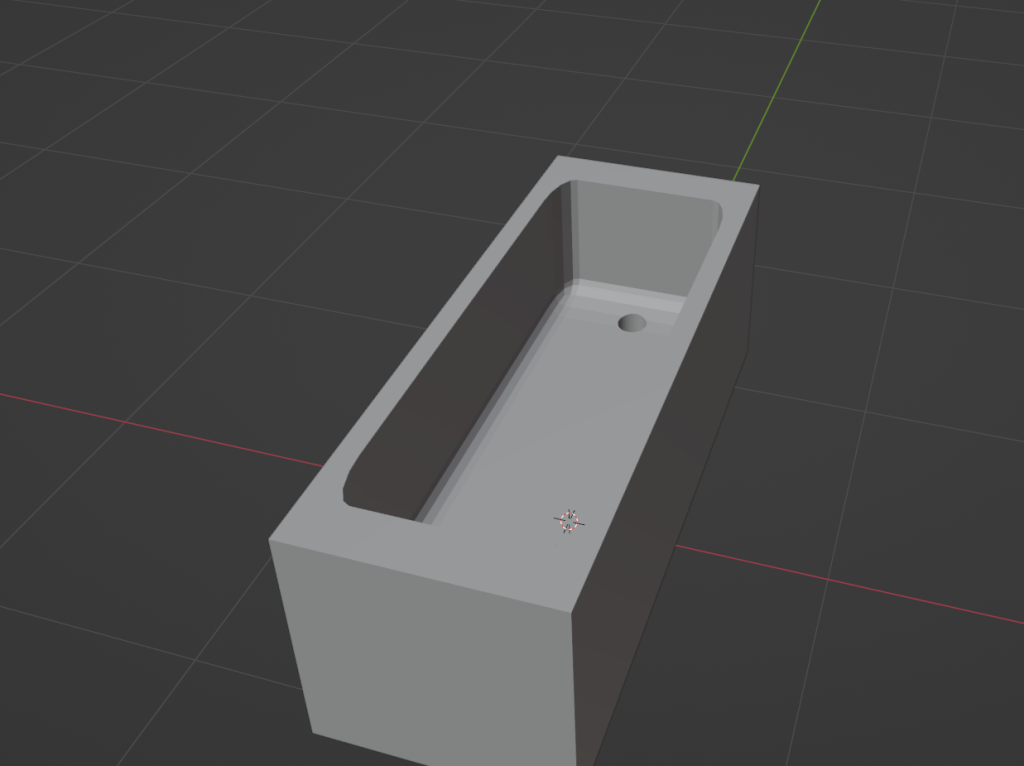
Once I got the basic shape down I added a high poly rounded cube and booleaned it so that i could cut the exact shape of the rounded cube into the top of the standard cube.
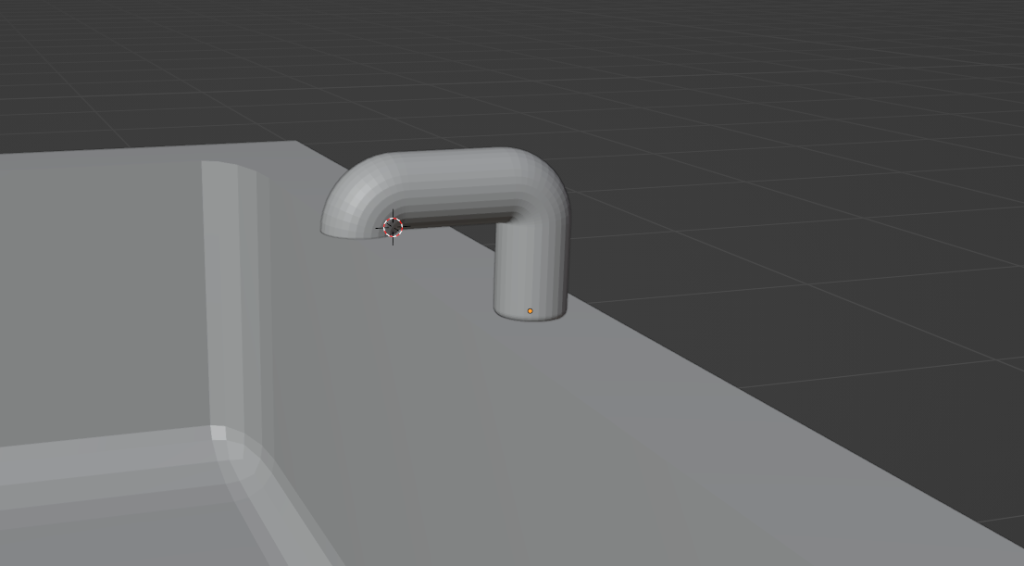
Once I did that I added the tap to the body of the bath, I did this by using the spin tool on the cylinder to extrude it in a curve to create the look of a bend in pipe/metal.
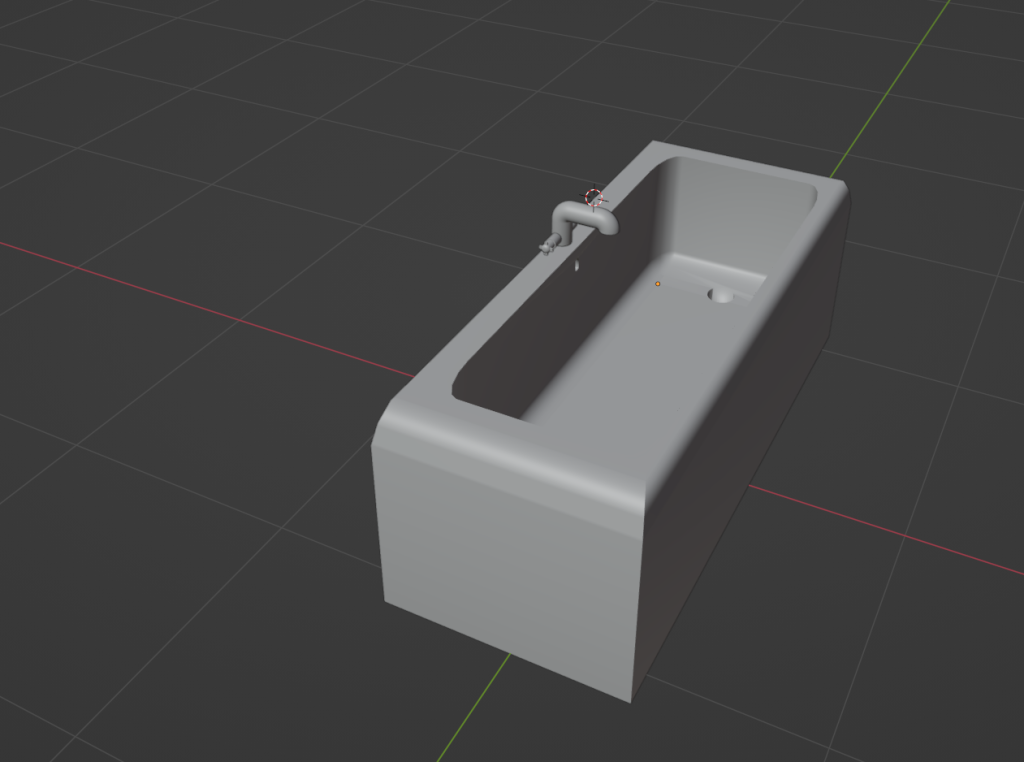
Finally I added faucets to the tap and rounded off the sides of the bath.
Toilet
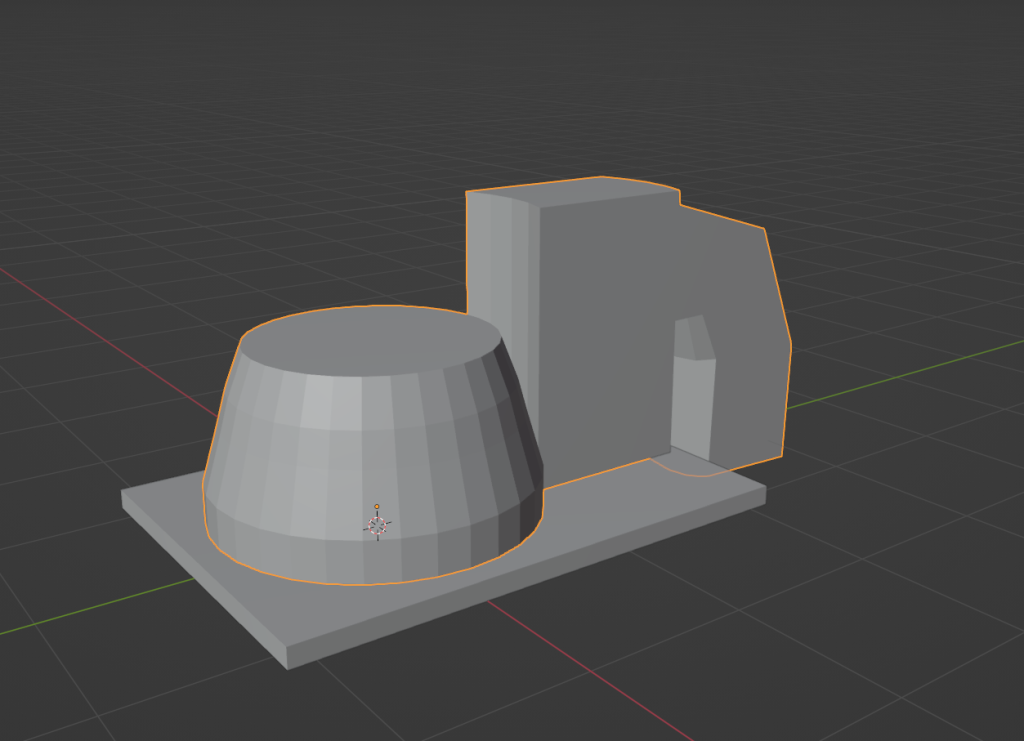
When beginning to make my toilet asset, I started by adding a cube and a cylinder to an extruded base plane. I then extruded these up in the rough direction which a 1910s/20s toilet would be in.
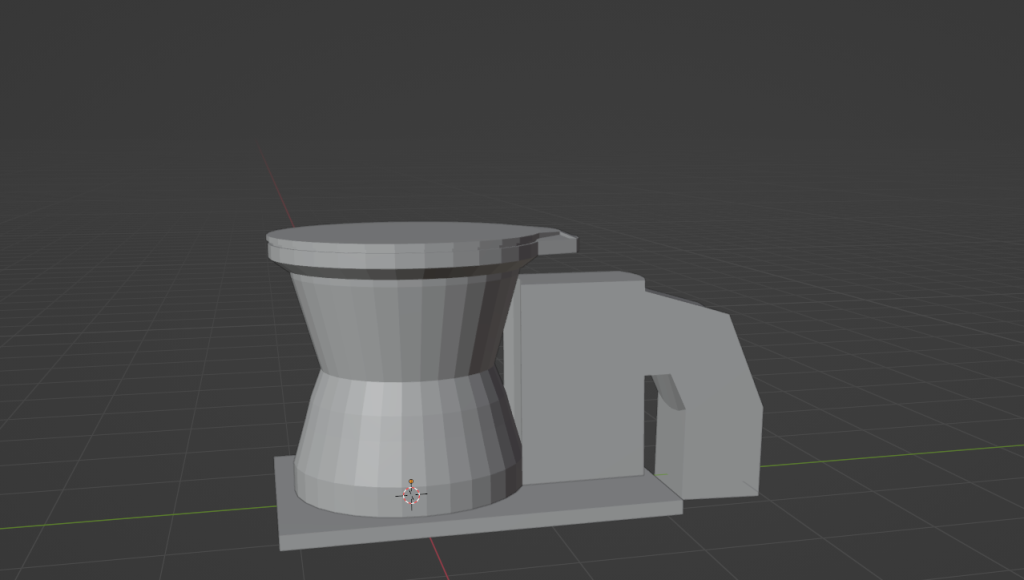
After this I added the toilet bowl on top of the base of the toilet.

Once I created the bowl and lid of the toilet, I created the pipe which goes to the box connected to the wall.
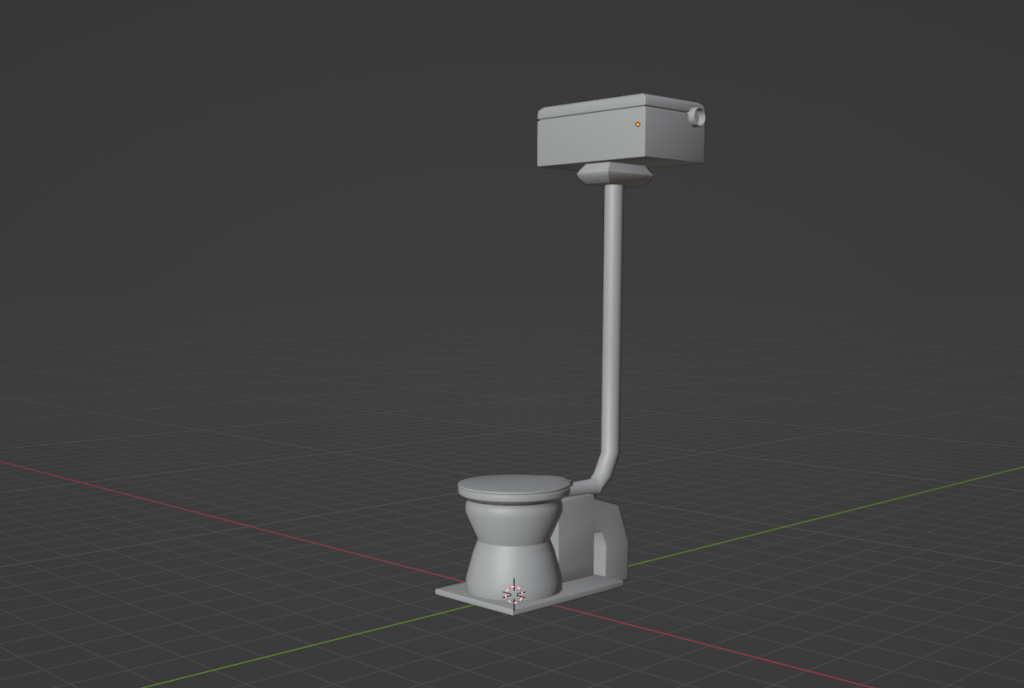
Finally I created the toilet box and also the chain which is on the side of the box so that it is flushable.
SS Arctic
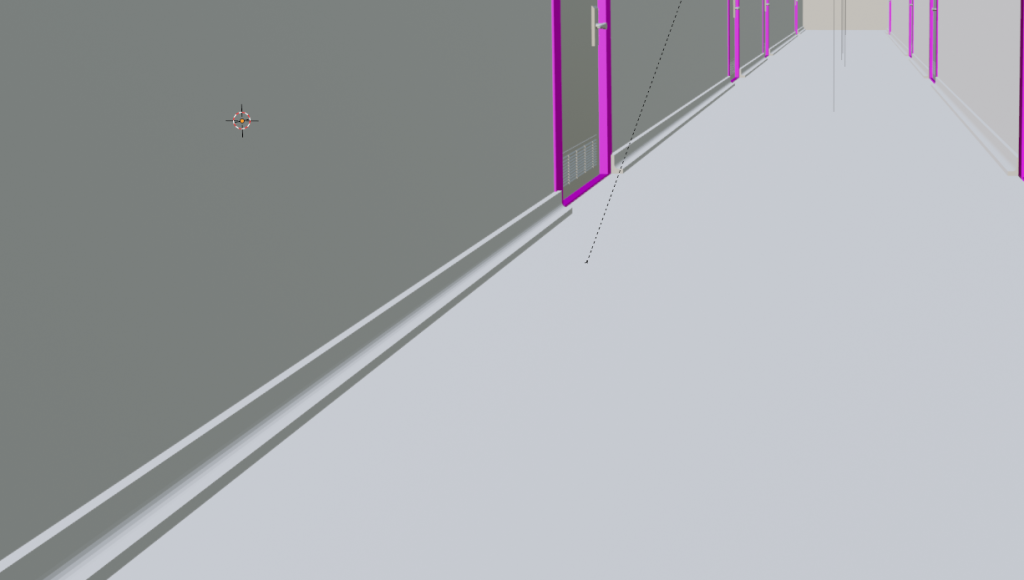
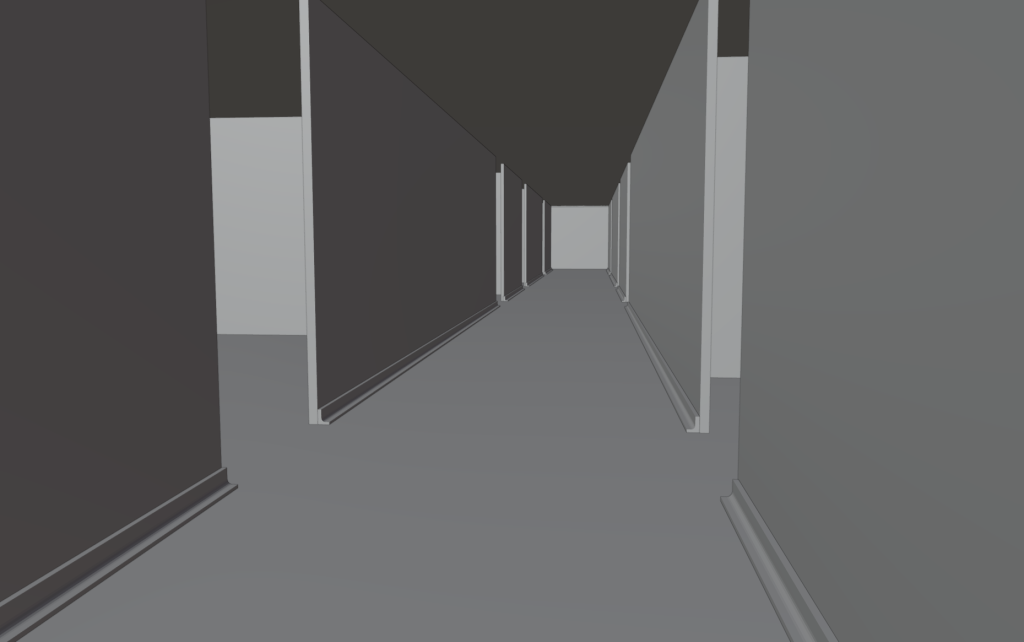
To begin with, I added skirting boards around the bases of walls. I did this to stop there being a perfect 90-degree angle where the floor meets the wall.

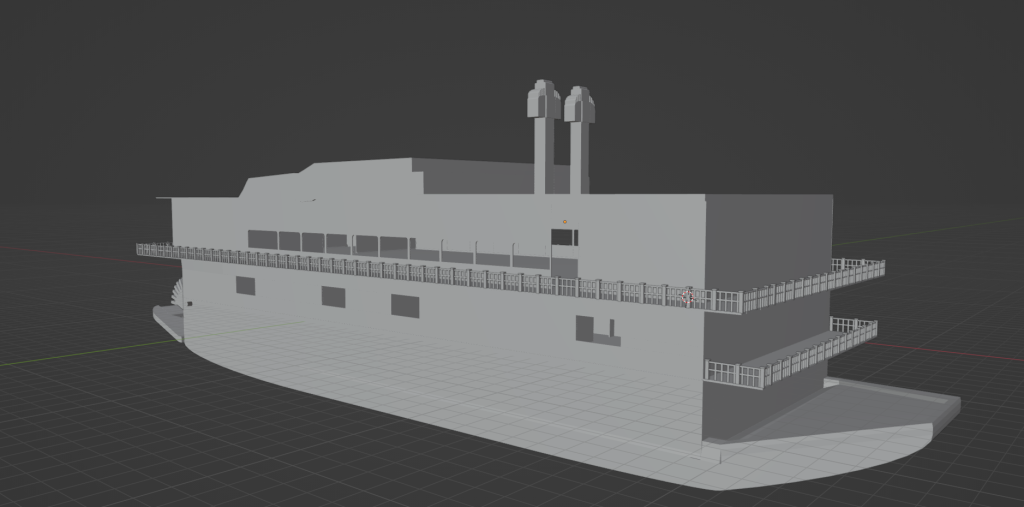
After finishing the skirting boards throughout the ship, I created the paddles which are located on the rear of the boat, I did this because the player will be able to see it when walking around on the balcony.
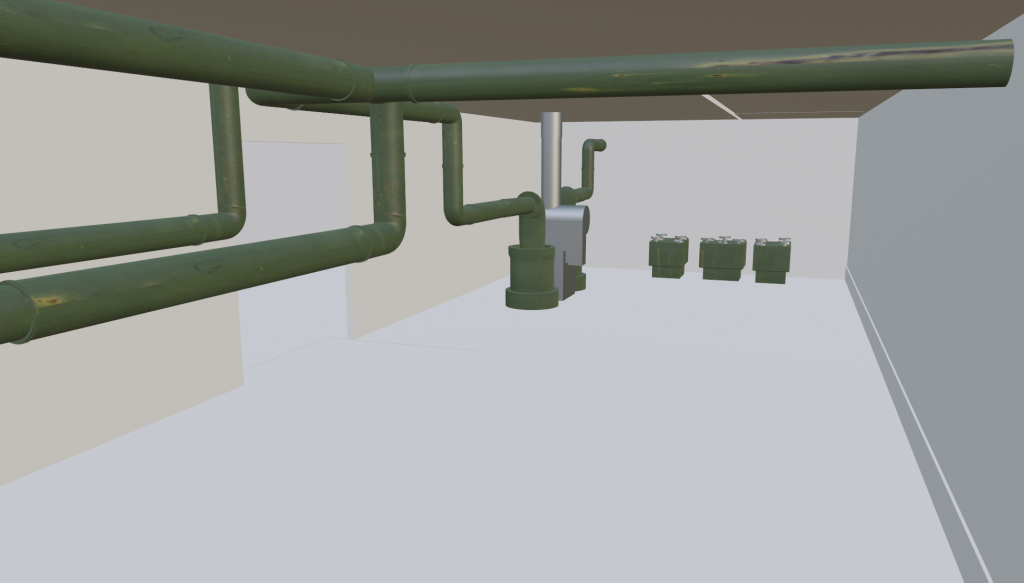
I then made an engine room.
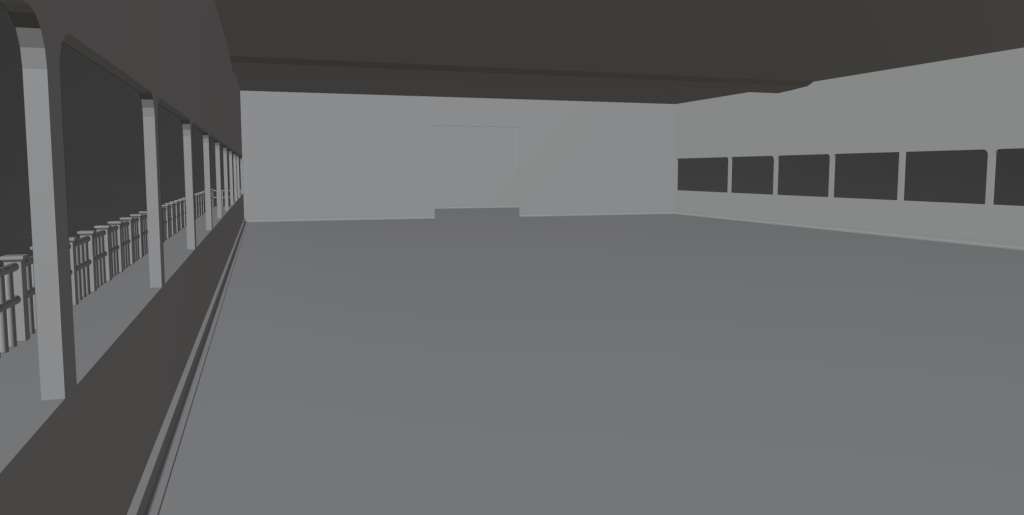
Below are some untextured views of other areas of the boat.
