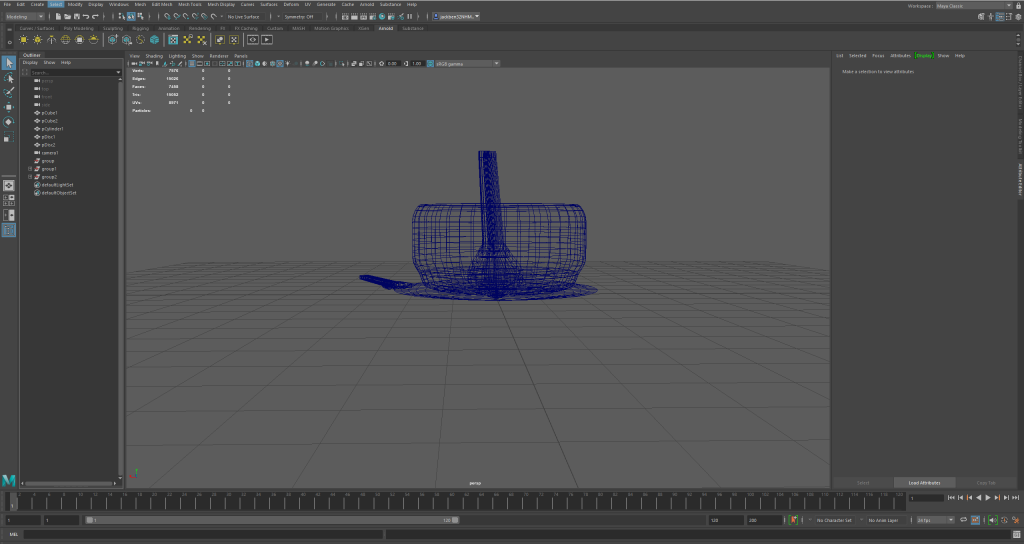
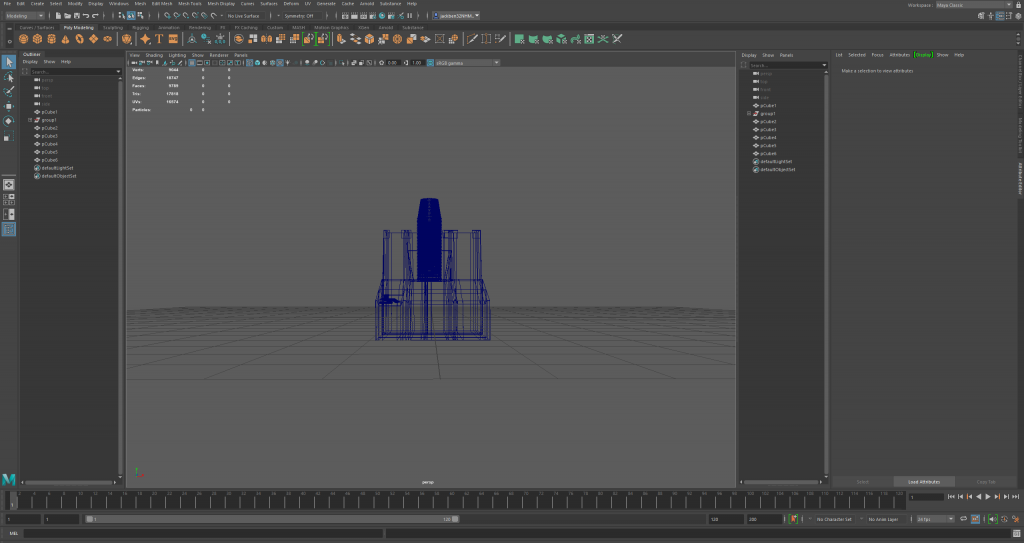
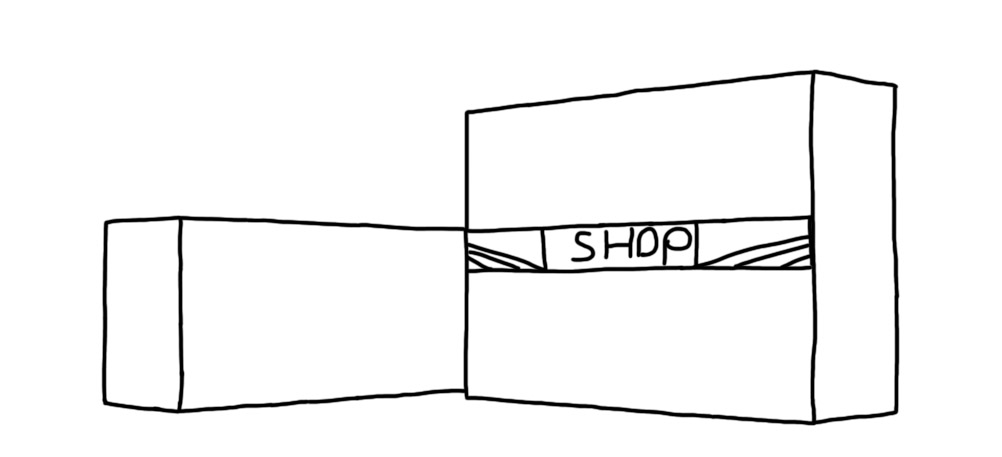
Below is my cash register:
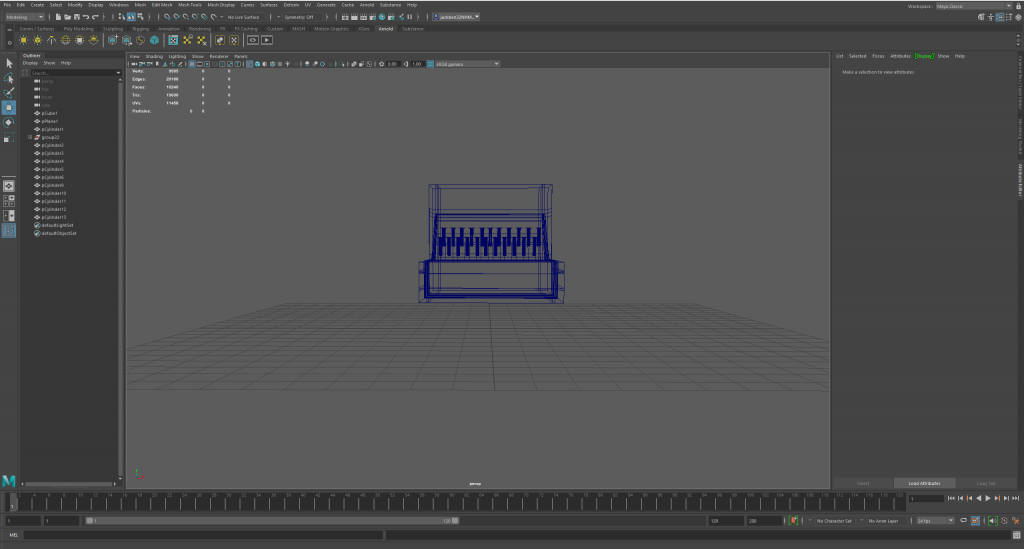
Below is my cash register:
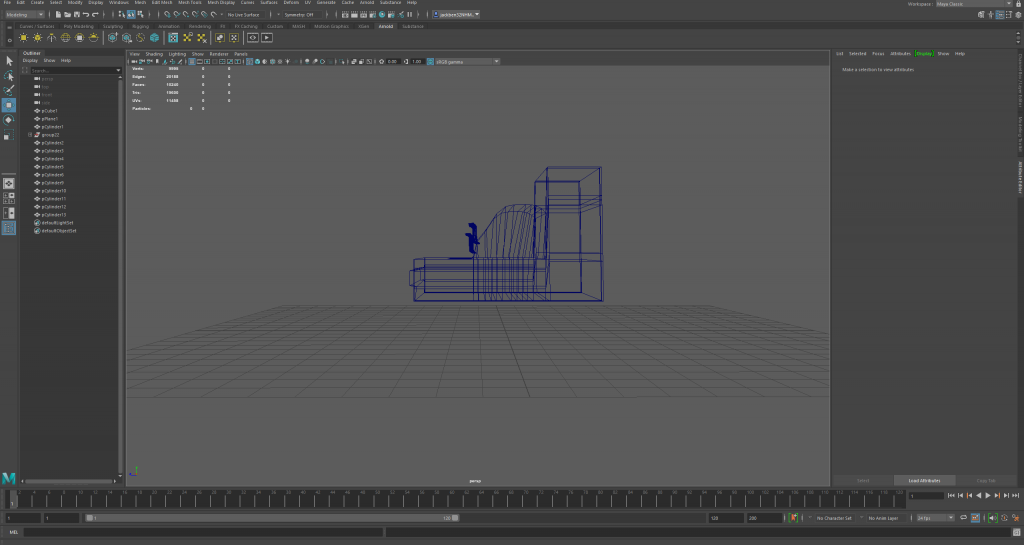
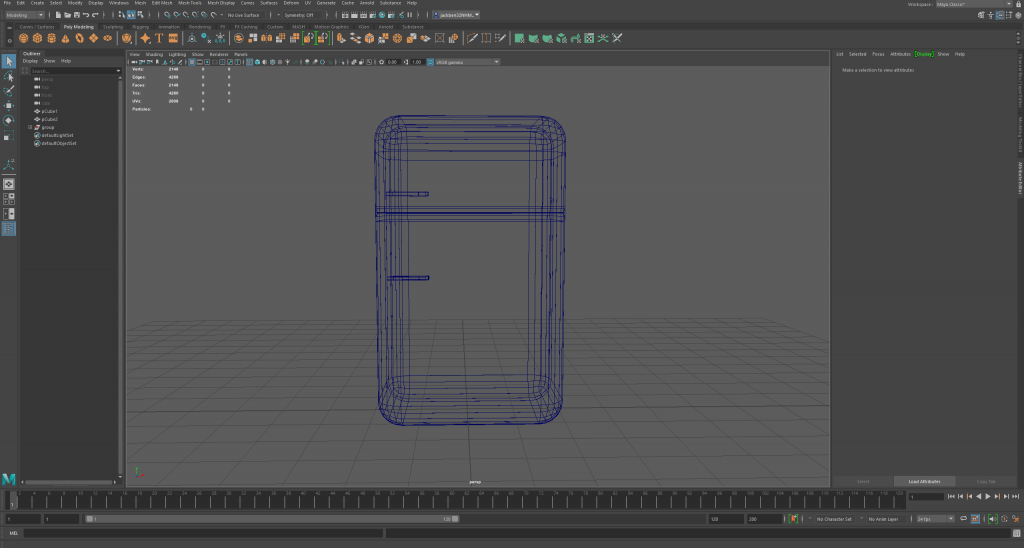
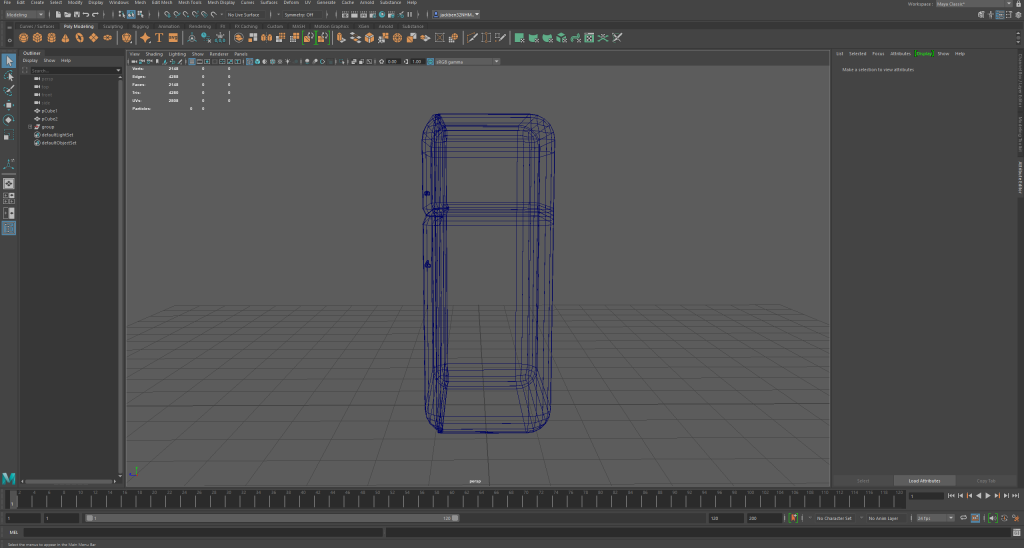
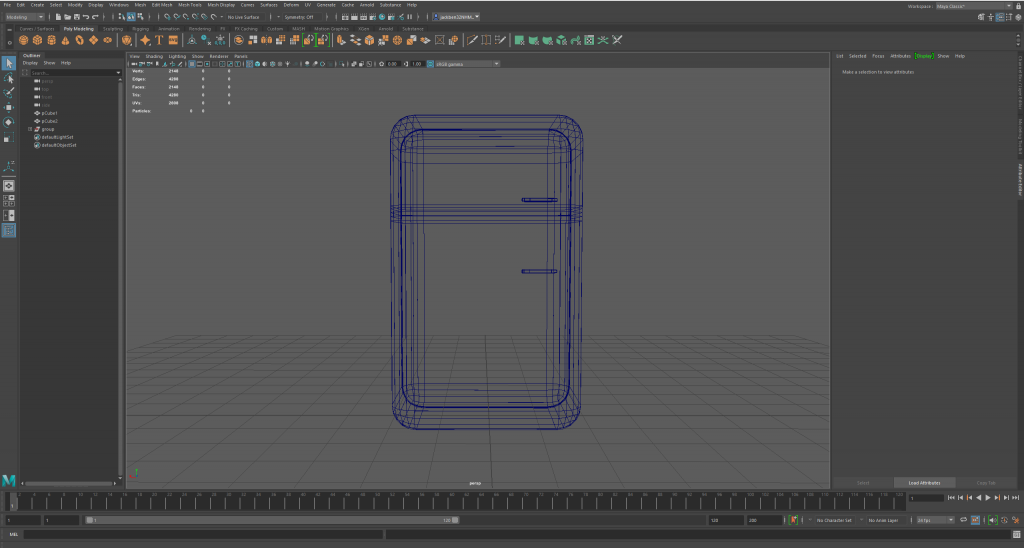
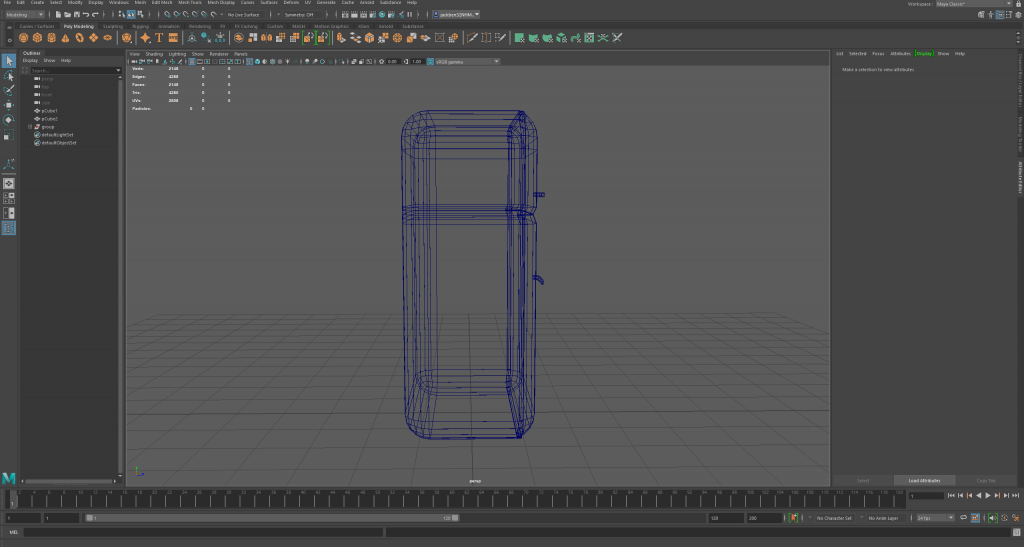
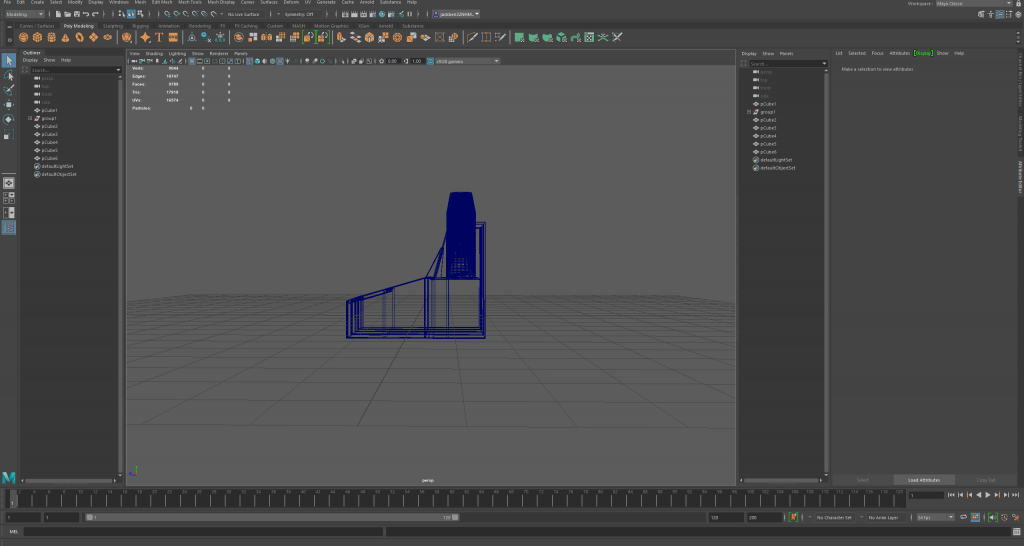
Fridge
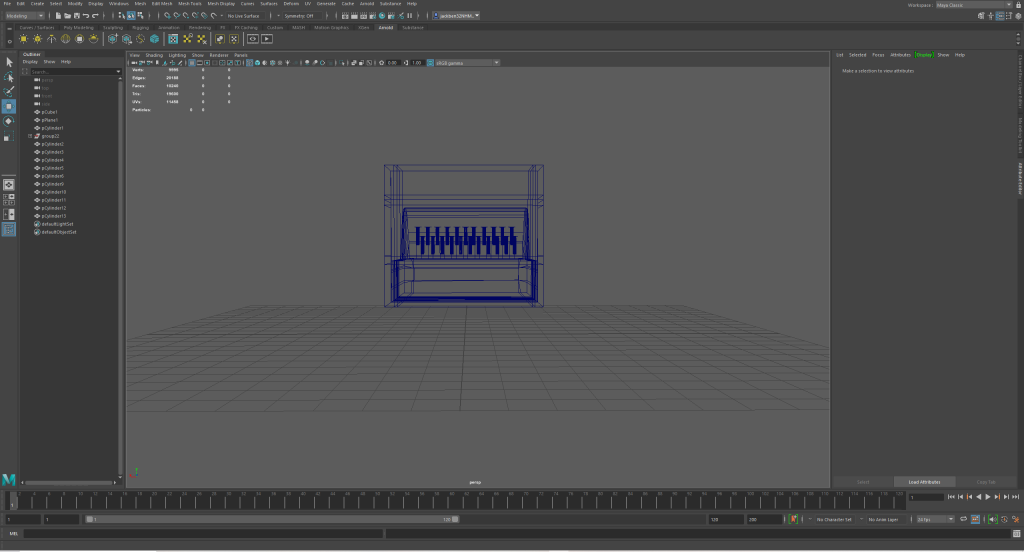
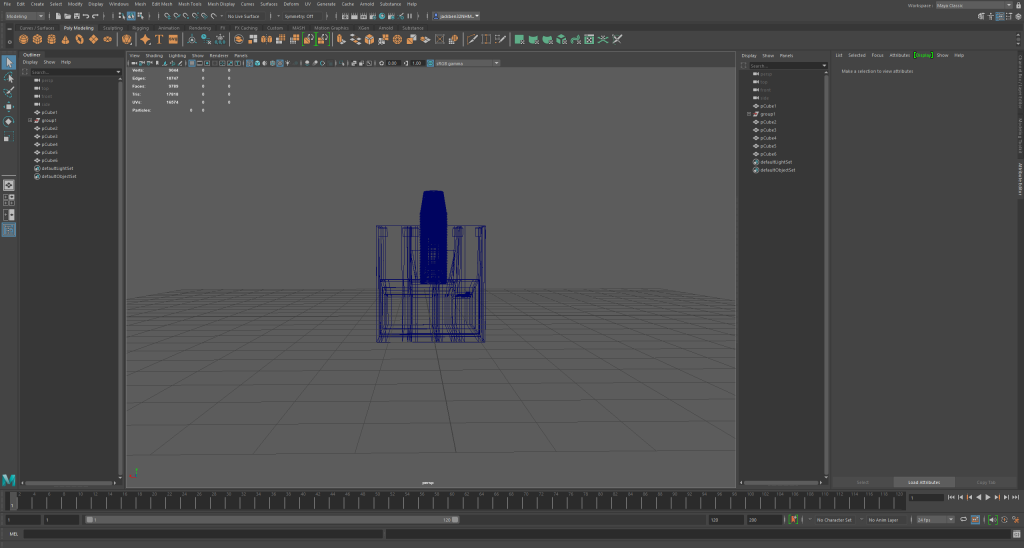
Drink Holder

29/12/20
On this day, I started the main production of my game, I added scripts to my player so that he could move. I made 3 scripts overall, one being player movement, one being a camera follow script, and one being a main menu script, however I only used the movement one at this point, and this is shown below:
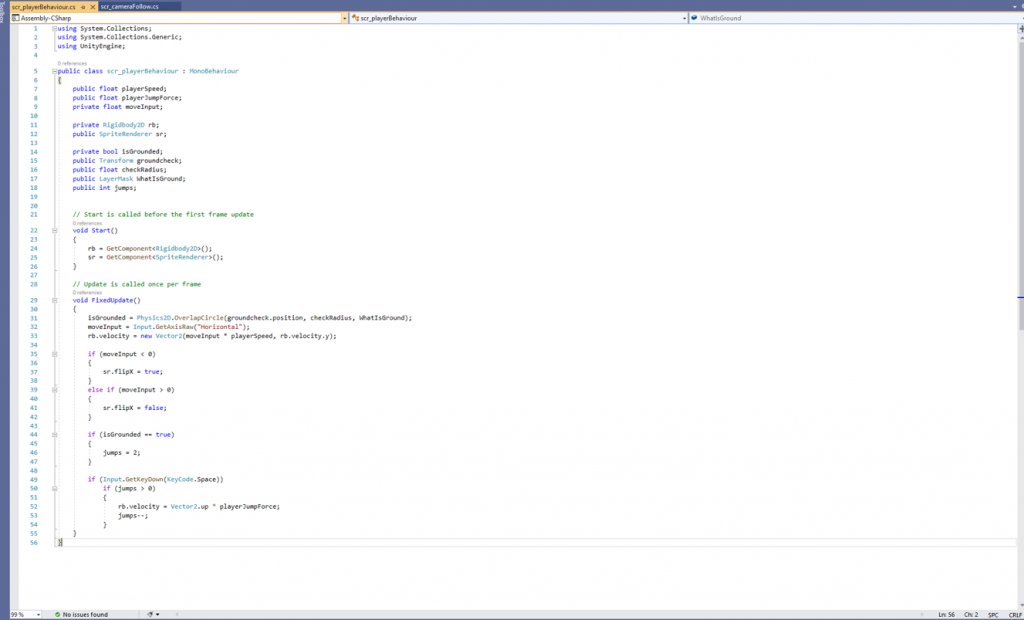
My player was able to jump, move left and right and navigate around the early on map quite easy without any issues.
30/12/20
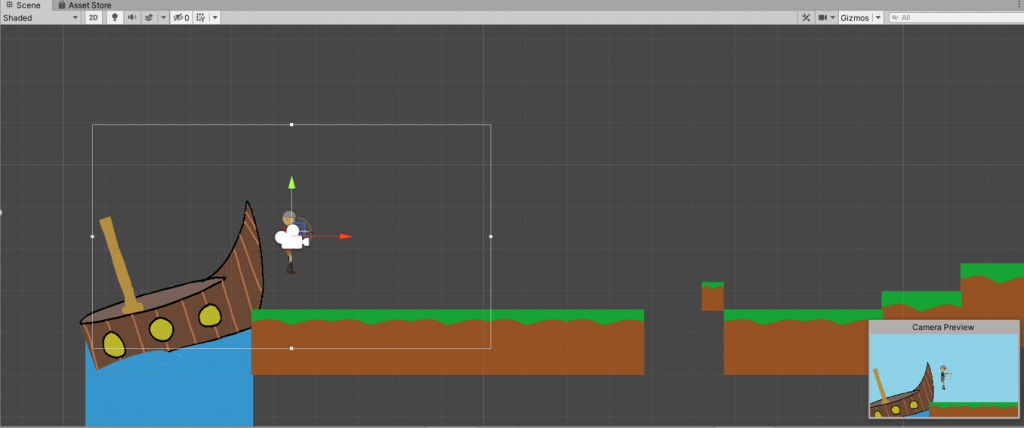
On this day I began to work with my scripts, and add more to my game, firstly I attached the main camera to the player object so that it would follow the player when it is moving. Below is an attached image of the camera on the player object.
31/12/20
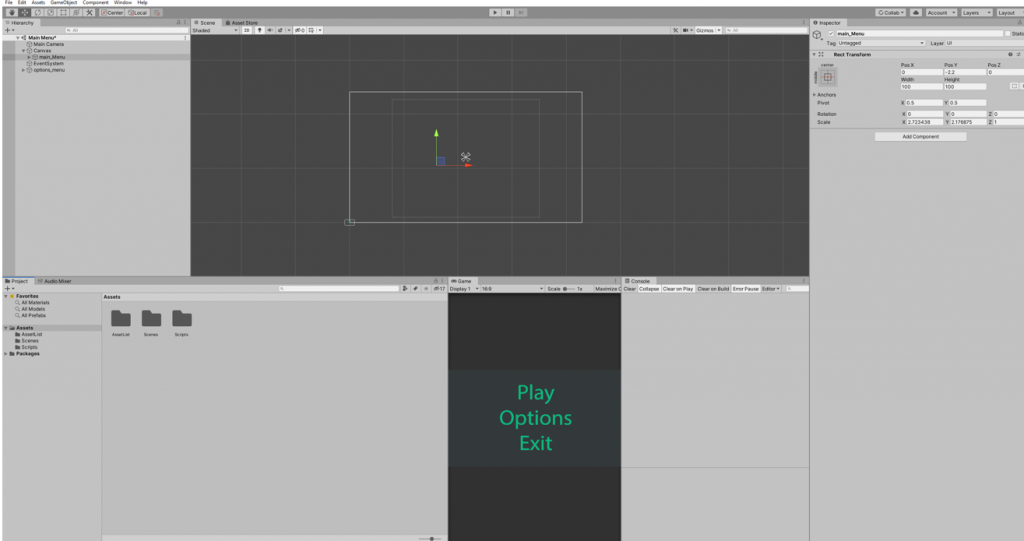
Here I created my main menu, I added the play and exit buttons to the game so that when I click on them they do what they say. After this I created 2 scripts for the buttons themselves so that they would properly act upon the clicks, these are shown below:
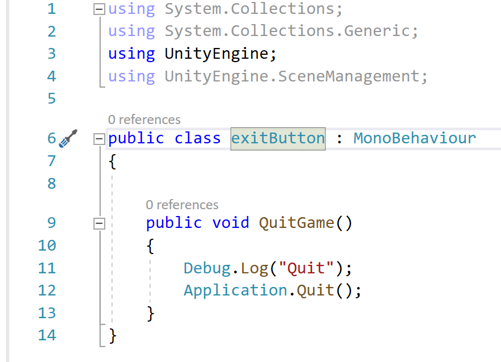
Exit Game Script
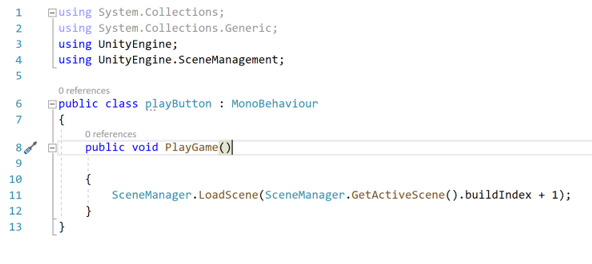
Play Game Script
I recorded 2 videos about the scripts and them working inside of my game. These are below:
Play Button
Exit Button
4/01/21
On this day I added a simple sound addition to the main menu, whenever I click on the buttons, this is good as the main menu is no longer empty.
5/01/21
On this day I did quite a lot, to start with I created spikes which would kill the player when they land on them, pictured below:
I also created a door in which the player would run into, and then that would put them onto the next scene, this is the same code as the kill player code, however it just moves onto another scene instead of restarting the same one.
9/01/21
On this day I added in my enemy NPC which is tasked with killing the player, to begin with I added my code from a previous game that I created so that the enemy will follow the player, this is pictured below:
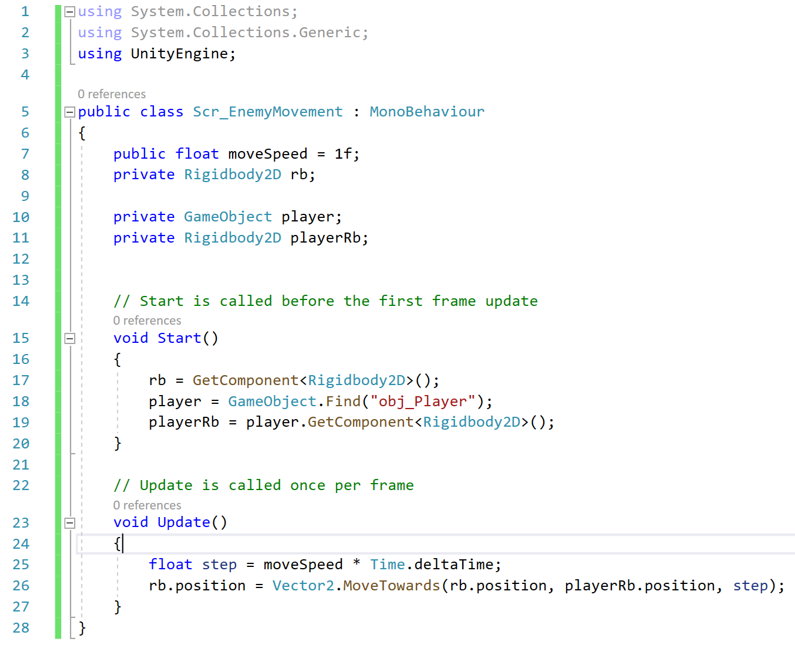
This makes my enemy character move towards the player character so that once it touches, then it kills the player, and the player is respawned. Below is a video of the enemy moving towards the player and killing them.
10/01/21
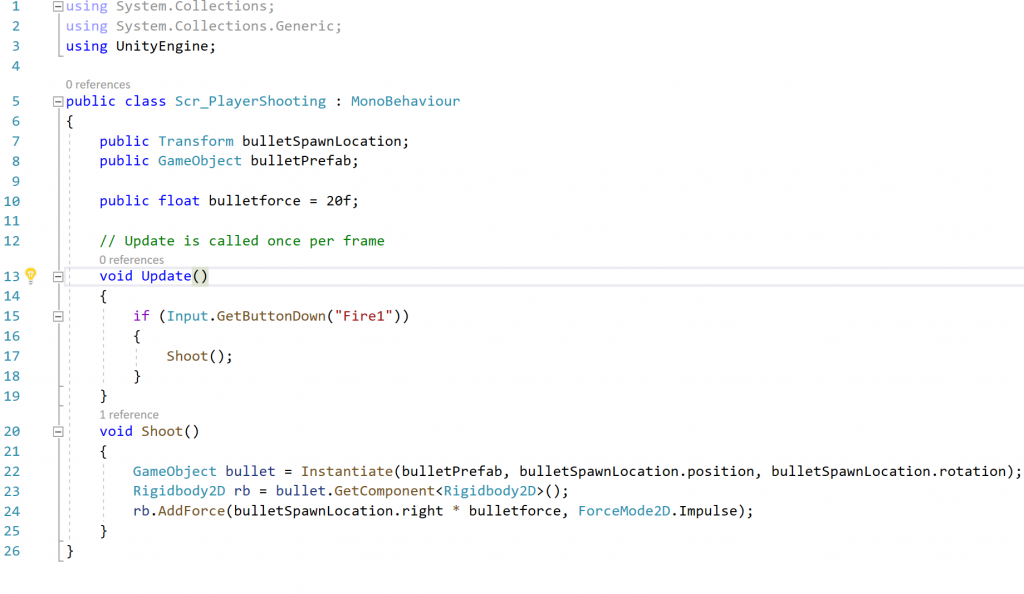
On this day I added my arrow which the player will shoot enemies with. I created an empty which Put an arrow prefab into and then made a script which would take care of it all, this is pictured below:
I also added some music to the game, I started by adding main menu music so that the player is greeted by a Viking style of music. Below is a short snippet of it:
After this I acted upon feedback which I got during my quality assurance testing phase, the 3 people that I shared the game to all brought up that the player character got stuck often on the different blocks, I fixed this issue by adding one large box collider to an area of ground which could be covered by one and removed the other ground items’ box colliders.
11/01/21
On the final day creating the game, I finished up small parts of the final level and added a door which brings you back to the main menu at the start of the game, in addition to this I added a final section of enemies which are tasked with killing the player.
In this piece of work I manipulated a series of images to create a single image, I used adobe photoshop for this task and created a castle in the sky scene.
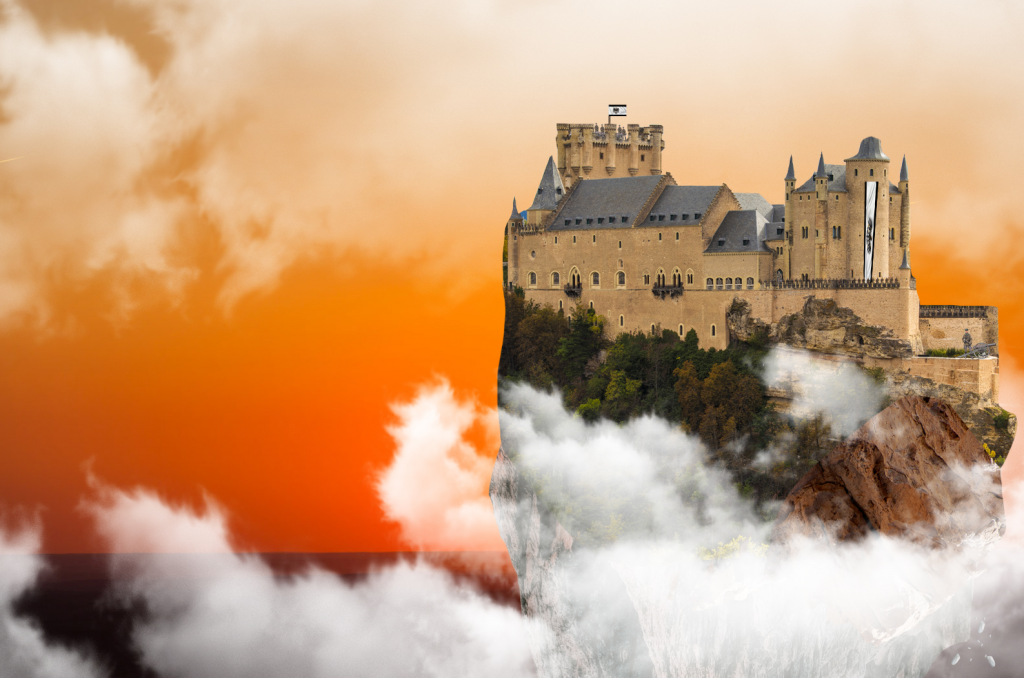
I used multiple images to make sure that the final result doesn’t look bad, and made sure that the seems were not visible. In the end I think this worked out quite well and didn’t look that bad.
In my game there is enemies, and these enemies are Anglo-Saxon Soldiers who defend the levels from the player. On this page, I will go through steps I did to create my final concept for my NPCs.
Firstly I created a rough sketch in illustrator about what I would want my Saxons to look like, along with the weaponry they would be using. I decided to go with a shield, and a sword. Furthermore I gave the Saxon a helmet which can be easily recognized as a Saxon.
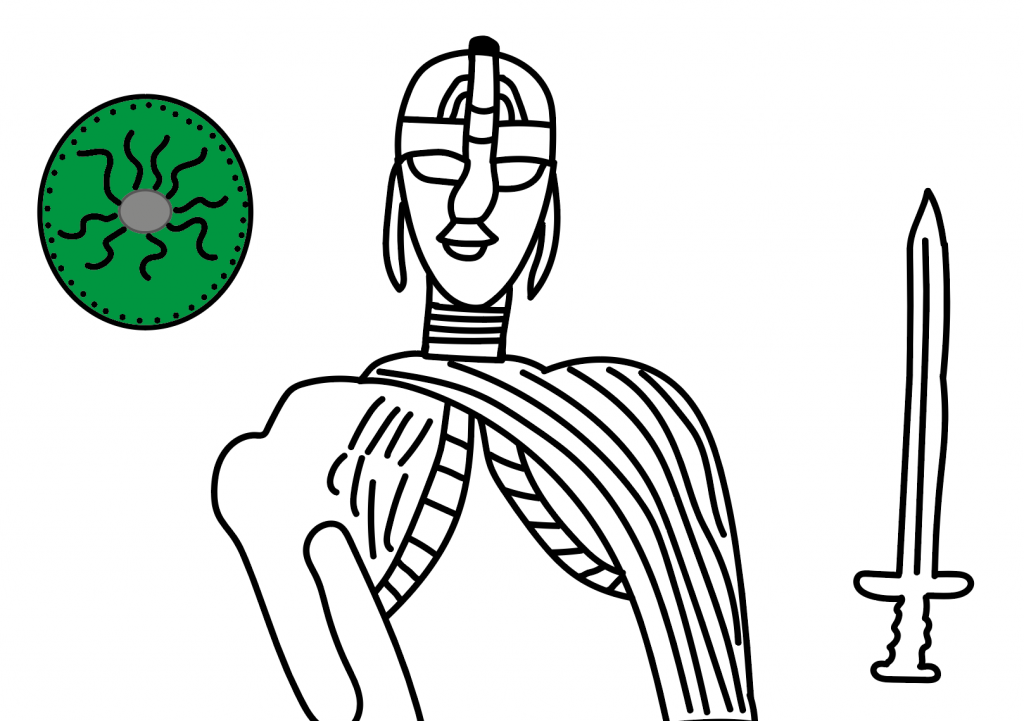
After this initial concept I made a second concept, in this concept I used shapes like my player character concept to enhance the quality of the concept and give it a new life compared to its previous self of being drawn.
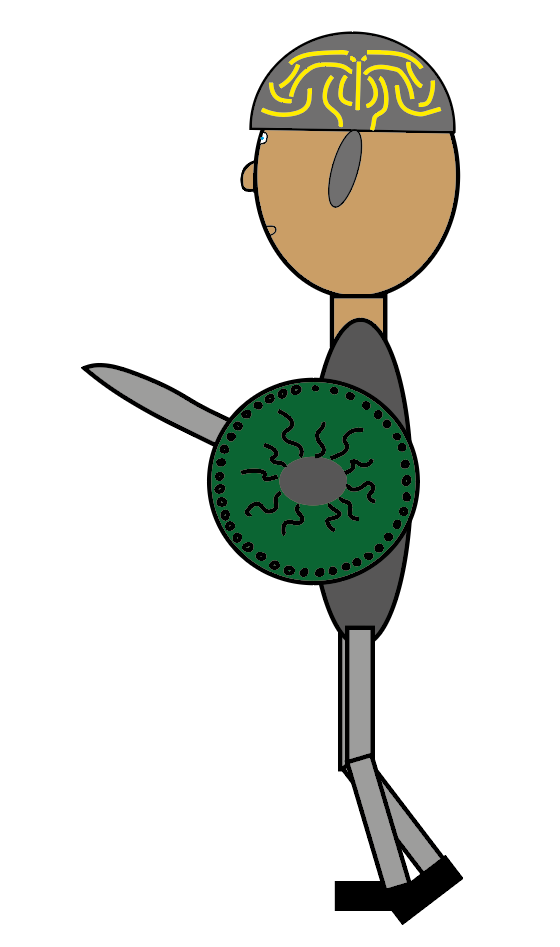
For my game I have created a concept piece for what the cover of my game could look like, it is not perfect, however it is a start which I could improve upon later down the line and eventually get a very high quality cover for my game.
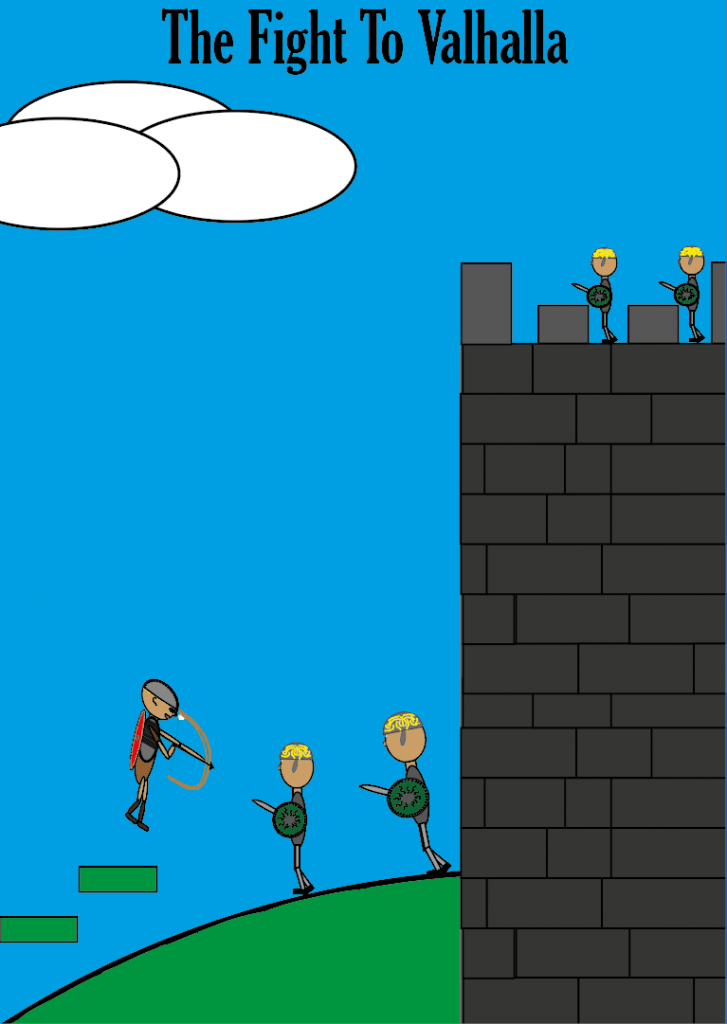
To create it I pasted my 2 character concepts into the page to show the viewer that this is what it is about and this is what they should expect when they play it, I also created a castle in addition to the two small platforming areas which highlights this game as a platformer. Finally I added the title and gave it a bold font and then added some clouds to clear up some white space and make the cover look a bit more lively.
On this page, I will go through the Environmental Concept Art that I have created, this will link in with the game that I am currently making too.
I created a beginning concept on illustrator, in this concept I just did a quick sketch about what I planned on having my first game world look like, in this concept I included a Viking Longship, grass, ground, a small building and also some spikes in a pit which the player will die from.
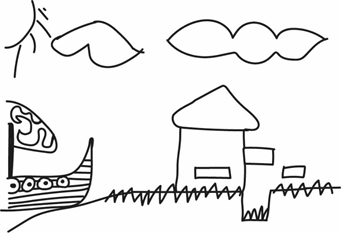
I only used the pencil tool for this as it was a quick sketch to see what I could come up with in a short period of time.
After this I decided to improve on my rough sketch by creating it with shapes so that it is a big improvement, and also helps cement my final idea for the game level.
To create this I used multiple different tools, the first being the pen tool to outline the ground areas and create a realistic looking slope which wouldn’t be possible with the shape tool for example. I also implemented a loot box into the concept too, this is to give it some diversity in objects, furthermore I added colour into this concept, I think this was a good idea because it fleshes out the image as a whole and can highlight different details of the image that couldn’t have been known in the earlier concept sketch.

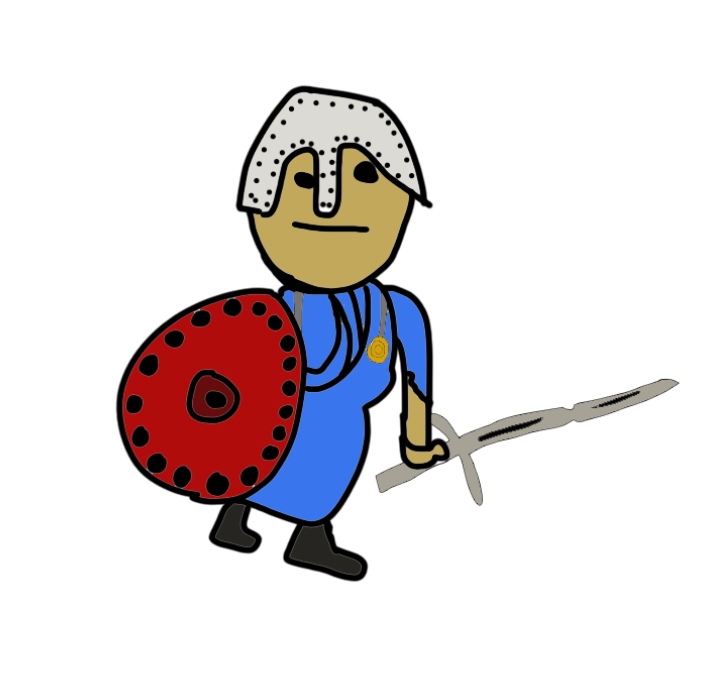
I began creating my concept drawings for my character by looking at different photos of Vikings and also looking at Weapons and helmets used by them. This helped me get a clear understanding about what I wanted to use on my character to create him and make him look like a true Viking.
Firstly I started off by creating the characters head, and I then gave him eyes, a mouth, and also a helmet with some bolts going around the outline of the helmet, I then moved onto the body where I created a torso which was curved and also was blue with a bit of gold on it. After this I added a sword and shield to it to see what he would look like with the weapons on him. This will not be in my final design though. After this I added feet to him and then the first concept was finished.
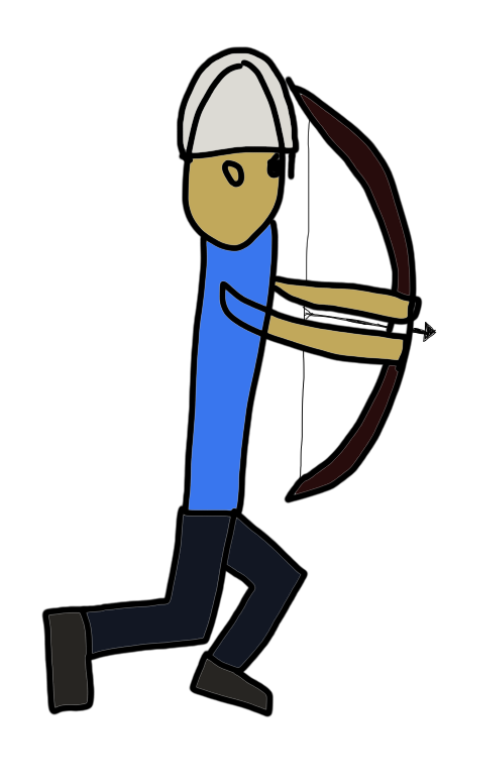
I created a second concept drawing for my character after this, this character involved a bow, and roughly the same design as the previous concept.
In this concept, i gave a side on view to my character and also gave him legs, instead of the previous concept having just feet extruding from the body itself. In addition to this I also added a large bow to the character which I decided will be the weapon of choice in my game. I gave him the same clothes and same helmet as the previous concept, but but it on an angle which is side-on.
For my final player character concept I created the character using shapes to make sure that my character looks good and is made to a high standard.
During the creation of this concept, I used a range of techniques to create the final look of the character. I used the shape tool which I used Ellipse and rectangle shapes, in addition to this I also used the pen tool, to create elaborate shapes which are not on the shape tool, I used this for the nose, and also the eye and ear, this is because I could make a better looking shape than what he shape tool could create.
In illustrator I have drawn with perspective multiple times, not always successfully, but this blog post will outline my trial and error in this way of drawing and will highlight what I did to become better at it.
Here is my very first attempt at perspective drawing in general, I used blender to create a small scene which i then cropped and brought over to illustrator. Then I drew over the objects in illustrator.
I feel like I could’ve done a lot better with this first attempt, however that’s what first attempts are for, and from this, i improved my skills in perspective drawing, and created far better drawings using the technique.
Moving on from the first attempt, I created my second drawing using perspective.
When I used the technique for the second time, I used the built in perspective grid which is in illustrators view menu. to map out the perspective lines. I used the pen tool to draw on the lines of the grid so that they were perfectly straight and look to be in the form of perspective and so that they replicate 3d. I found this challenging to start with, however I got the hang of it once I continued with it.
I feel this could be improved if I would’ve added more buildings and also colour to it too.
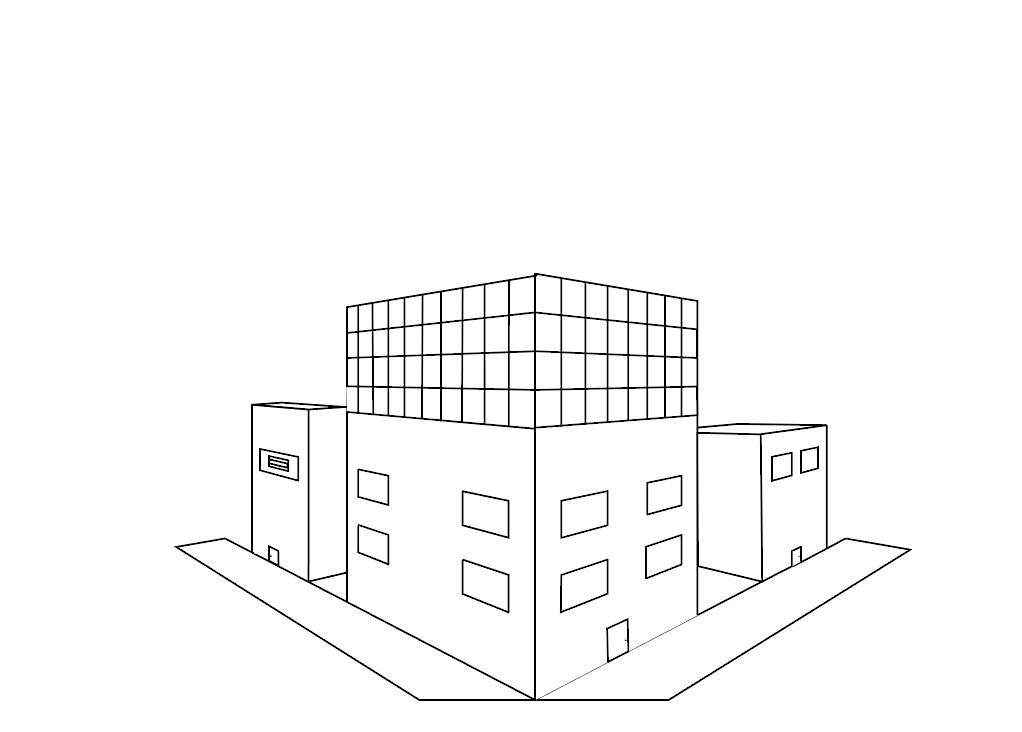
Finally I moved onto my final perspective landscape where I improved on both previous pieces of work by adding colour, and also more buildings which I wanted to.

I used the same tools as before, however this time i also used the shape tool which helped a lot in getting perfect sides and roofs to buildings, I anchored the shapes to each other to make them stick together and form a continuous building without any gaps or errors in the look of it. I think this worked quite well as the different colours going together create a nice atmosphere of a small built up area
To begin with, I opened one of Substance Painters sample assets:

After this I set up the baking settings for the model itself, firstly I clicked on the Texture Set Settings on the right side of the screen and clicked Bake Mesh Maps and got to this screen.
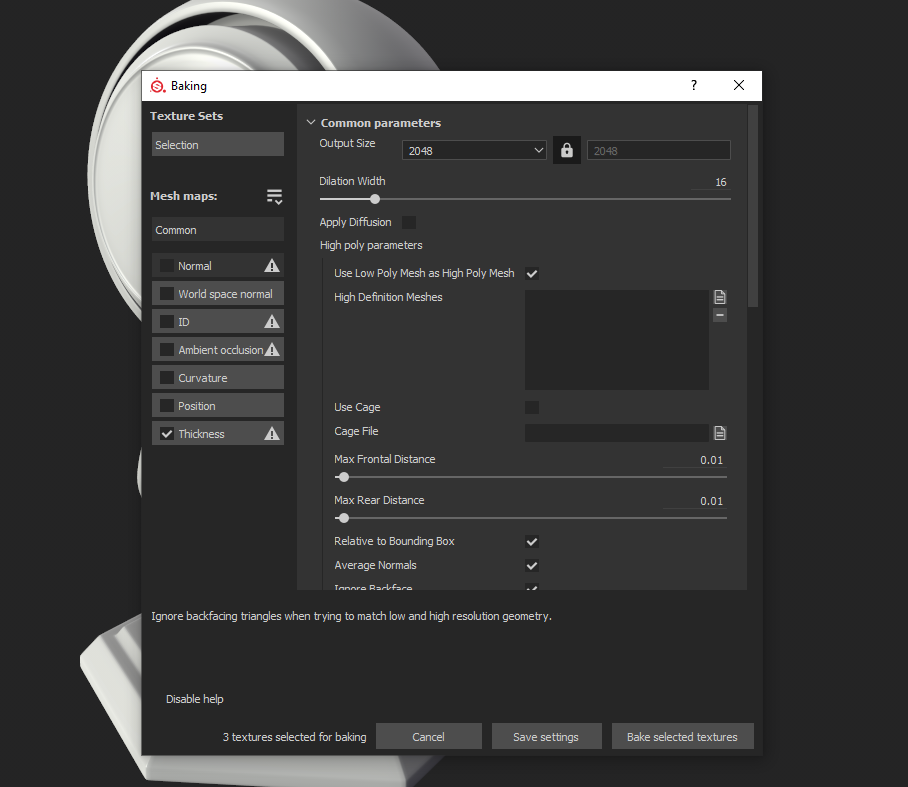
After this I set some settings up and then clicked Bake Selected Textures and it baked the object.
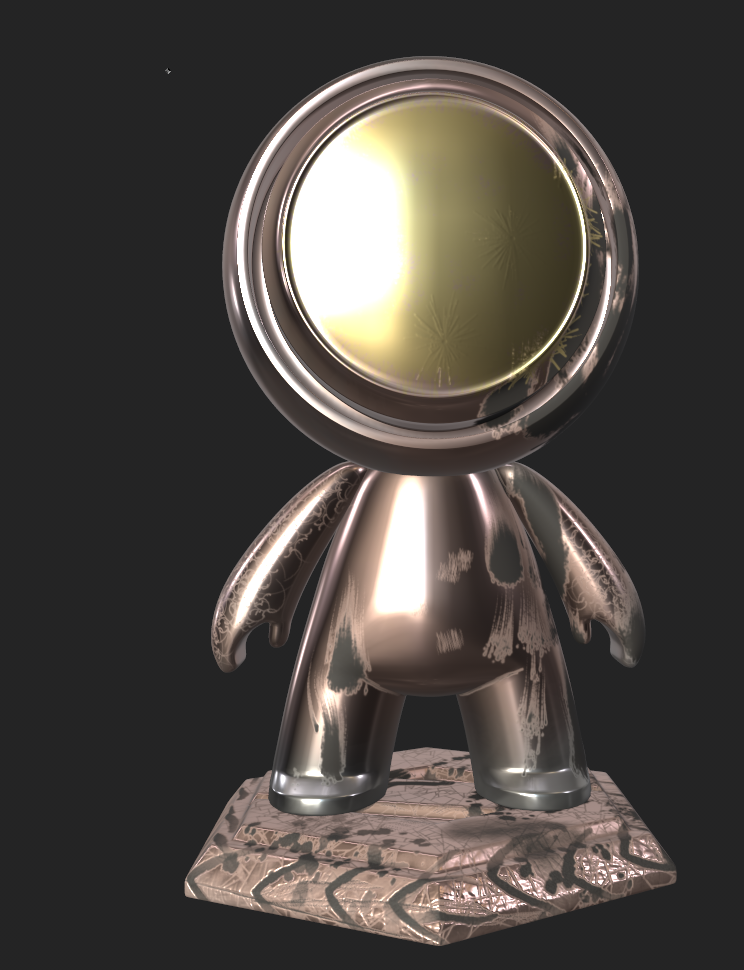
After I baked it, I began with a metal material for the bottom, I chose a pinkish metal, I also added texture to the base so that it doesn’t look perfect, and so it looks worn out a bit.
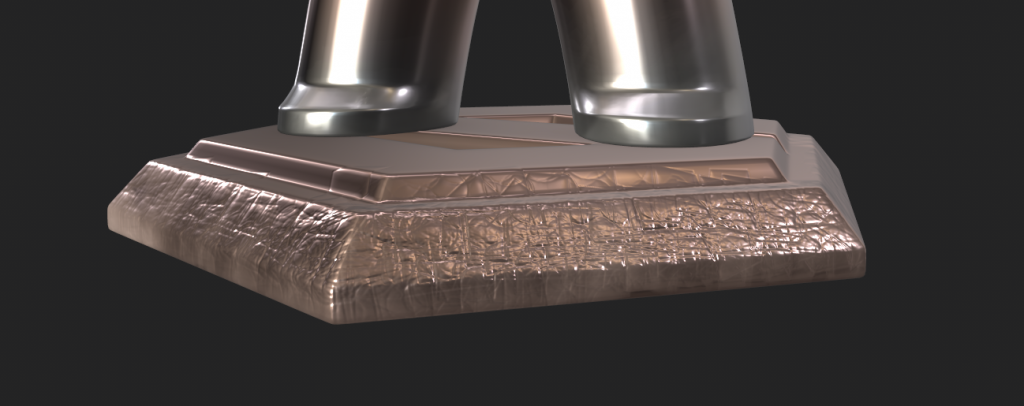
I decided that I wanted a different look to this, therefore I added extensive damage to the base and burn marks.
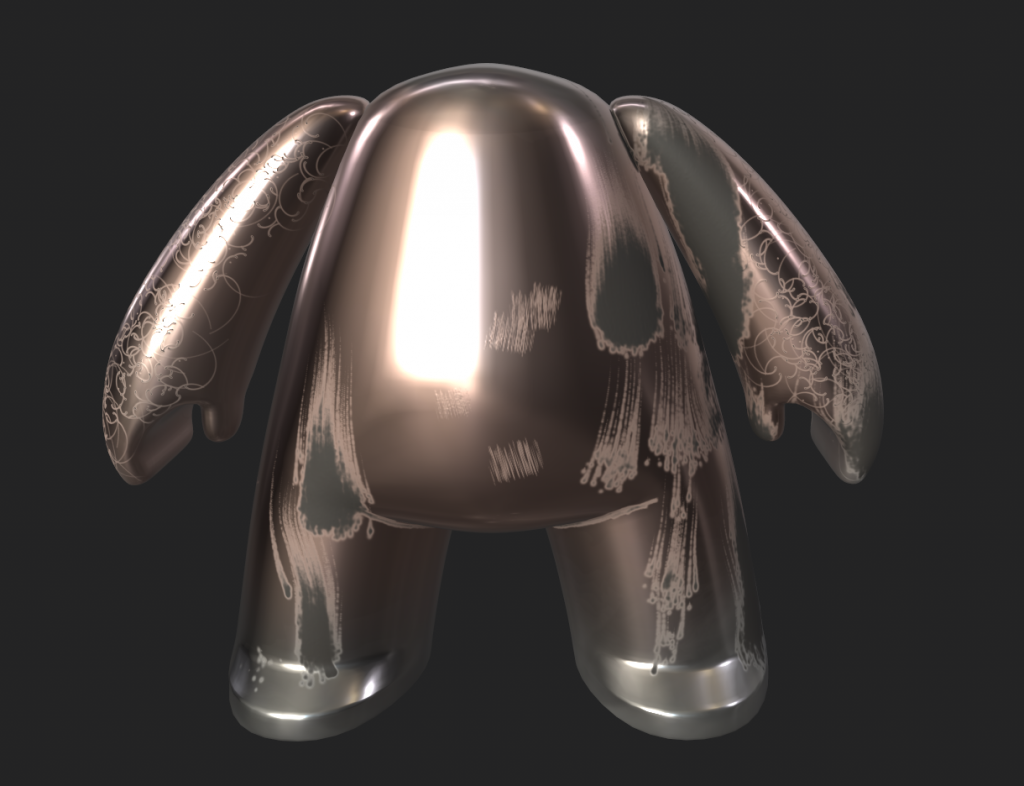
I then moved onto the body of the model, here I did similar things, and also added burning to the same side where the base was burnt from to make it look like it was continuing up the model. I added some nice designs to the arms which make them pop out.
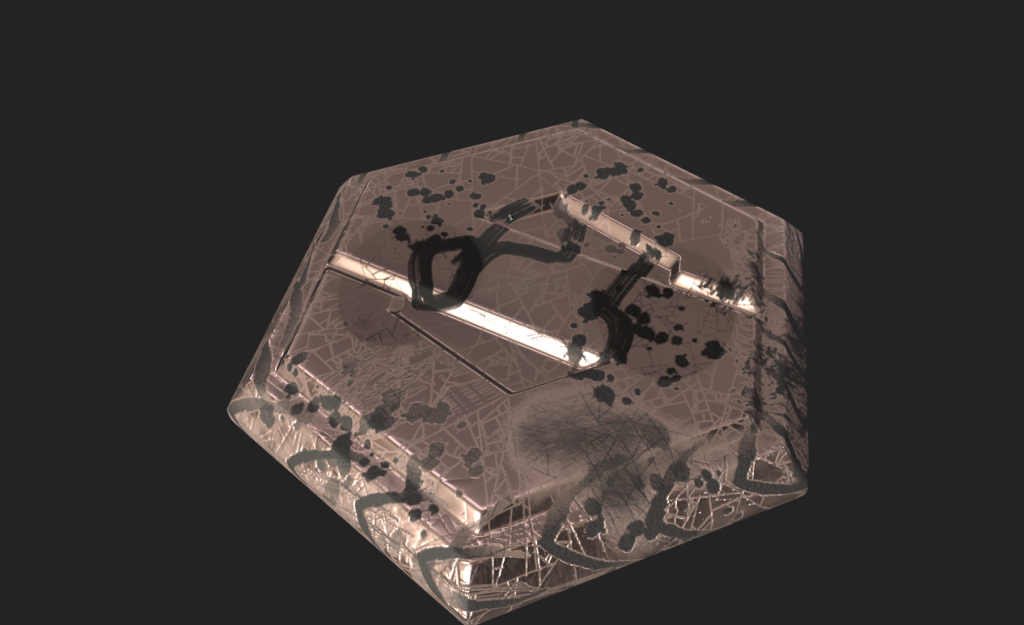
Finally I moved onto the head of the model, here I continued the burning pattern from the last two bits and also added some scratches around the helmet to show more damage to it.
In addition to this, I also made the front of the head look like a yellow ish glass material, I then added some glass cracks to make it not stand out compared to the rest of the badly damaged model.
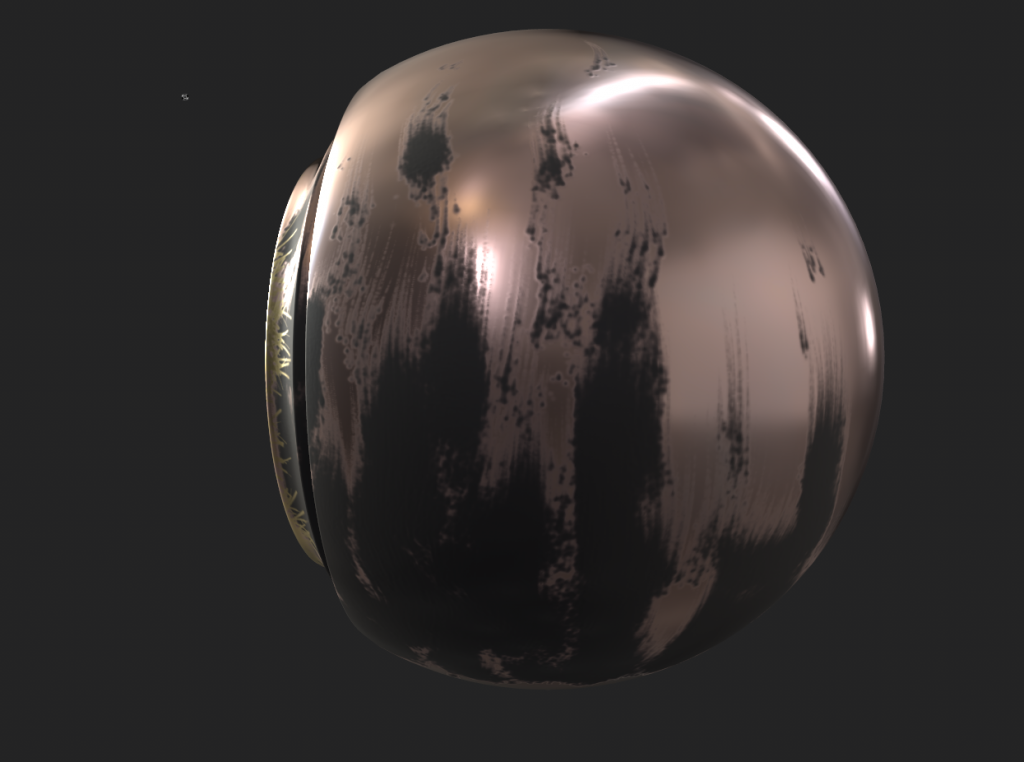
Below is the final result of the model after I used substance painter on it.

I found this task quite difficult when I first started, however I started to get the hang of it, and hopefully I can do better next time.