I chose to create Baby Yoda from the Mandalorian TV show using shapes, i used circles, and squares/rectangles to create, I also used the pathfinder tool to create shapes that are not in the shape selector, I used this on the mouth and ears.

I chose to create Baby Yoda from the Mandalorian TV show using shapes, i used circles, and squares/rectangles to create, I also used the pathfinder tool to create shapes that are not in the shape selector, I used this on the mouth and ears.

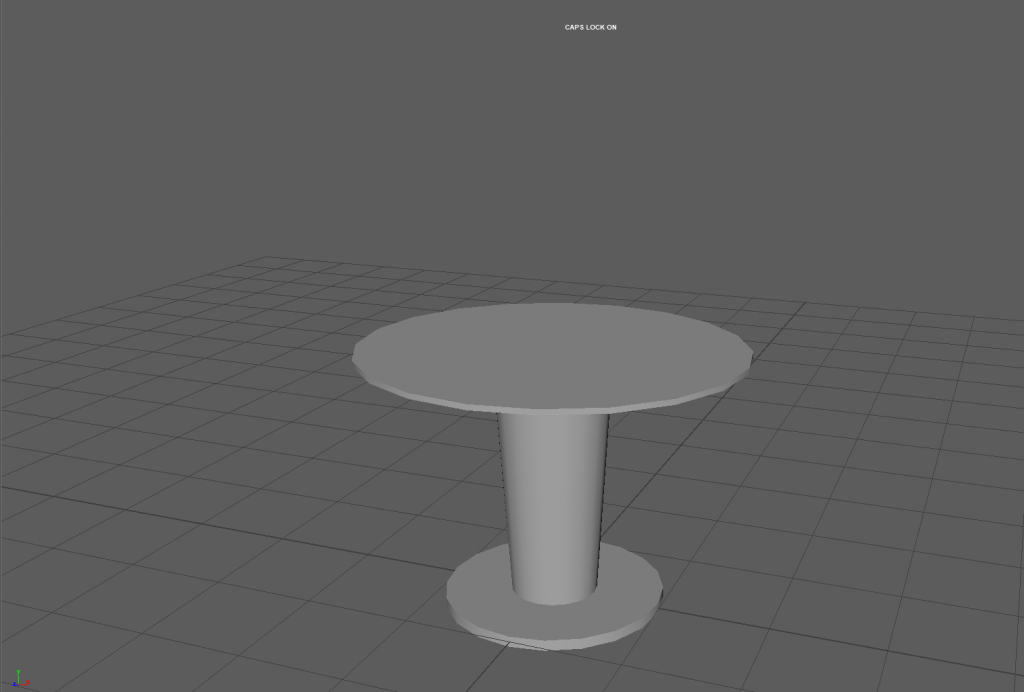
To start with I began by modelling a table in which my vase would stand on top of.
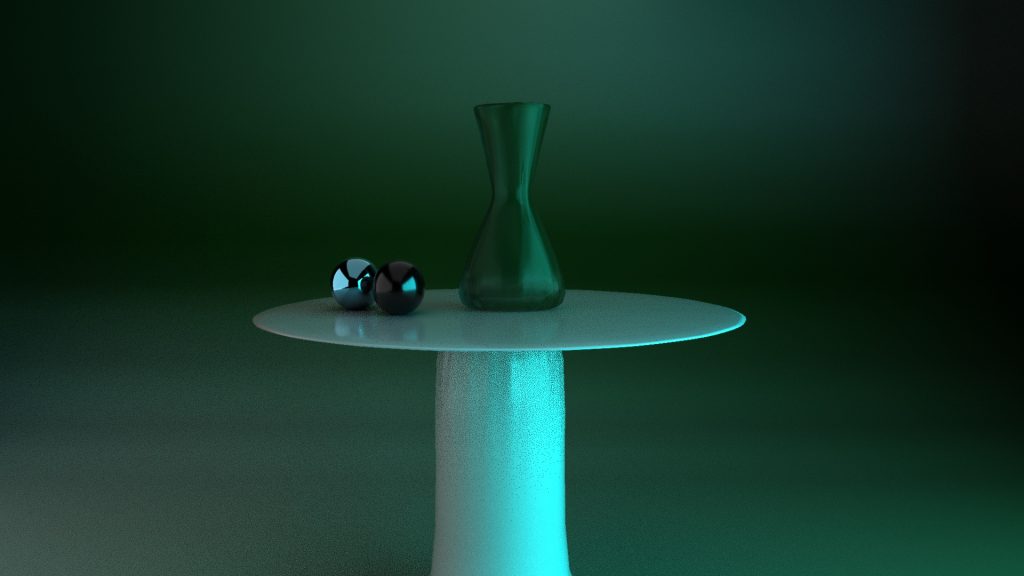
After this i created a vase using loop cuts, the extrude and offset tools, i then moved it down to the table so it would look like it is sitting on it.

I then created 2 small spheres out of a cube which I increased the subdivisions on so it would appear to be a sphere, and after that I created a background with a flat plane which I extruded an edge on and beveled the edge to create a curve on the object.

I then moved onto creating the camera for the scene and then I made sure it was focused on the vase and table, after this I locked the camera in place so that it wouldn’t move around without me wanting it to.

I then began setting up my lighting for the scene by creating 3 Ai Area Lights which are left, right and to the top of the objects in the scene, this creates a nice lighting enviroment, after this I added the Ai surface material to the objects to make them look nice in the lighting.

I created the glass after this by turning the transmission on the vase object to 1 and by putting the roughness to 0.2 after this I changed the colour of it slightly to give it a greenish tint and then changed the colours of the lights to a blue to create a nice atmosphere around the scene itself.

Finally I rendered my scene and here is the final product.
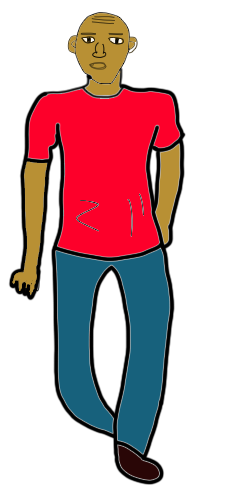
Here is my first attempt at drawing in proportion, in this piece of work I aimed towards creating a simple character drawing which fits proportions well, i think i did this well because the head is well within proportion to the rest of the body, and all parts of the person go well together and nothing looks too long or short.
This week I started to work with UV’s within Maya, to start with I created a simple cube which I added a texture to and edited the UV to map the texture to the box, I did this by stitching the edges of the cube together within the UV editor, after this I scaled it down to an appropriate size and then reorganized the vertices to line up perfectly with the texture behind it, once I was done with this I pressed 6 on the keyboard to show it textured and this is the final result.
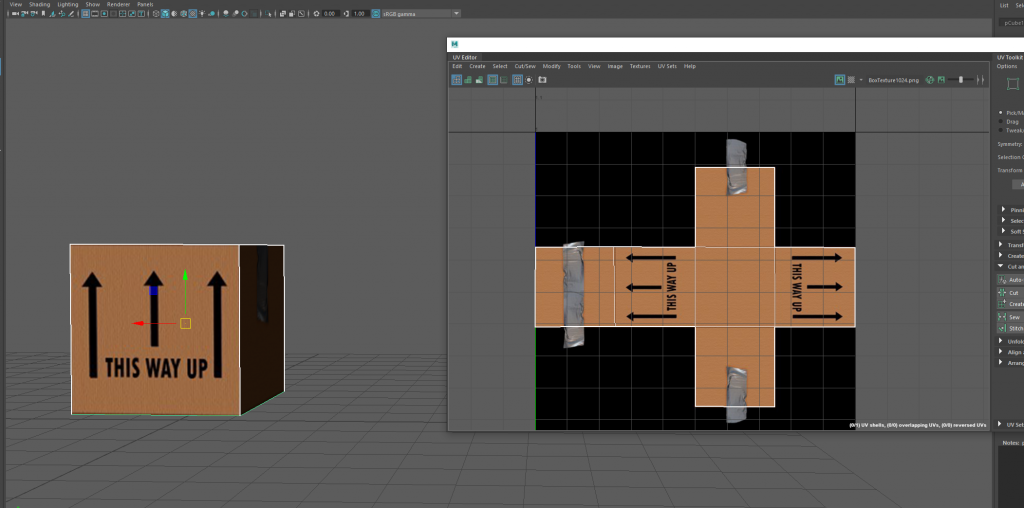
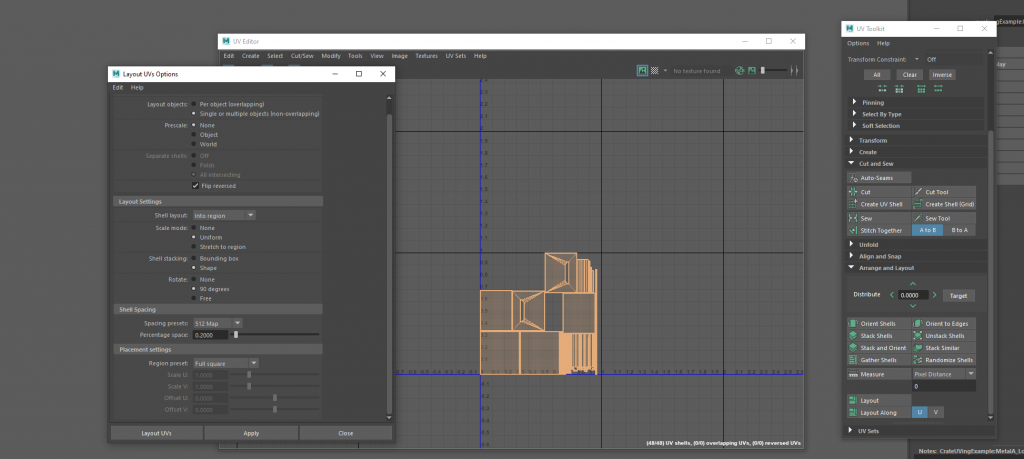
For the low poly crate UV task I began by automatically unwrapping my crate so that everything is visible and not over the top of each other.
After this I went onto sew some edges together where I encountered a few errors due to a few dropdown menus not appearing limiting me from doing any more tasks.
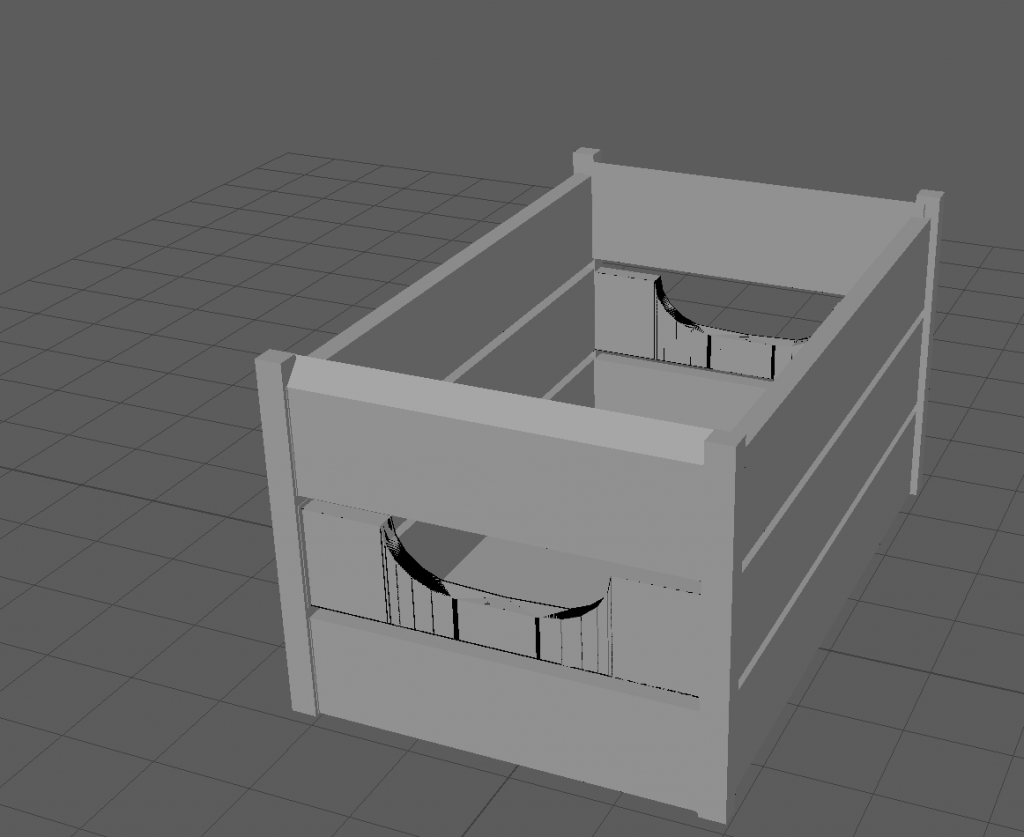
For my 3d crate I started by making a cube which I stretched out and copied 6 times to make the sides, then I copied those and stretched those out so I could make the longer sides of it.
After this I then created a cylinder in which I then deleted most faces except one side of the quarter cylinder which I extruded and brought downwards and left to create the handle area, I then deleted the top half only leaving the bottom bit and side arch in place.
After this I mirrored the object and shrunk it down to the correct size of my planks already on the crate.
Finally I added 4 more cubes and extruded them upwards to act as support beams for the crate so it doesn’t fall to bits.
My group has chosen the theme of an American Diner, this is good because there is a huge range of items which can be modelled from this type of environment as there are a lot of different types of these diners all across America.
Below is a list of the assets which I will create.
Knife and fork.
Pan holder .
Fridge.
Sink.
Coke glass.
Bar cash machine.
Drink holder.
Vending machine.
Bin.
Deep fryer.
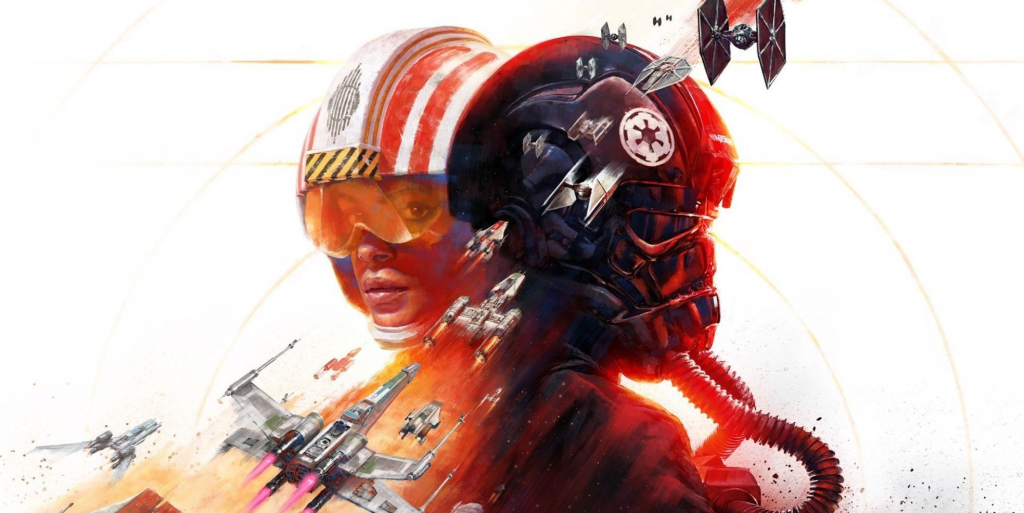
Star Wars Squadrons is a brand new simulation game set in the star wars universe, in this epic new addition to the star wars universe the player is dropped into the events half way through Star Wars A New Hope.
In this game there is a single player campaign, this lasts for a good 10 hours which is jampacked with intense dogfight and fighter scenarios ranging from the galactic empire finding a new capital ship, to a graveyard of imperial star destroyers, headed by the rebel alliance.
The game also has a multiplayer section in which the player can play in 2 modes, fleet battles which is a ranked lobby similar to CSGO, and an unranked dogfight mode where players can battle it out to get their team to 30 kills, the game has a progression system which is high quality and has many rewards such as glory which the player can use to customize their starfighters and pilot outfits.
Overall this game has blown me away in many ways, as I’m a huge Star Wars nerd and also love the space aspect and space combat involved in it.
To start with I started off by drawing the look of a table that I wanted in my scene, I did this using the EP curve tool.
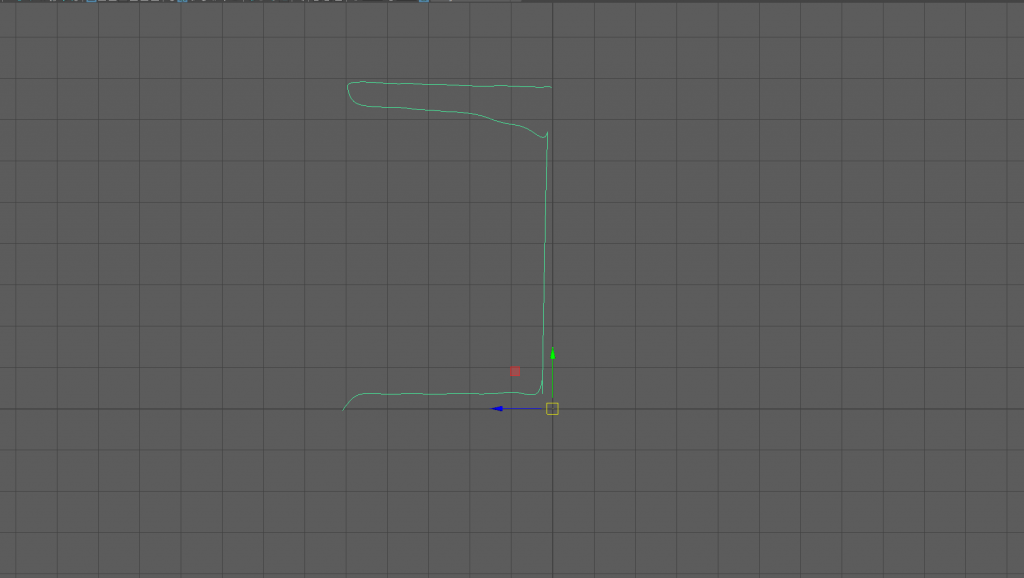
After this I then selected the curve and clicked on the revolve tool to make it a mesh. Once I did this, the object looked like a table. After this I rescaled it to make it look more like a table, and extruded a small bit of it.
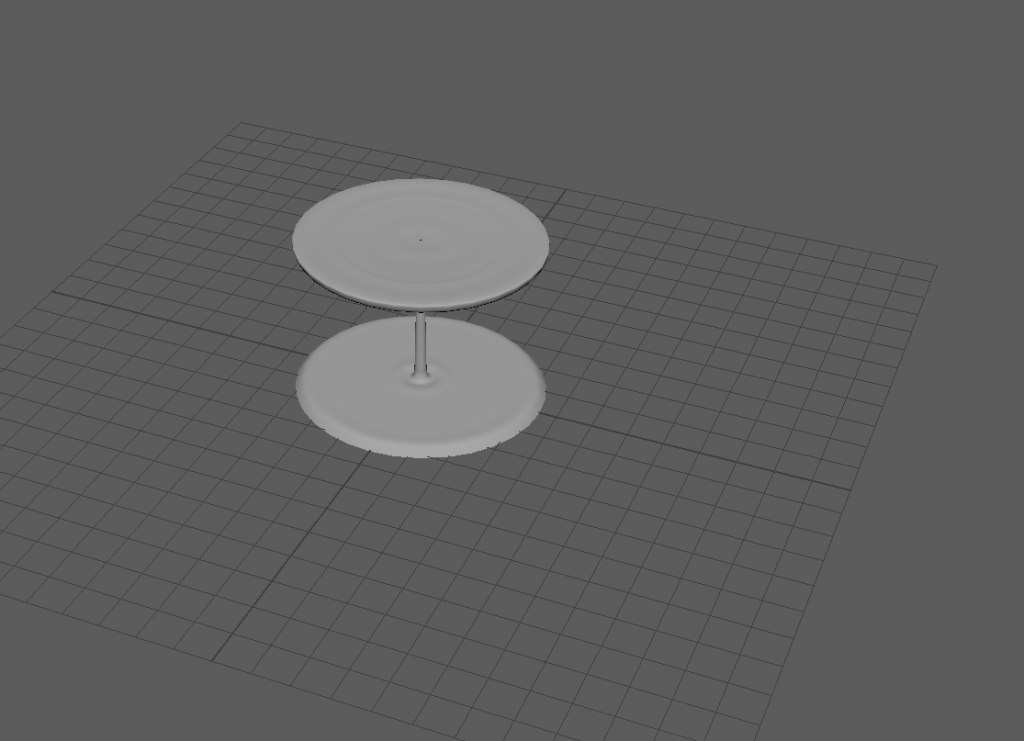
Once my table was completed I began to work with ncloth to create the cloth layer on my table. To start with I added a circle and scaled it up to just a bit larger than the top of my table.
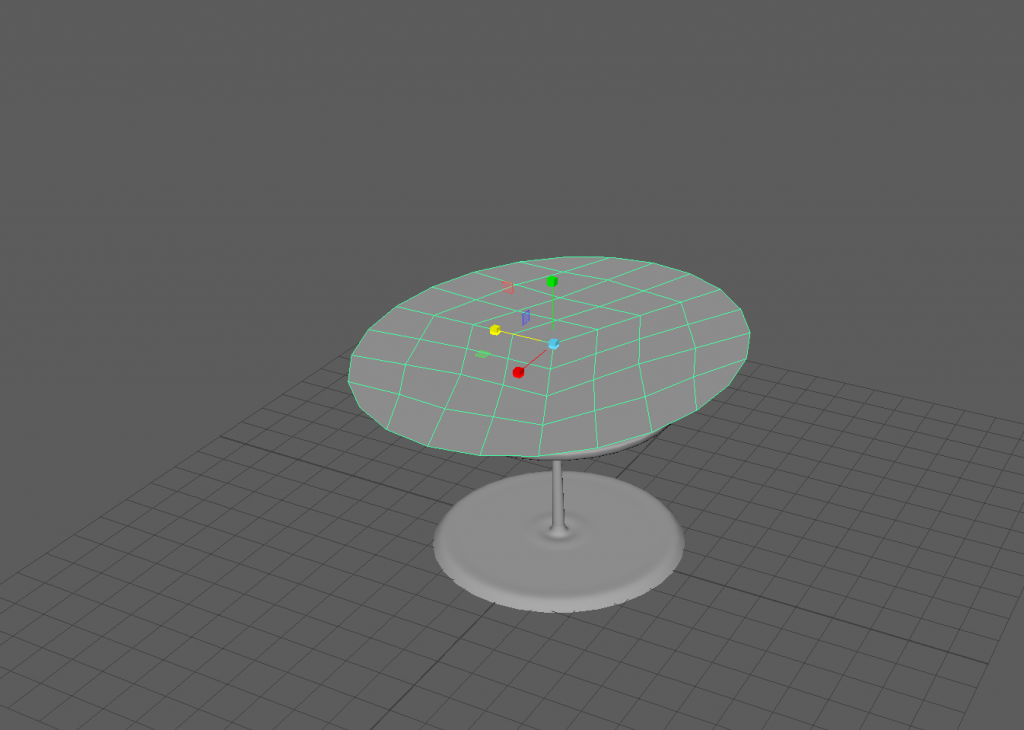
After this I gave my table a collider and my disc ncloth behavior so that when I press play on the timeline, the cloth will fall and behave like a normal bit of cloth.
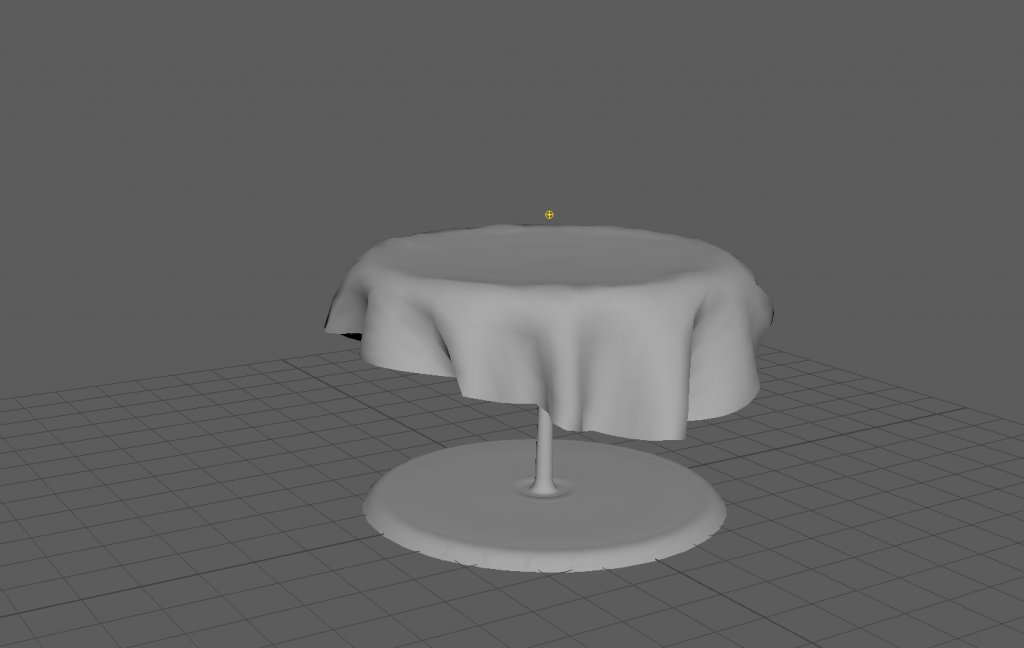
After this I created a sphere and then cut it in half to create my bowl for my fruit.
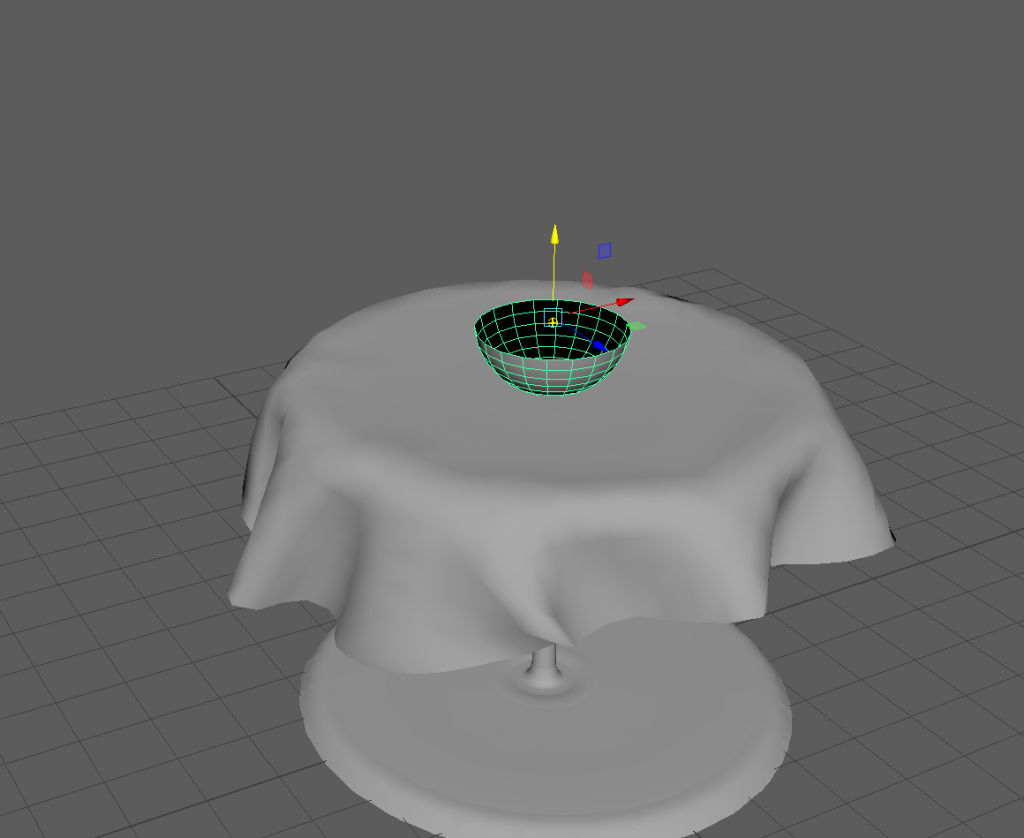
I then created spheres which are to be my apples inside of the bowl.
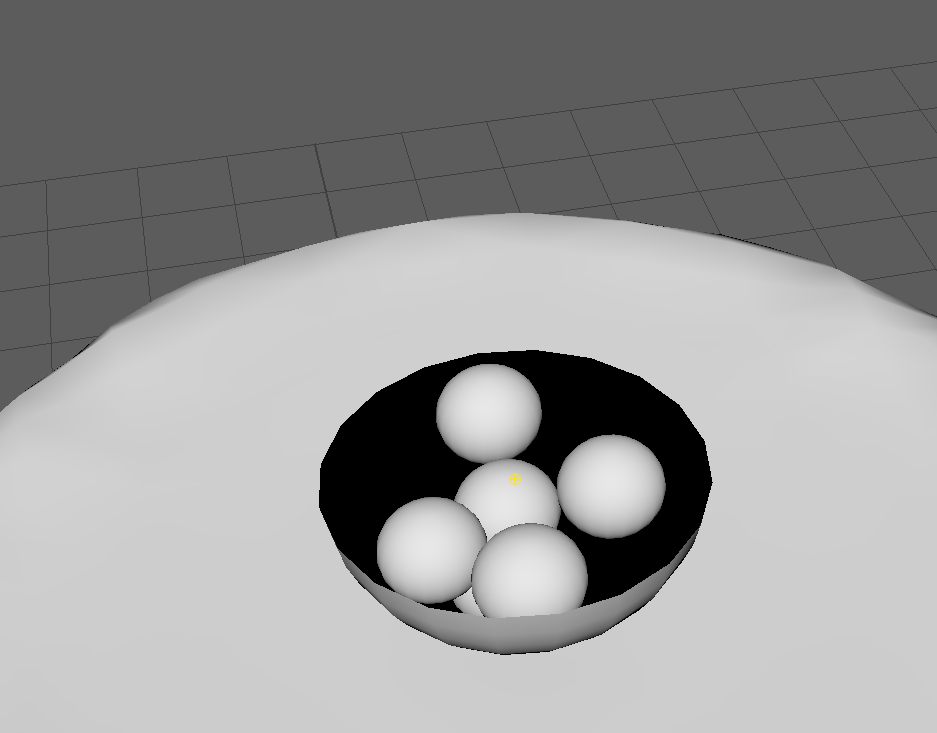
After this I then proceeded to add materials to each of the objects, I did this by right clicking on the object and clicking “assign new material” after this my scene was completed with textures added accordingly.
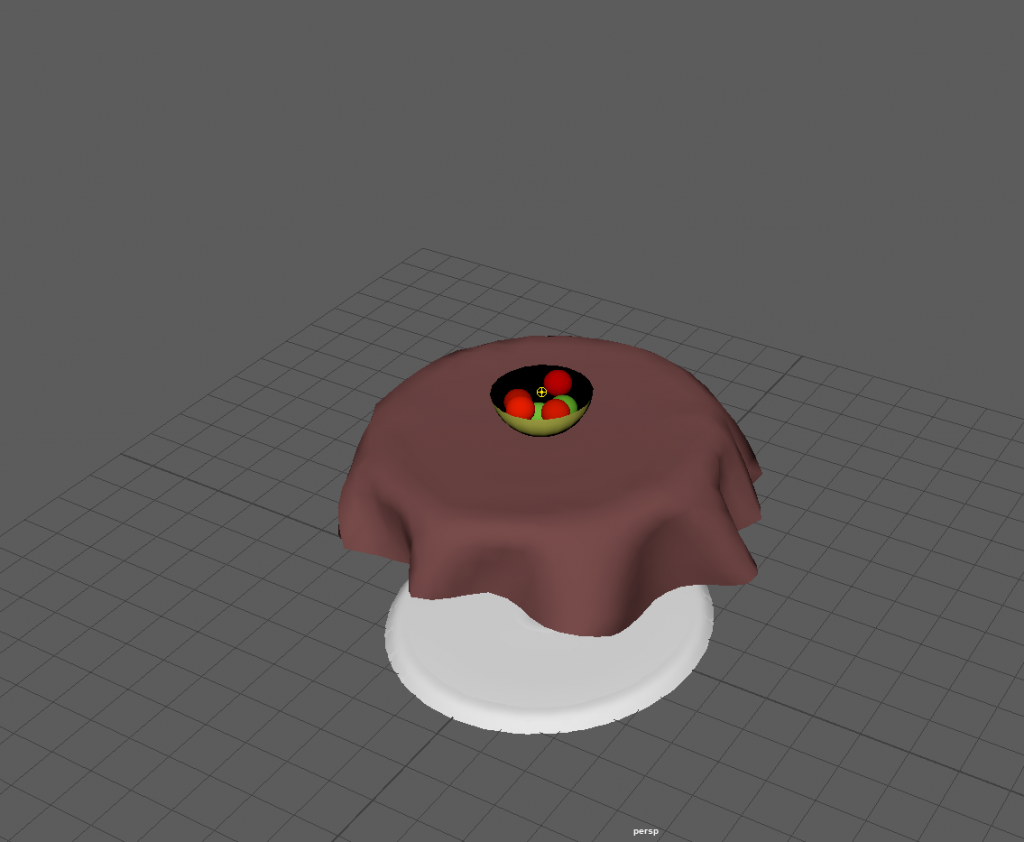
Here is the final look at my scene.
I have made my mug in Maya using several different tools like extruding, loop cuts and mesh editors. I created the mug using 2 shapes, a cylinder and a torus.
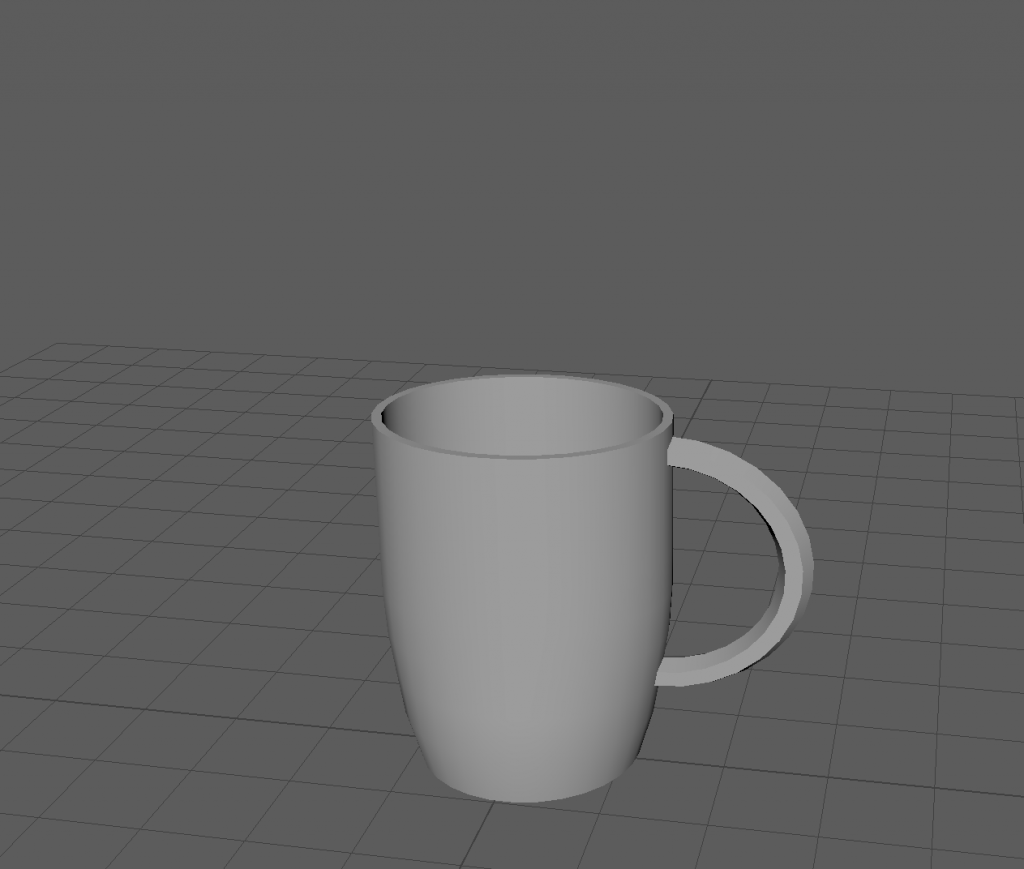
To make the mug I used a cylinder and first I started off by removing the face off the top and extruding the shape outwards a little bit to make a curved bottom of the mug, then I extended it upwards to make it longer.
After this I made a torus and cut it in half so it would resemble a mug handle, after this I changed the subdivision height and width to make it look more realistic, after this I elongated it so it would look better, after this I then attached it to the side of the mug by connecting it in the “edit mesh” tab. After this it was completed.
Welcome to WordPress. This is your first post. Edit or delete it, then start writing!