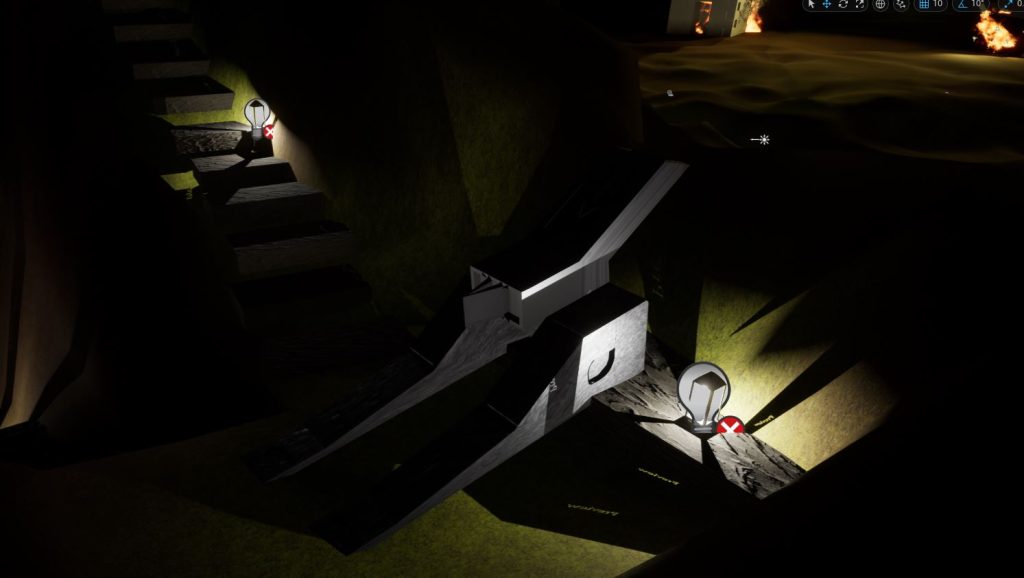
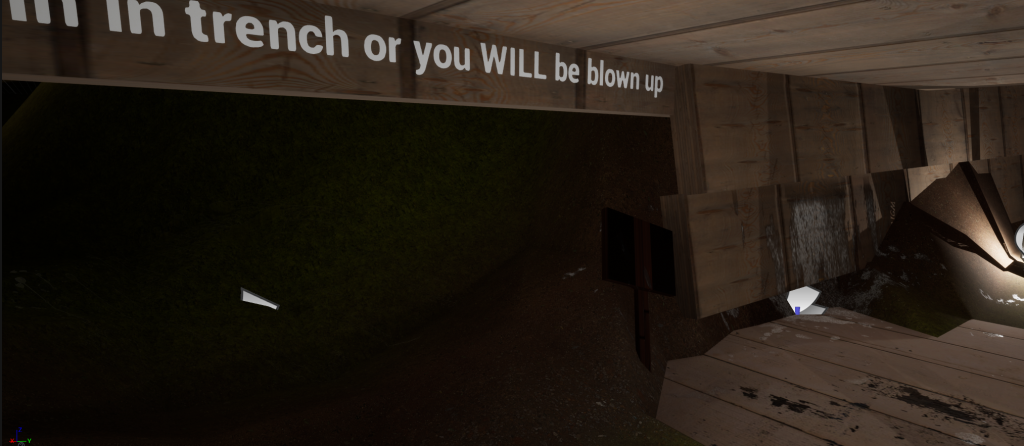
In my level there is an “endgame” to it, this being when you step away from the trench and travel 20 ft. then you will be killed by an explosion from an artillery shell, I’ve done this to stop players leaving the playable area without a hard border being visible.
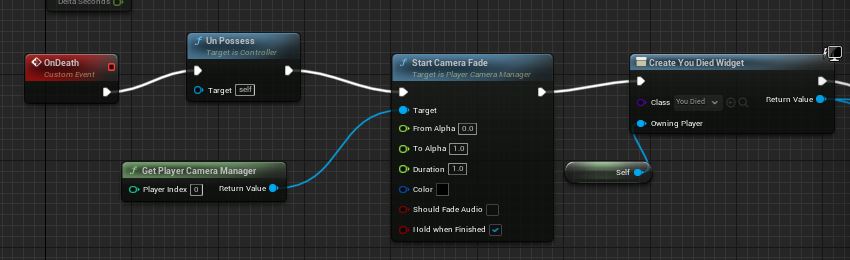
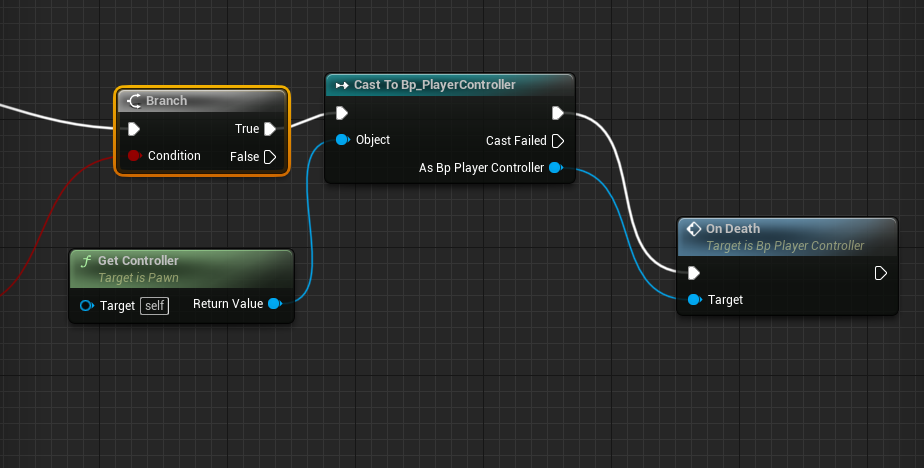
To do this I used several blueprints the first being an “on death” blueprint, this highlights what will happen if the player stands outside of the trench and playable area. Below are some images of this blueprint.
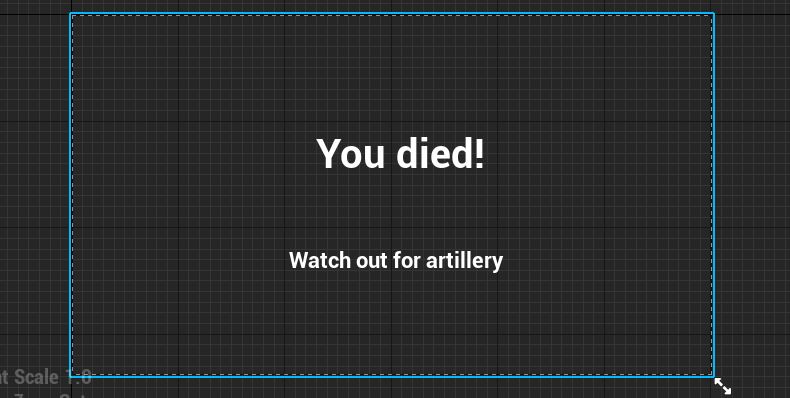
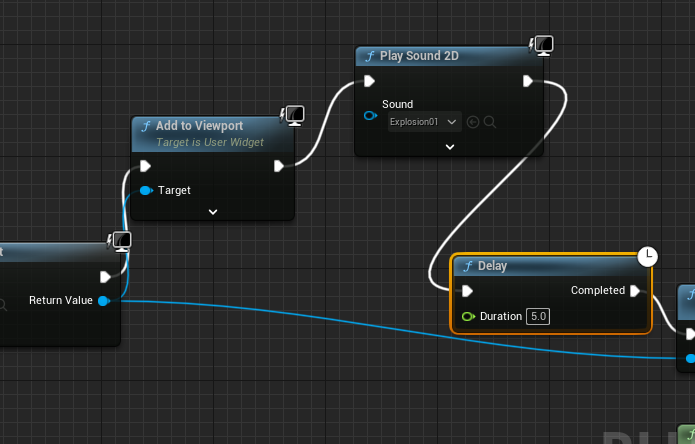
In this image it shows that once the player is killed then the character will be unpossessed and the camera will be stuck to one location. After this the camera fades into the text which says “You died”. This is done by the widget blueprint that i created, shown below.
These 2 images display what the widget is like in the editor, and what it looks like when playing the level.
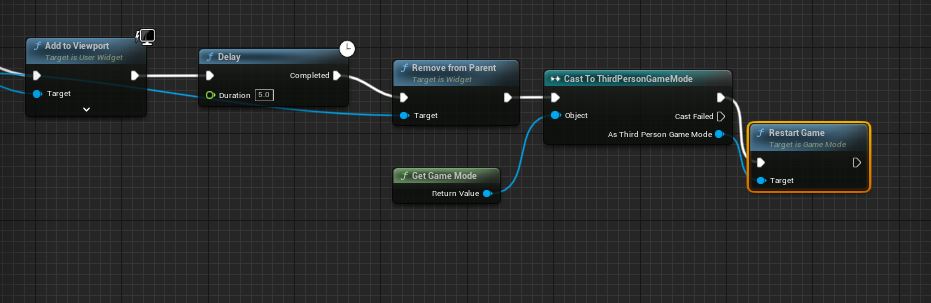
Here is the second part of the blueprint the first part shows the text widget on the players screen, without this there would just be a black screen. Then after this there is a delay, this is for 5 seconds as that is how long I wanted the death screen to appear for, after this it is removed from the parent and the level is then restarted.
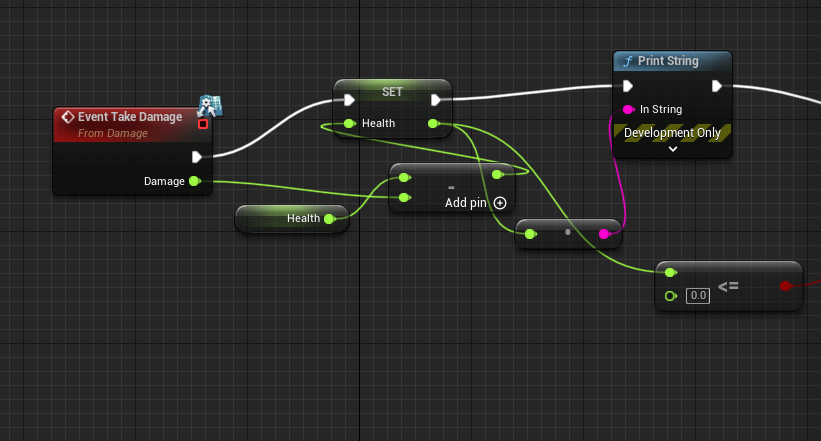
I also gave my character some health, I did this so that the death screen would work when you walk into the box trigger. Firstly I outlined how much health my character was going to get, this being 100. I then made it display itself in the game itself, this is in the top left of the game screen. This part of the blueprint is below.
After this I branched it and casted it to the Bp_playercontroller that I created earlier.
Finally I set the damage of the box trigger to be 110 so that it will outright kill the player when they step foot inside of it. This is shown below.
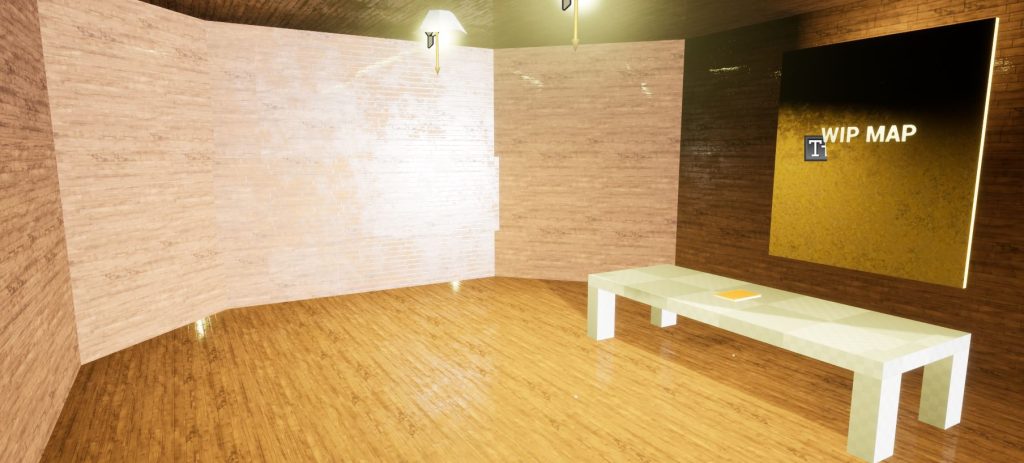
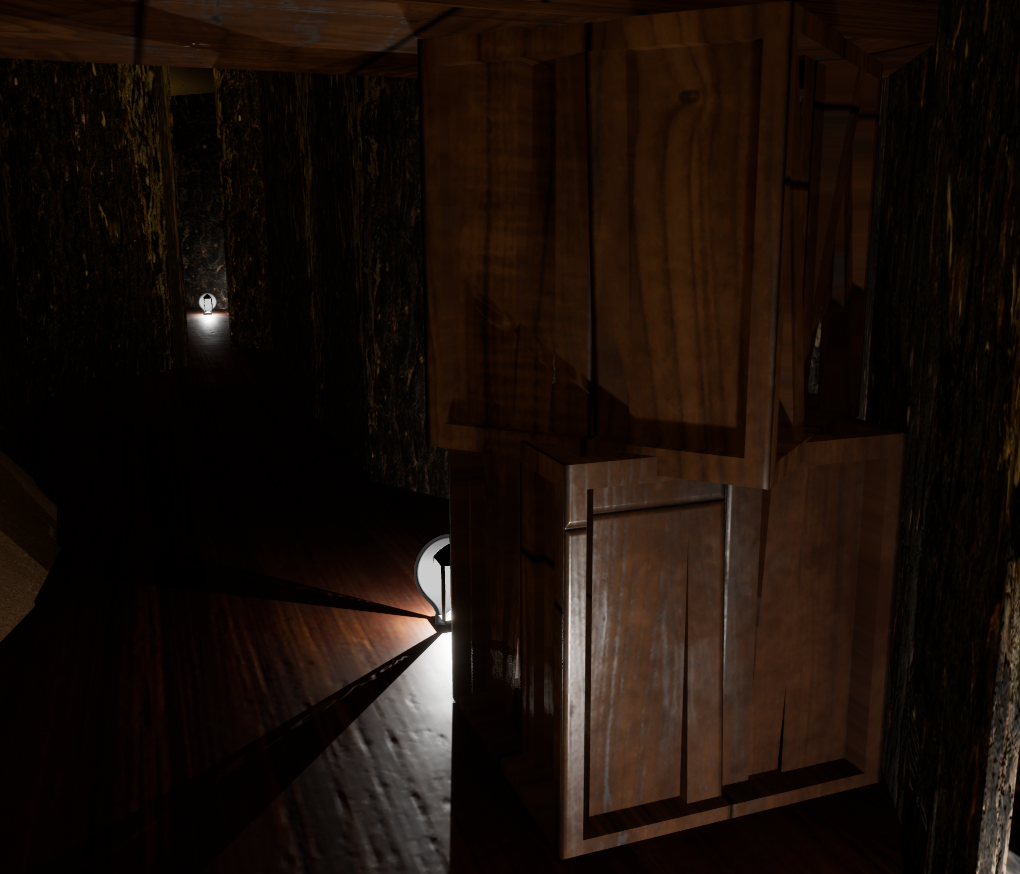
My bunker has quite a simple design, so I decided to go with some simple textures for my walls etc. The first texture is a wood plank texture which covers the vast majority of the walls inside the bunker, this is a brown type of wood and goes well within the bunker.
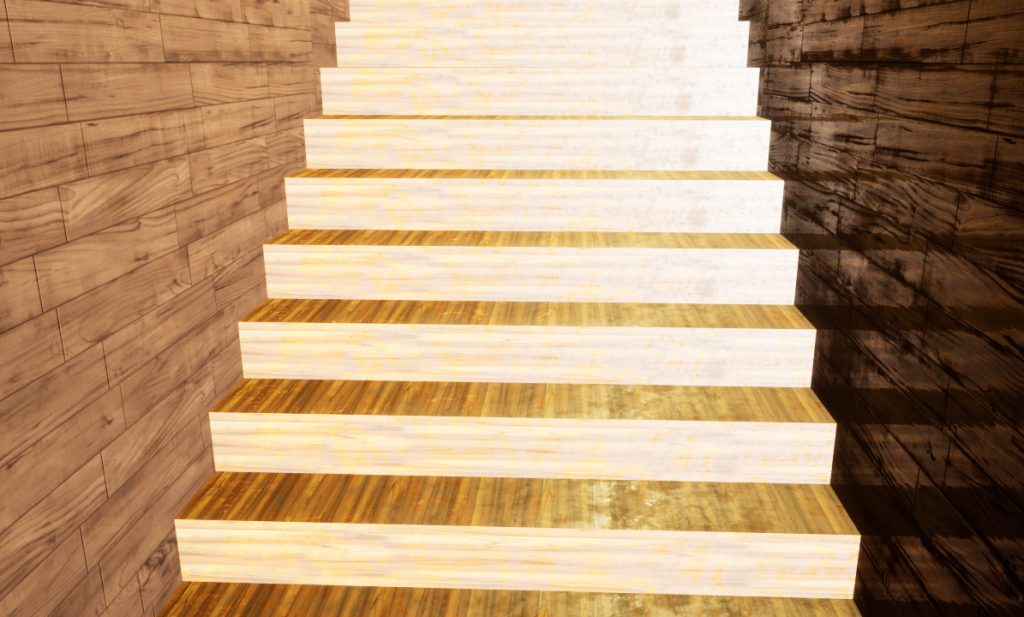
Secondly I used a different texture for the stairs, this was done so the player can tell the depth between the floor and the stairs. The texture was a brighter version of what the walls and floors use.
Finally i used a stone material for the front of the bunker where the two cannons are located. I did this to give a stark contrast between the “living areas” and the fighting areas.
Once I finished the landscape texturing and trench texturing I moved onto adding my premade assets into the level. I did this by importing them into individual folders to make sure they are in an orderly fashion. Below are images of each of my assets inside my game level.
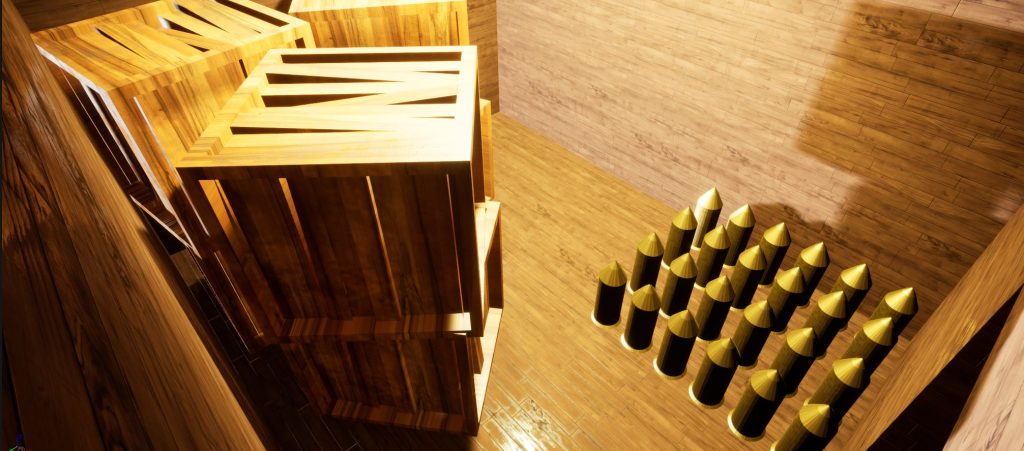
Box
Here is the box that i created, i have used this asset in multiple locations of my level, the first being in this screenshot within the underground tunnel where I added 7 in total for players to crouch under aswell.
I also added them inside the bunker next to the shell model that i made
Shell
Here are the shells that I created, I added these into my bunker within the ammo room as that is where they would be in real life, I also did this to fill out my level and make it less empty and to create an atmosphere that people would live in and work in.
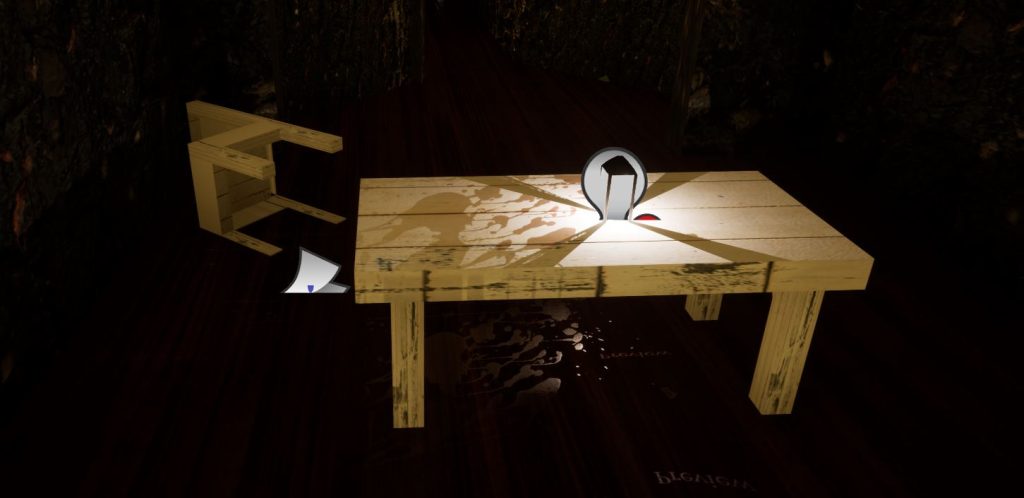
Chair and table
I added the table and chair to the underground tunnel right at the entrance, I also included blood on top and around them to bring a sense of dread and suspense to the level.
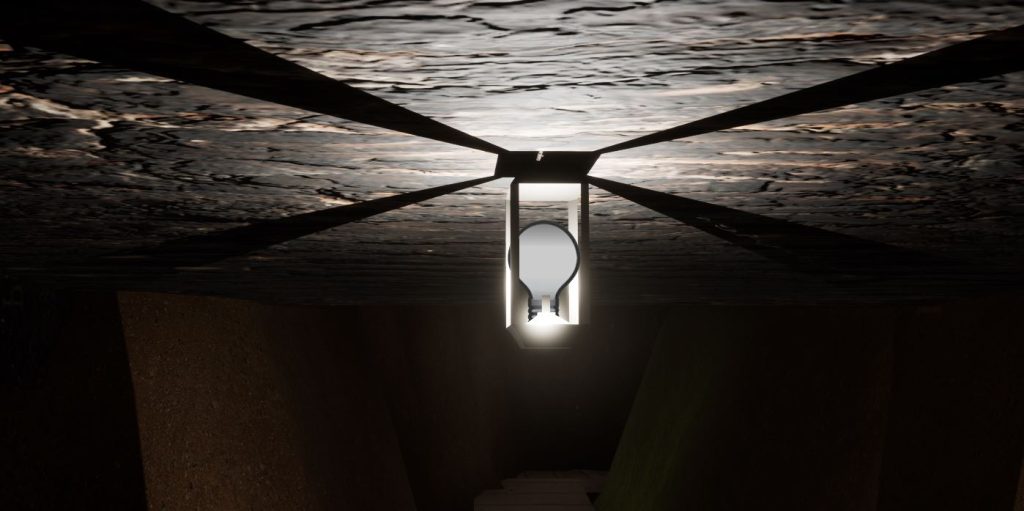
Lamp
I added my lamp all around the level to light it up, I did this so I didn’t have to rely on spot lights all around in the sky, when in reality they wouldn’t exist.
Cannon
The cannon is located in 2 different areas of my level, the first one being an overlook position over the trench, and the second being inside of the bunker where there are 2 of them in firing positions.
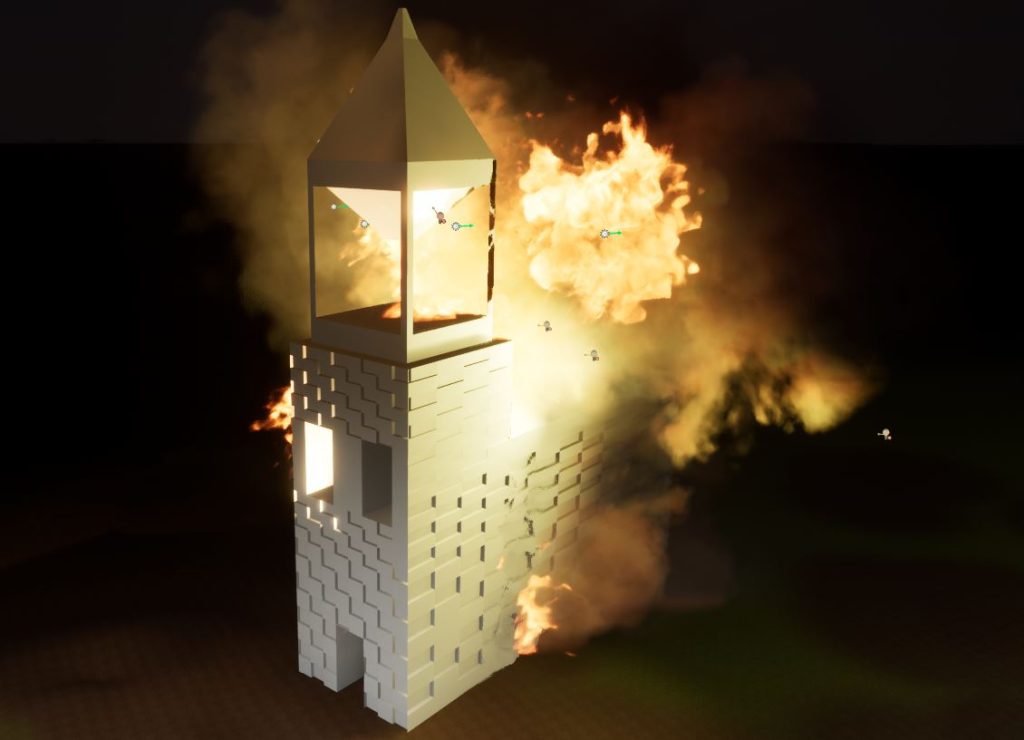
Church
My church is the main weenie of the level as its well lit, on fire and quite large, it is located directly in front of the trench which makes the player want to go over and have a look, despite the danger of being blown up.
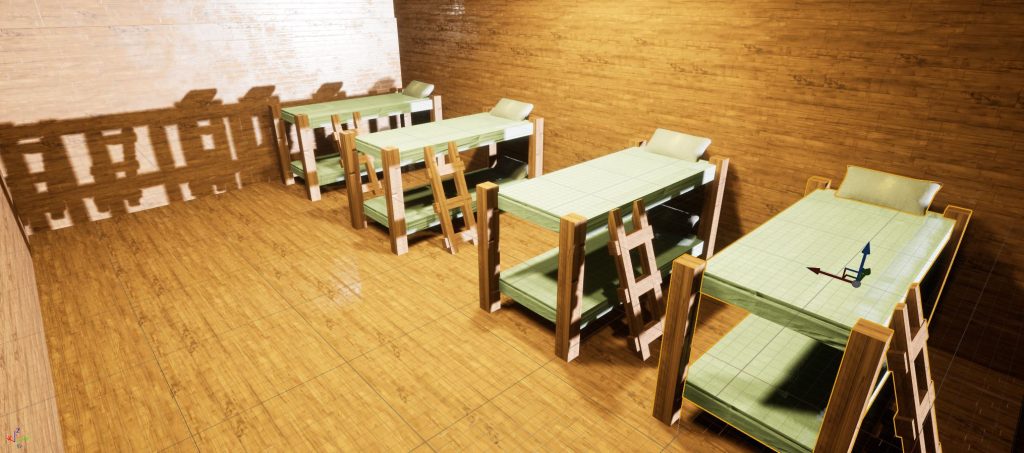
Bed
The beds that I made are used within the bunker part of my level, this is done so that I can create environmental storytelling around my bunker, this is to make the player think they are not alone in this level.
Sign
Here is the sign that I made, I decided to give it a wood material and leave it on a slant, as if it was knocked over or broken, this could make the player think that something could be roaming the trench causing the damage.
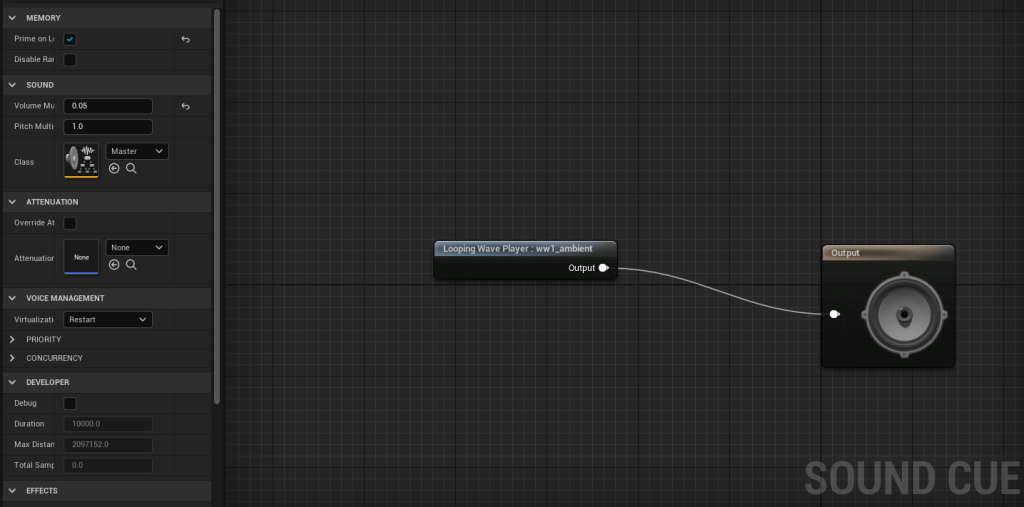
The final part of my game was the sound, I added the sound by exporting a YouTube video as mp3 files then converting it to a .WAV files so that it are compatible with unreal engine.
Firstly I found a video of ww1 trench sounds which I thought would go well with my level as it is a trench map. I then converted it to a .wav file and imported it into my sound effect folder inside of unreal engine.
I then right clicked on the sound file and added an audio cue to it. After this I then changed the sound to quite low so that it would be in the background and not super loud for the player.
This is what the audio cue looks like.
I then added a sound for my death screen, this was easy as I used a standard explosion sound for unreal engine. I added this to the viewport part of my death screen blueprint so that when the player dies they will hear this sound as well as being able to see the death screen.
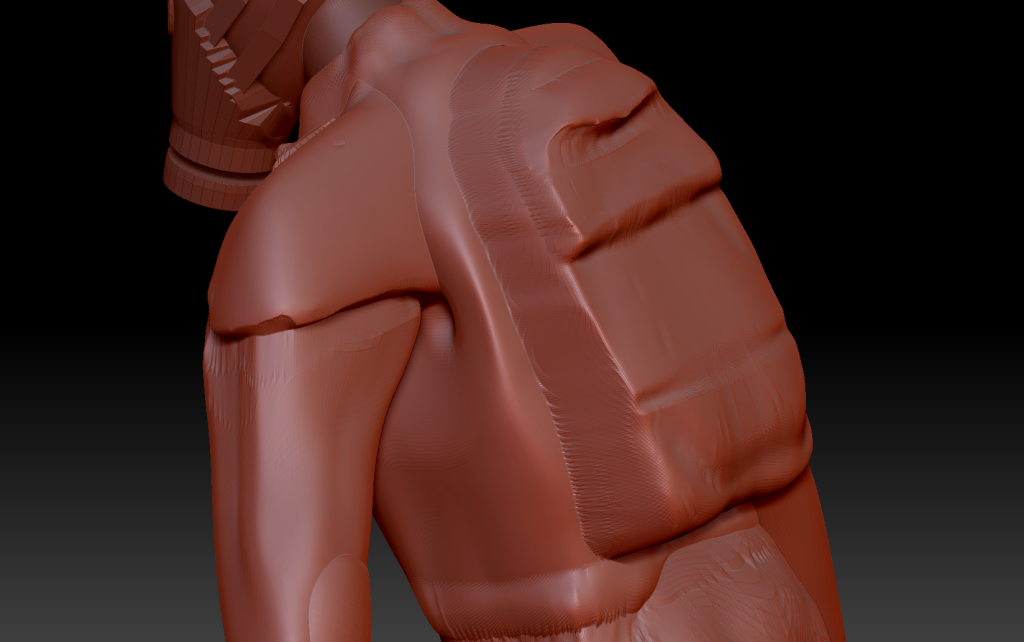
To give my character more of a realistic look i decided to add some texture to it by using Alpha channel brushes, these raised and lowered specific areas of the model where i wanted it to be bumpy, or smoother or ripped. It all comes down to my personal preference.
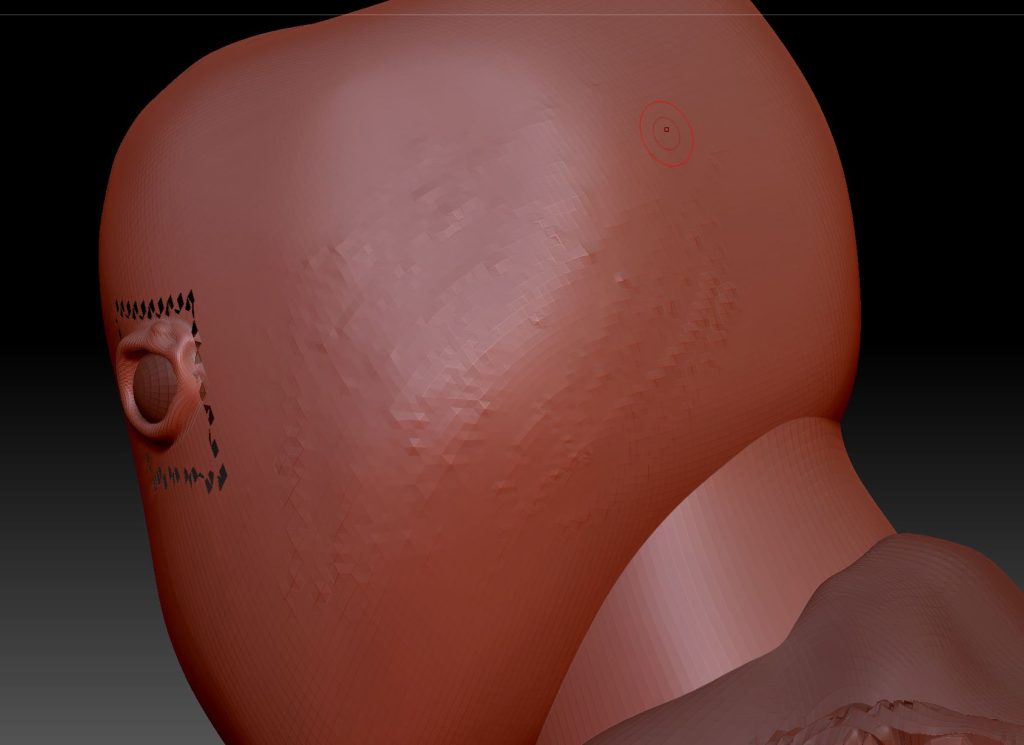
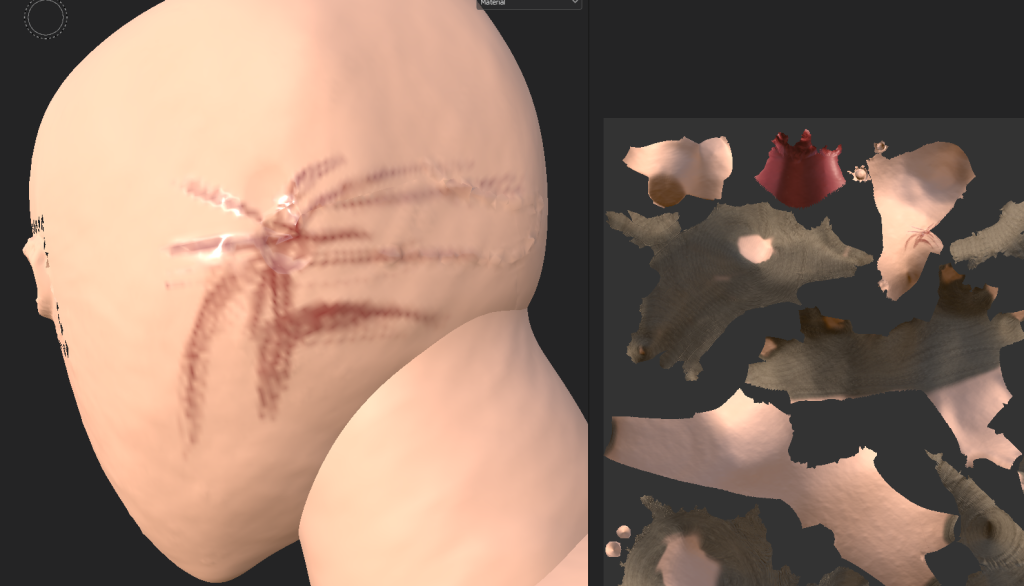
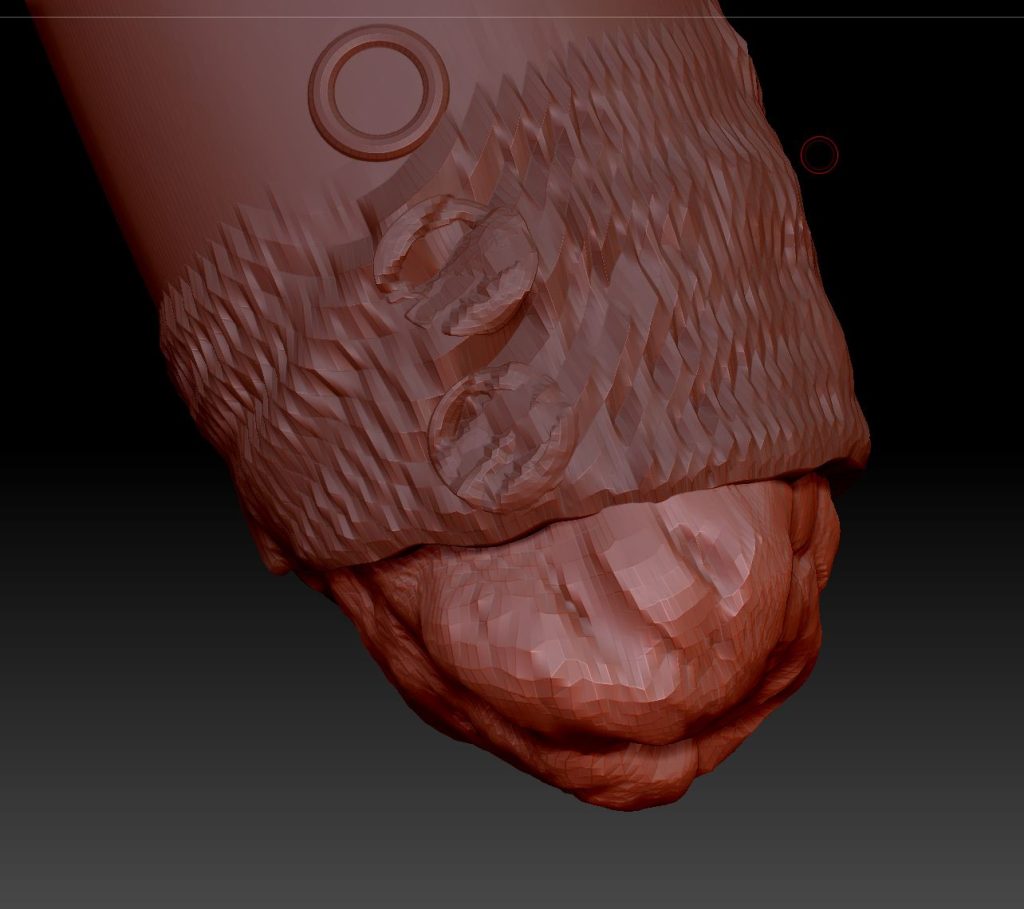
To begin with I used the blob tool with an alpha brush which has scratches. I used this to add scars and scabs to the side of my characters head and the back of his head, this is to convey his burns sustained, i also added small indents to the side of the head for where his ears used to be.
Side of head without Ear remnants.
Side of head with ear remannts.
Side of head with gas mask on to show how it looks.
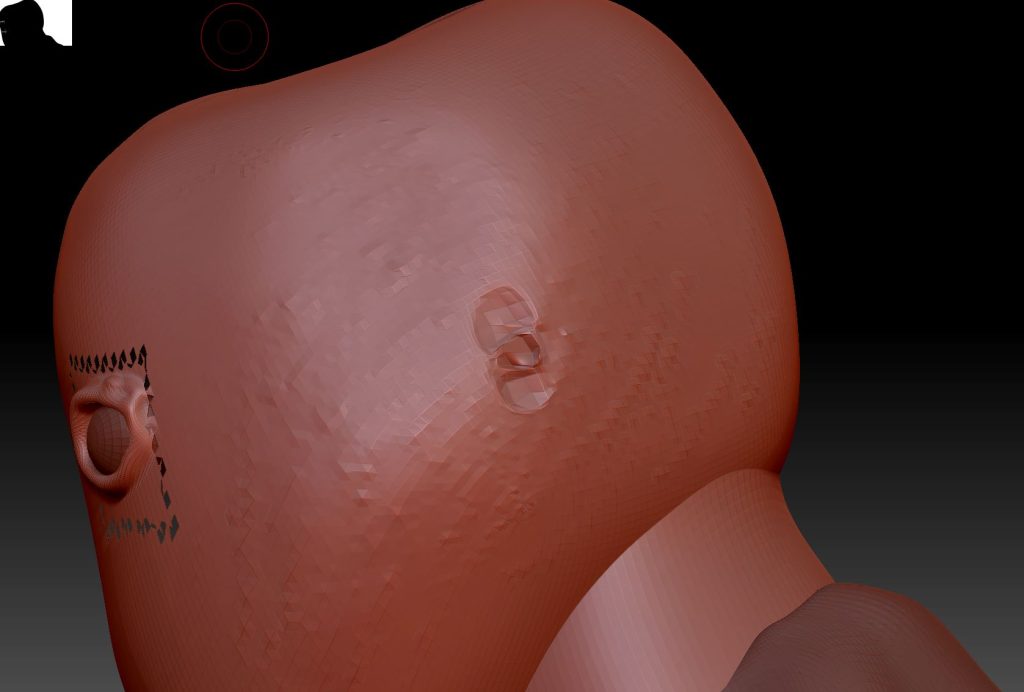
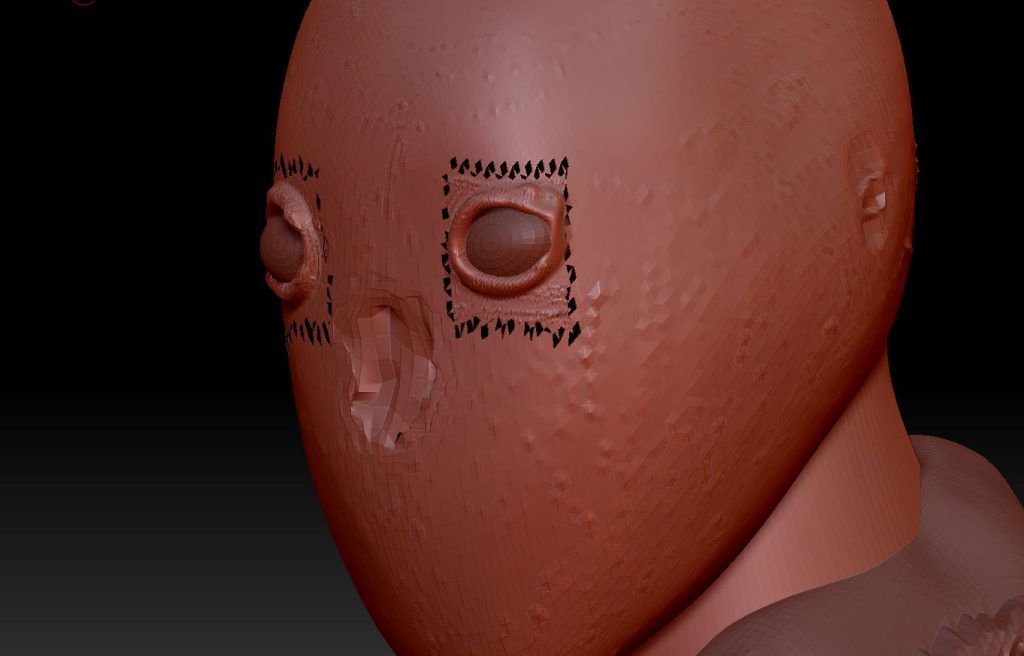
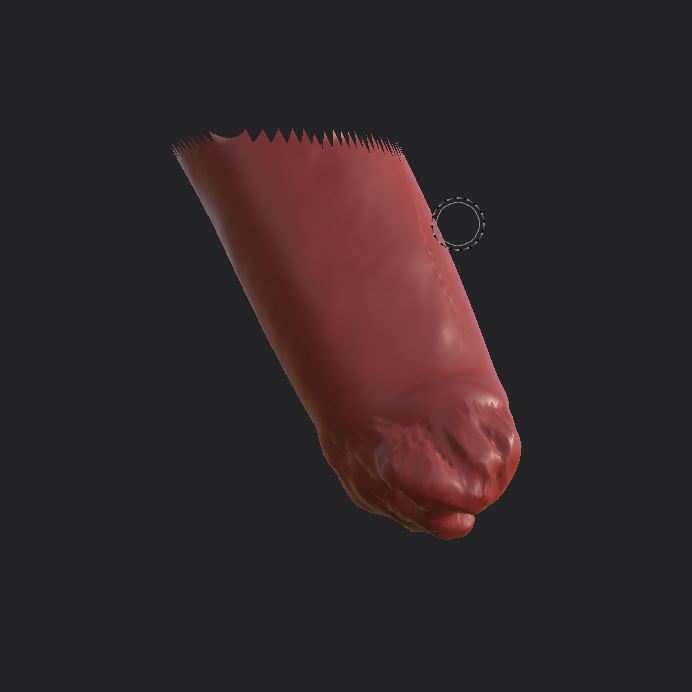
After this I created a hole in the face where the nose used to be located at.
Nose remnants.
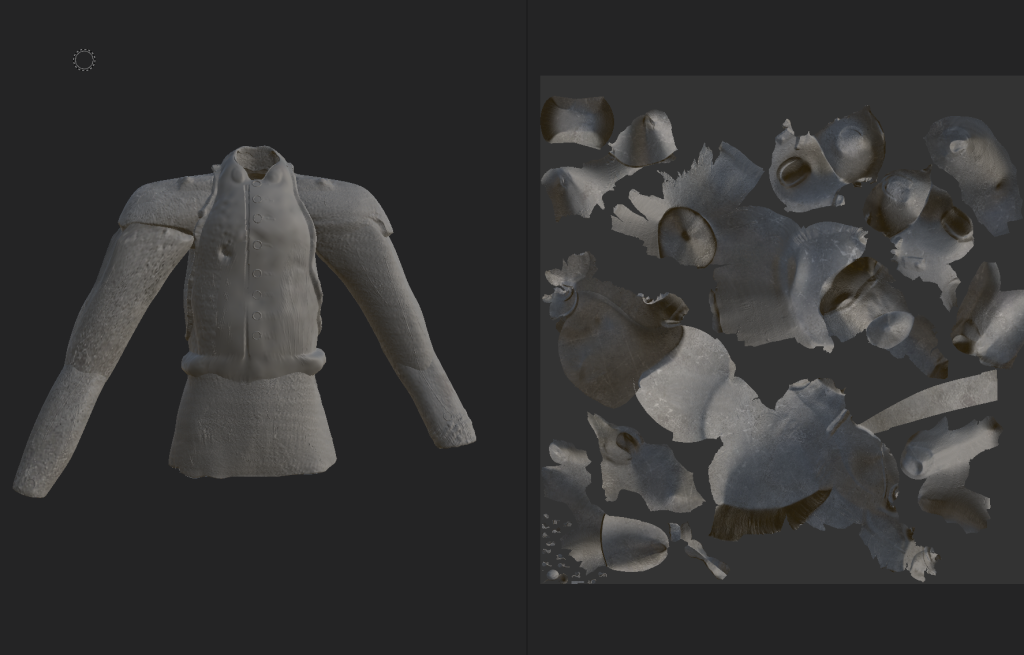
Once I finished the face I moved onto the clothes.
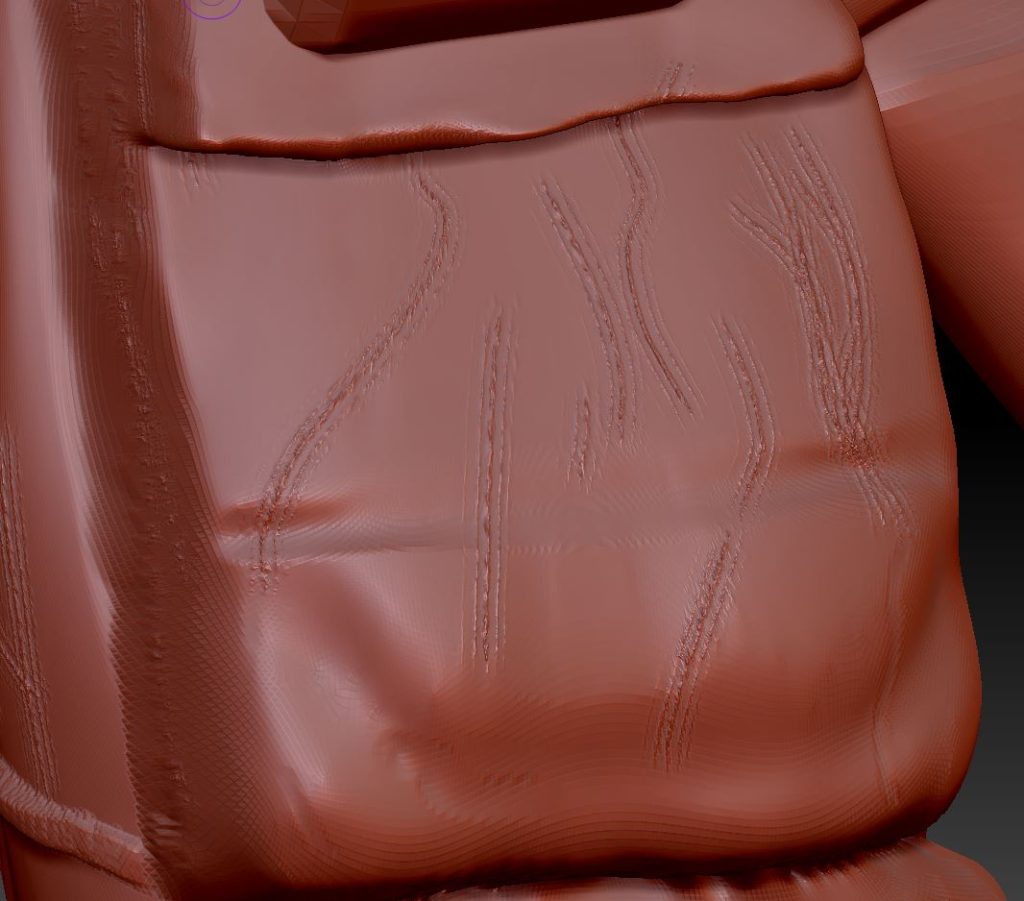
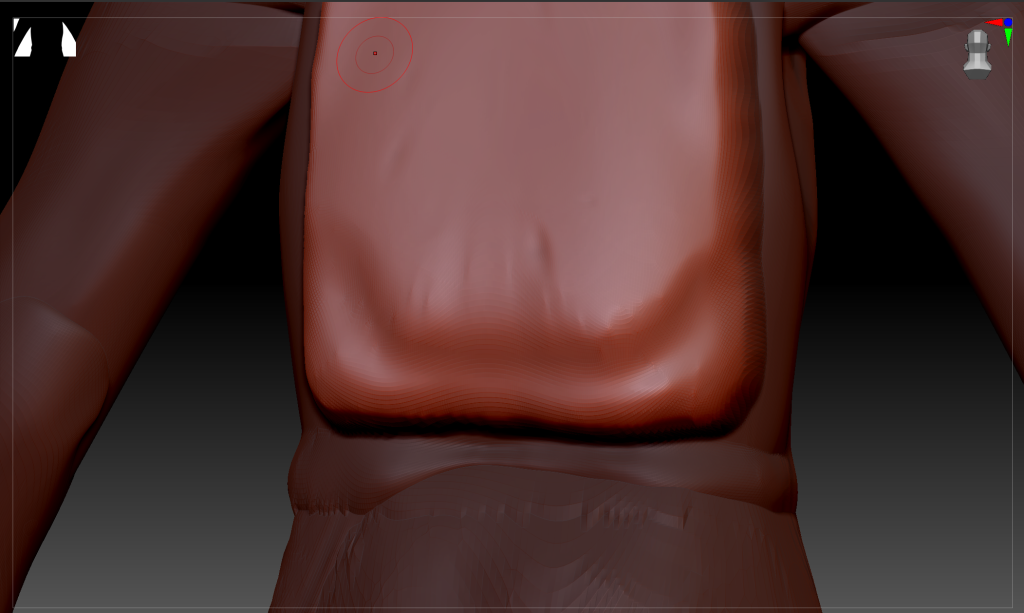
I began by adding details to the tunic using the scratching alpha brush, I did this so the tunic wasn’t soft and smooth but rough instead so that it looks better.
Side of tunic view.
I then painted the same brush onto broken part of the tunic to roughen it up and stop it from looking smooth.
Tunic rip with alpha brush present.
Below are some more images of weathering on the tunic.
Lower tunic area.
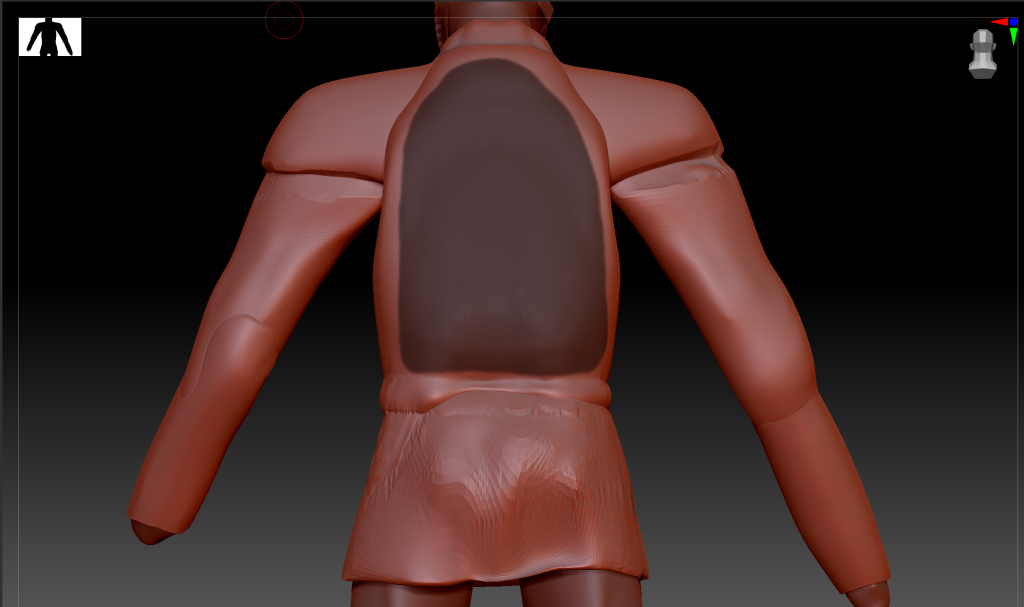
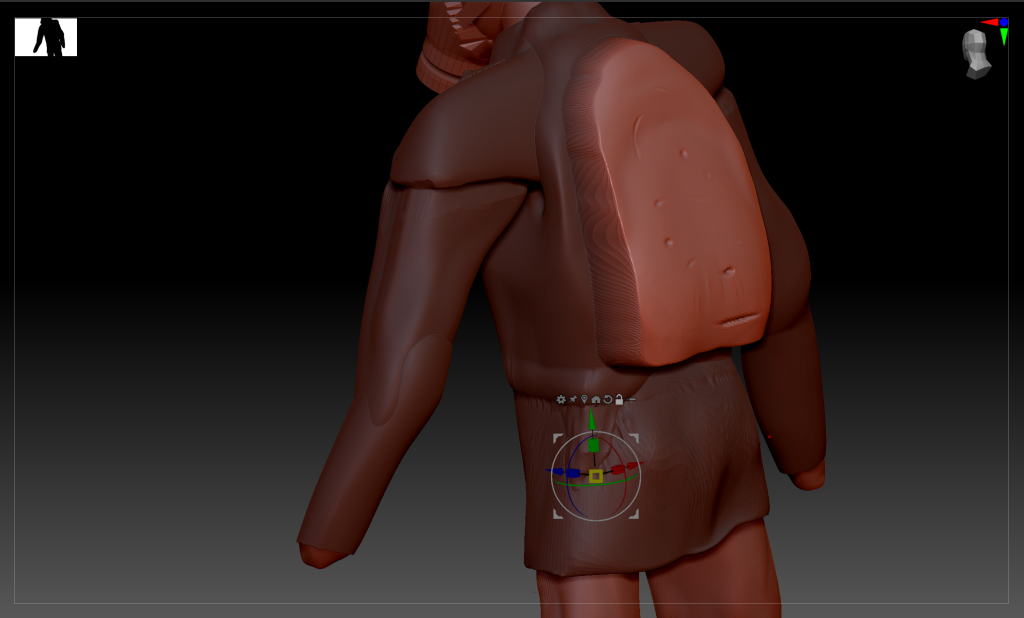
Backpack
Arm
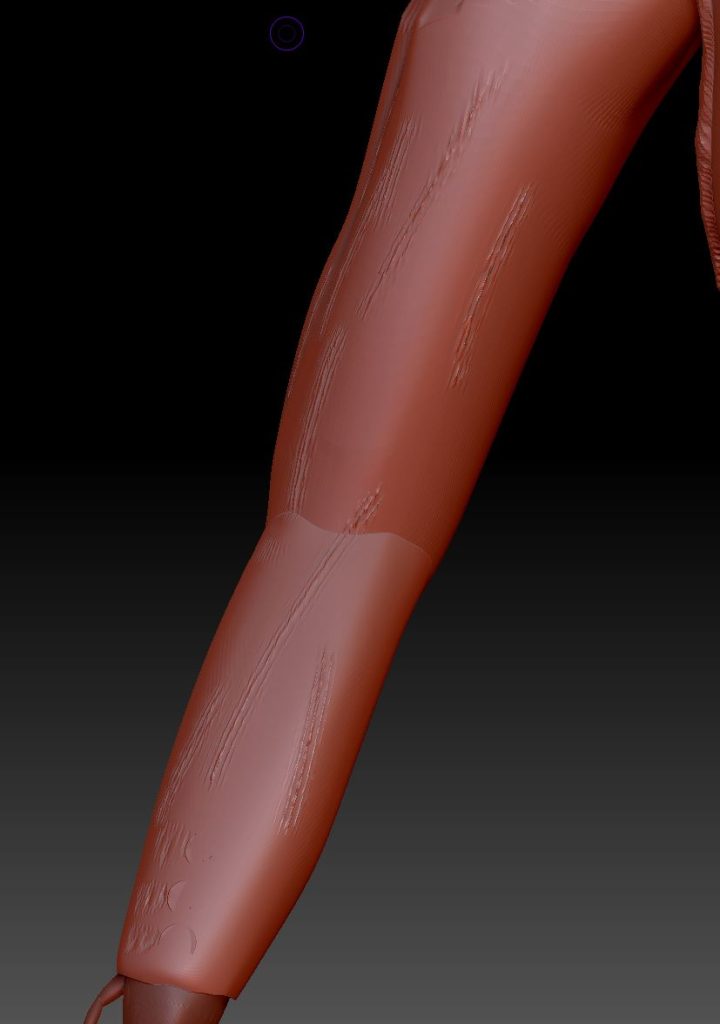
I then moved onto the legs and did the same thing for the upper leg, I gave these a lot more damage as these are my characters original uniform.
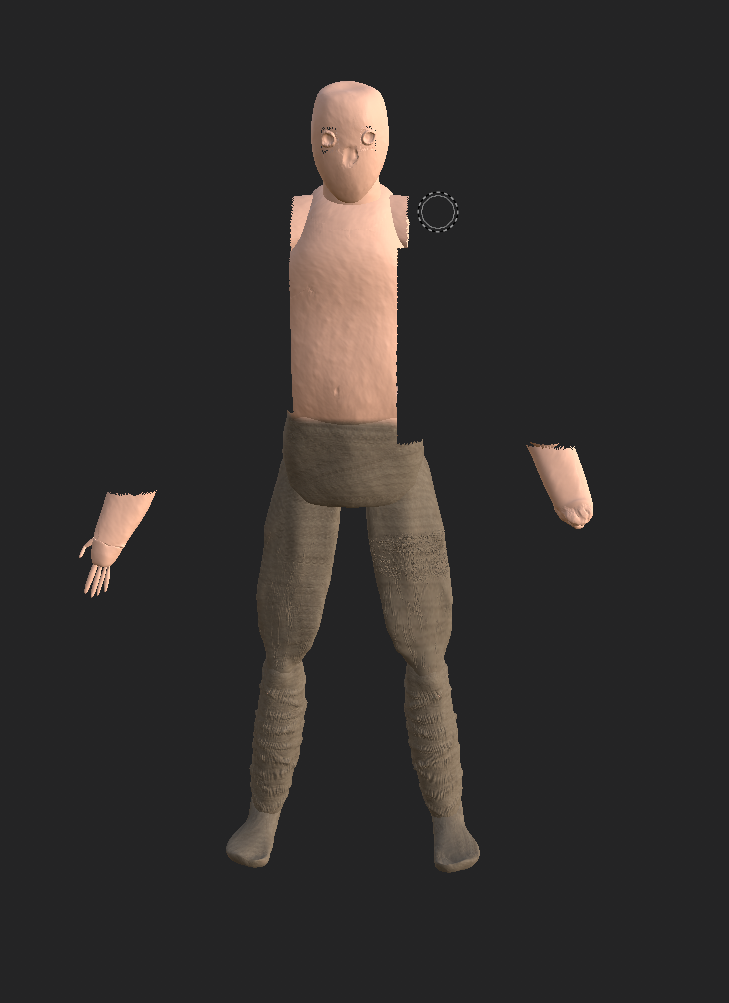
Now that i finished my model I began to add materials to my character. Below are Images of each mesh accompanied by text on what I did for each part.
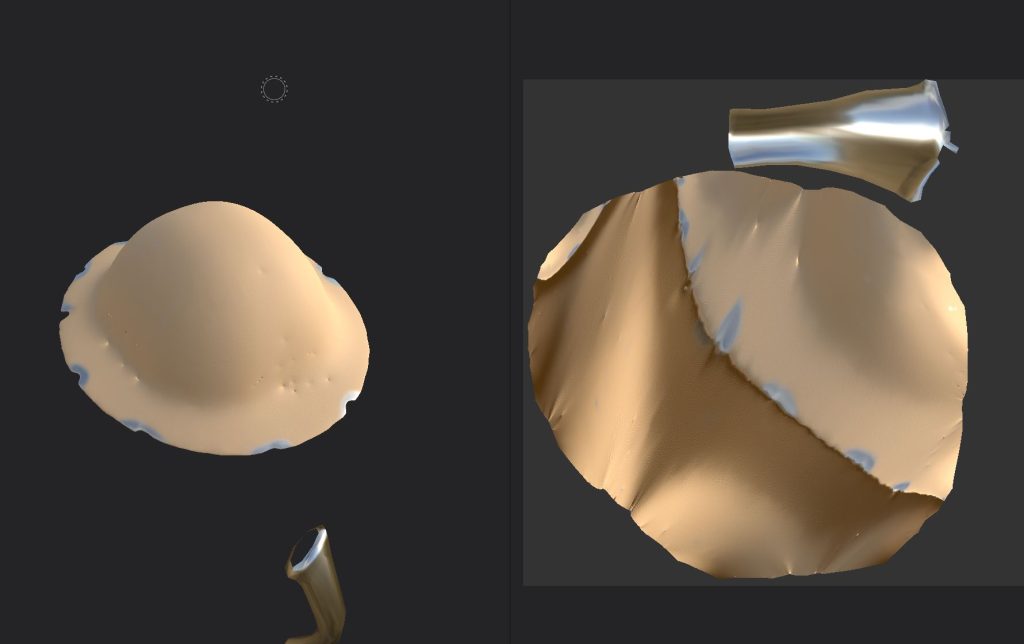
Helmet
For the helmet i gave the object a leathery colour material which I then broke up with some metal on the edges where there are chips in the helmet.
Helmet plain colour
Helmet with metallic areas.
Eyes
For my eyes i made a simple material of white and black where i coloured the black onto the white base colour to create the inner part of the eye.
Eye material
Belt buckle
For the belt buckle i had 2 seperate materials, an aluminium material for the big square on the belt, and then a black metal texture on the small metal straps holding the belt buckle in.
Belt base square
Buckle rectangle.
Body
For the body of my character i went with multiple approaches, firstly i added a base human skin material to the entire body, this is as most of the mesh itself is skin, except the trousers and boots.
Base colour for body mesh.
I then made a base layer for my boots and trousers, i did this by finding a brown coloured material and painted the entirety of legs and lower torso area.
Body with trousers texture painted on
After this i moved onto the head where I painted red onto the sides of the head, these to mimic burn marks and cuts.
Side of head with blood type material.
For my hand I did the same as this, but covered the entire thing with the red material.
Destroyed hand with material.
Due to substance painter not loading the gas mask of my character, I had to move over to blender to texture it properly.
Tunic
For the tunic I began with a grey base material which would become the main colour of the tunic itself.
Tunic base material
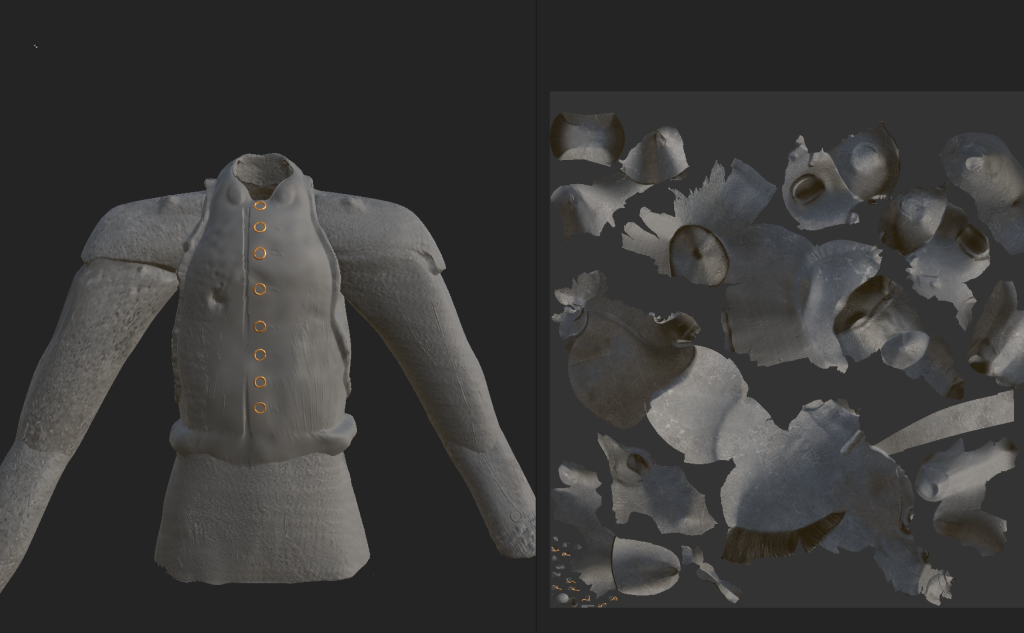
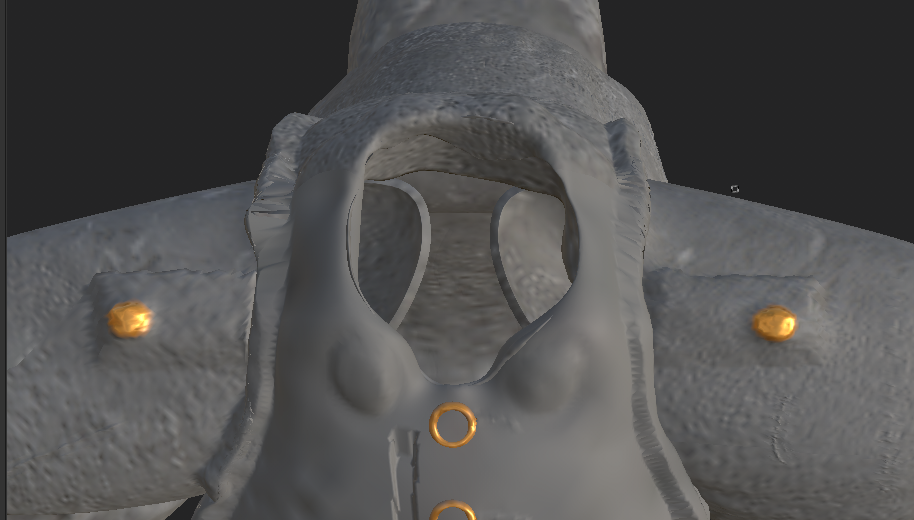
After this I added gold buttons to the button faces on the tunic.
Gold buttons on tunic
I then did the same for the epaulettes.
Gas Mask
For the gas mask I created 2 simple textures, one being a light brown material the other being a matte black material, the first being for the body of the gas mask and the latter being the canister at the front.
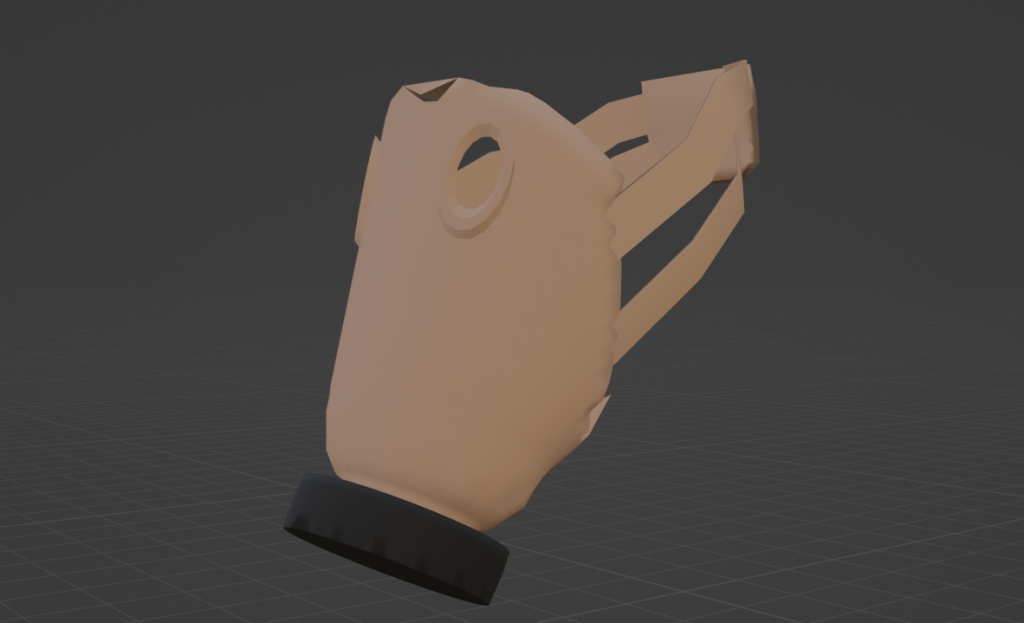
After creating my gas mask and helmet i decided that it would be a good idea to create a backpack for my character, this relates to the era well as many soldiers carried them to carry supplies, ammo, food and more. To make it fit in with my character i decided that i want it to be roughed up and torn in some parts to it goes together with the aesthetic of the character well and doesn’t look out of place.
Firstly I masked the area on the back where the backpack is going to be located.
Masked out area.
After this i used the move tool at the top of the lightbox to extrude the masked out area to an appropriate distance from the body.
Backpack area after being extruded.
I then began by giving some rough detail to the backpack to define its shape before, I’m going this because I want a shape to work off when I go into detail so i know where to add more or less detail.
Lower backpack area being defined.
Extrusion of top part of backpack.
Extrusions to create new levels of backpack.
I decided to give the backpack multiple levels as that will look more like ww1 backpacks did. instead of modern ones without many layers.
I creased the backpack to give some texture to it.
After this i then added a cylinder to the backpack to create a big sleeping containing area for items which soldiers would want.
Cylinder after being added without proper posititioning.
I then shrunk down the cylinder a bit and then started to smooth it out and smooth out the edges, creating a more realistic looking cylinder for the backpack.
Smoothed out cylinder.
I made some straps for the backpack so it isn’t suspended off of the back of the character.
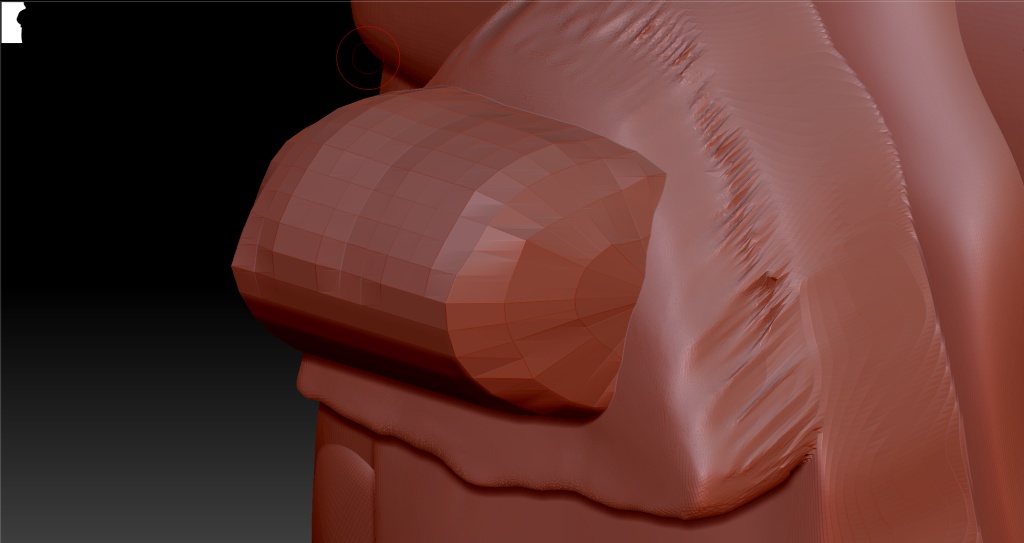
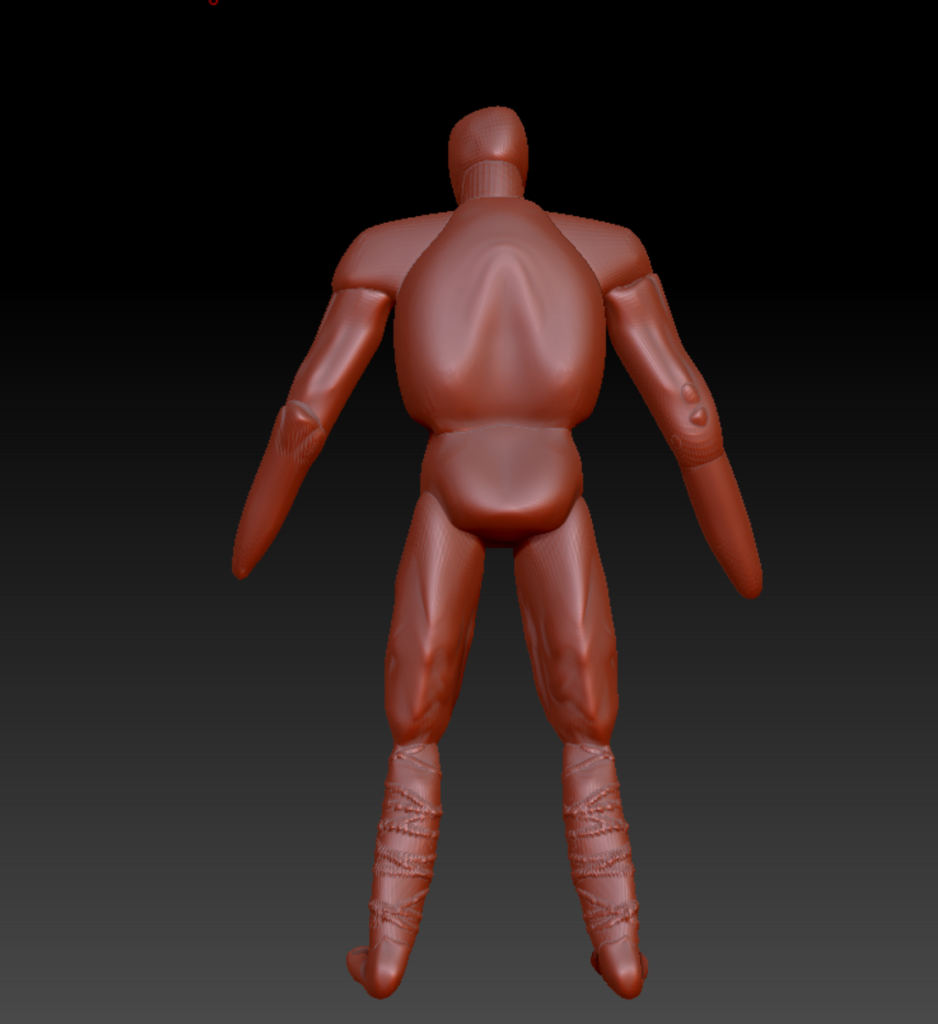
To begin the creation of my model, I added some spheres which I began shaping once I put them together in a rough human shape, i created these spheres for each area of the model such as shoulders, upper arms, forearms etc.
After this I began to make them look like limbs extruding the forearms down and out away from the upper arms, thus making elbows. and i did the same with the legs.
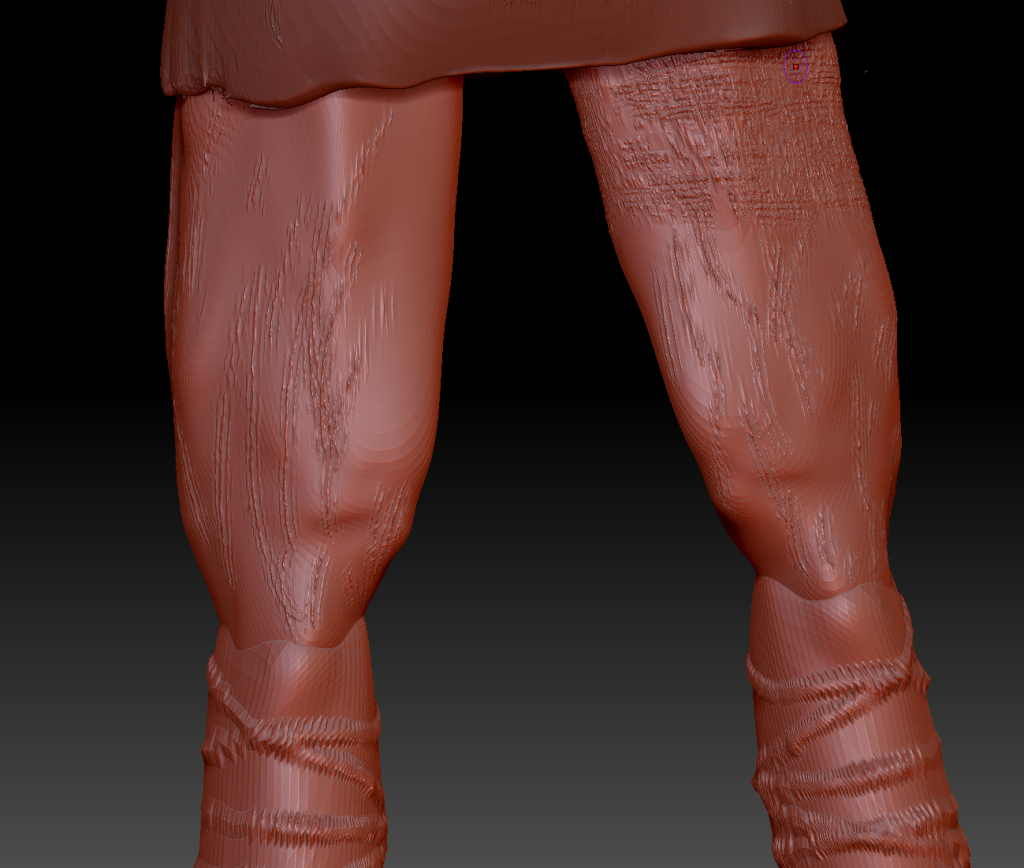
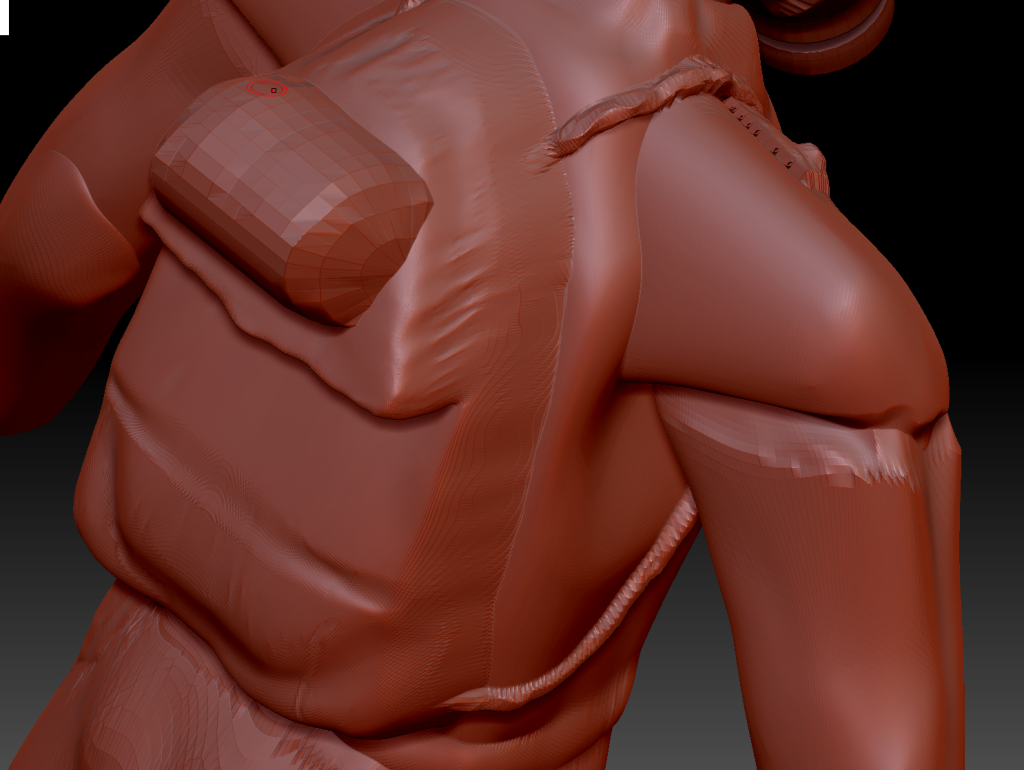
Once I made the arms i moved onto the legs where i did similar, however i decided to crease the upper legs to imitate ww1 British trench trousers. and for the lower part of the leg, i added webbing around which is also the same thing the British army did in ww1.
For the head i made a rough shape of the head as it will be covered with a gas mask and helmet so it would not be that visible underneath it.
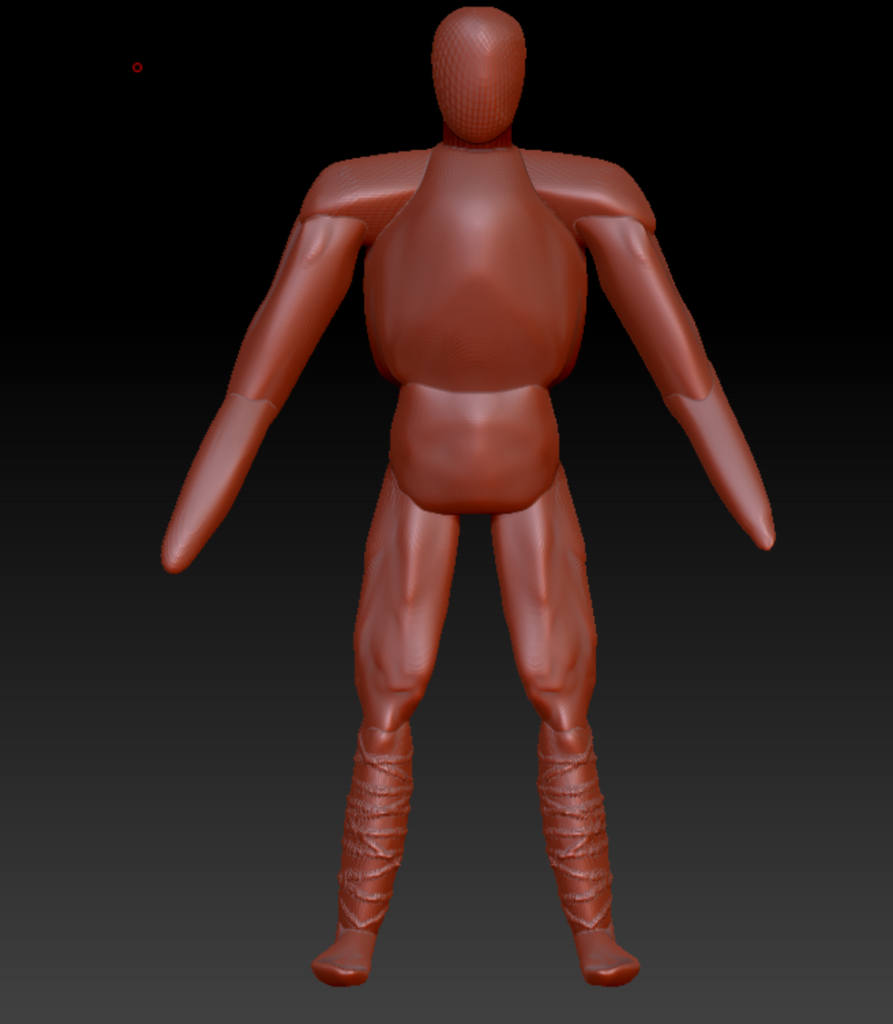
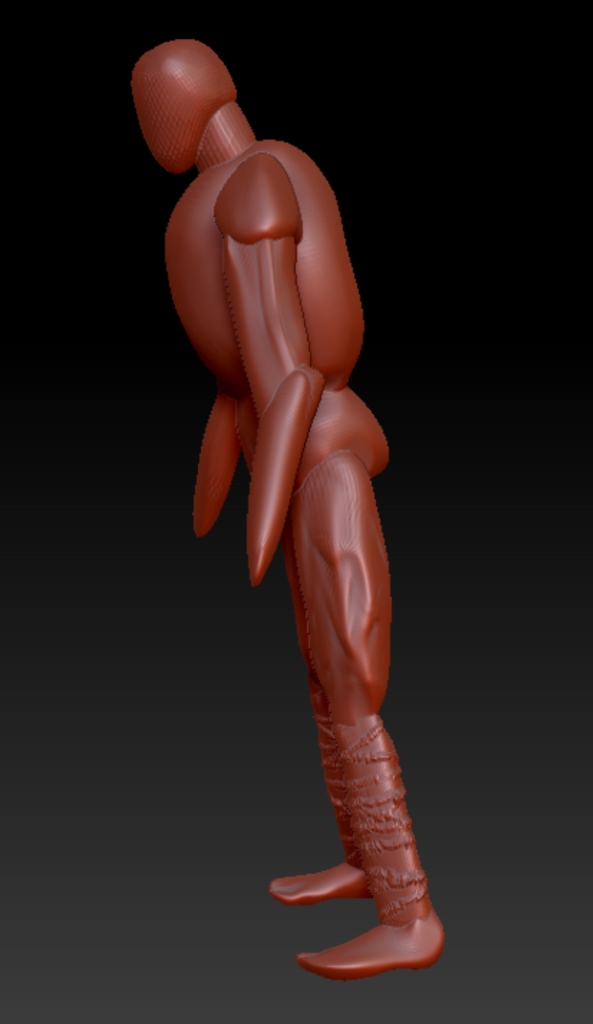
Below are walkaround images of my character in its early stages.
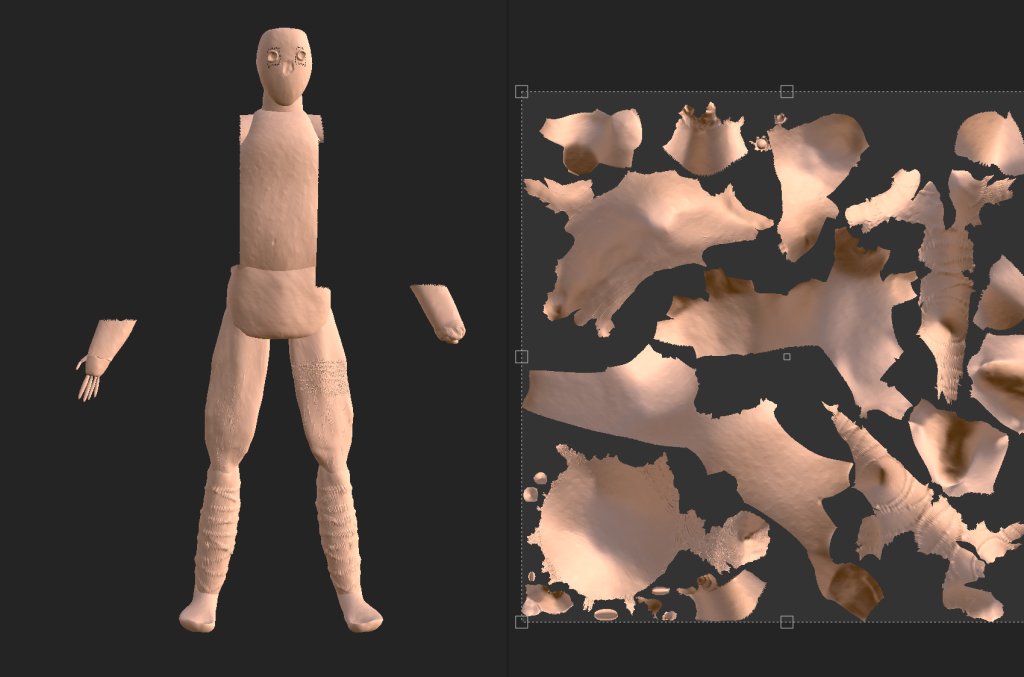
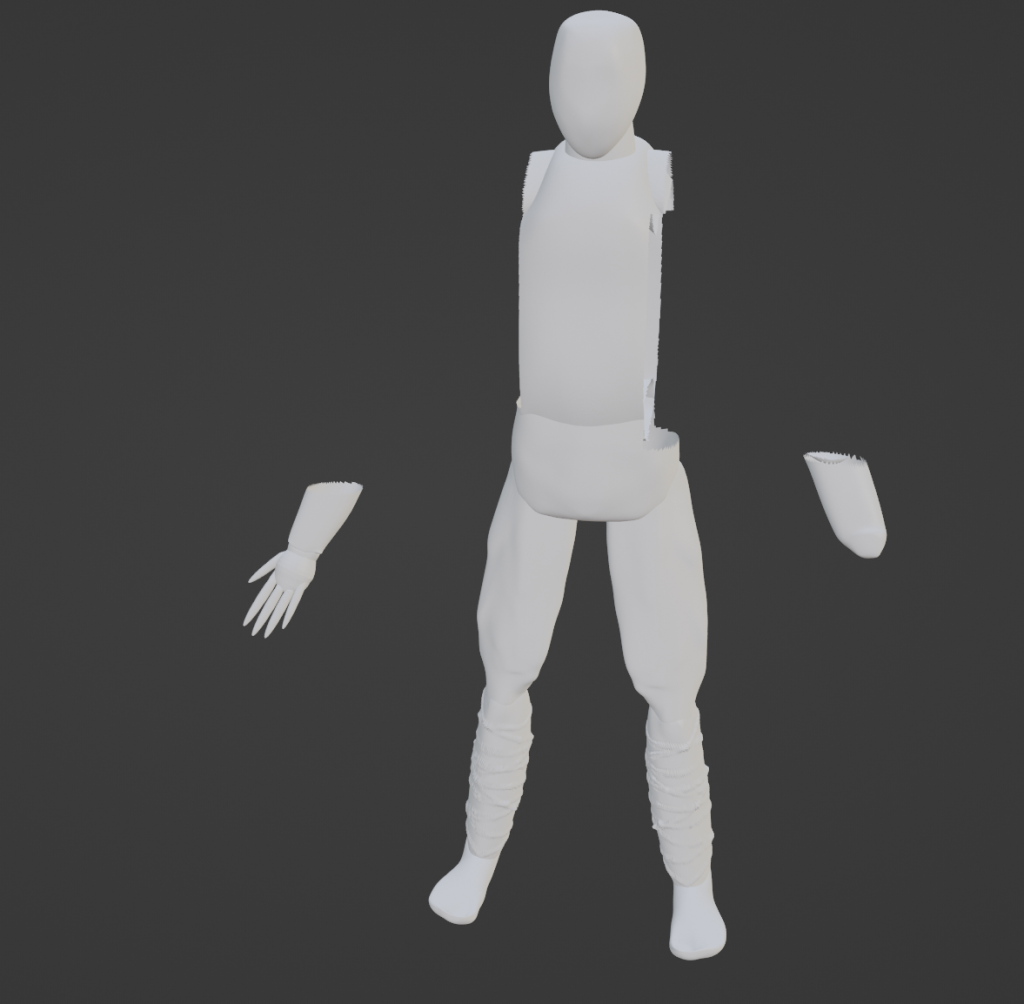
Once i completed my base mesh for my model I decided to cut out unwanted areas of the body mesh, this is to ease the workflow for animation and rigging later on. This is also good for lowering down the polygon count by quite a large amount, this helps me with speed of Zbrush when i’m modelling it.
For the shirt I inflated the mesh while the arms and torso were still full, making the thickness similar to an actual ww1 tunic. I then puffed it out a little bit so that it could have a bit more thickness and depth, then I saved that and started molding it around the torso, making sure that it wasn’t clipping with anything.
Once I removed the upper arms and the sides of the torso, the creation of clothes was so much easier and took less time then before.
I began shaping the tunic and decided to add buttons down the uniform so that I could know how to style the uniform later on. I also did this because it goes with the style of uniform and would look more realistic
I also added a belt by using 3 cubes and scaling them down appropriately to create the buckle, I then inflated the area around the buckle to create the belt itself. Once it has a material added it will be a lot better.
I created the hands and fingers by firstly extruding the forearm downwards to make the hands, and then by adding spheres and extruding them downwards to create the fingers.
Once I had all my fingers in place I masked out the top part of the fingers and then used the move tool to bring them up slightly to make a more realistic start to the finger.
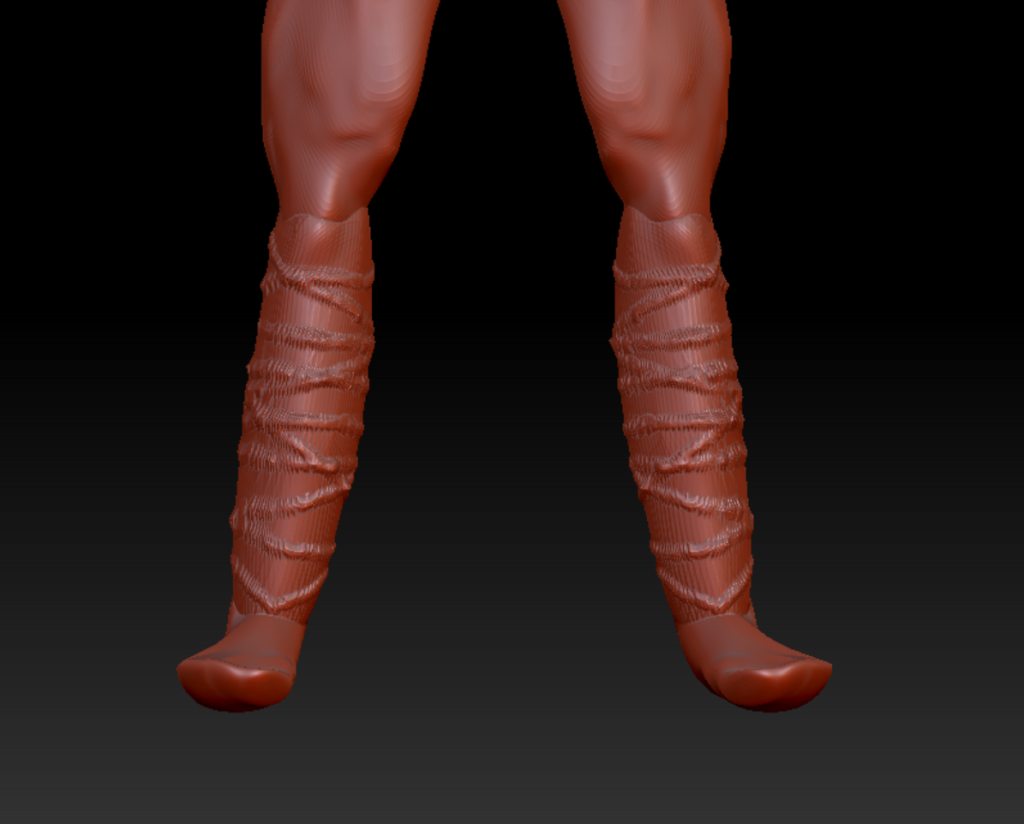
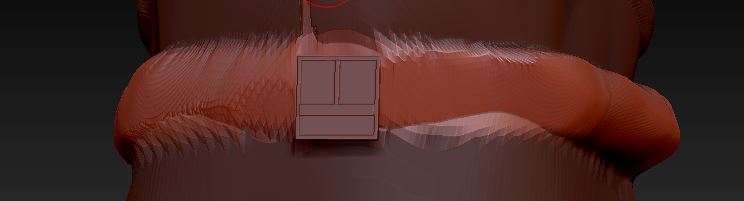
I created bandages for my characters left hand as they do not have one due to injuries sustained in ww1.
I began by using the clay buildup tool on the lower part of the forearm clothes and created bandage type stripes around the arm.
Bandages on clothes.
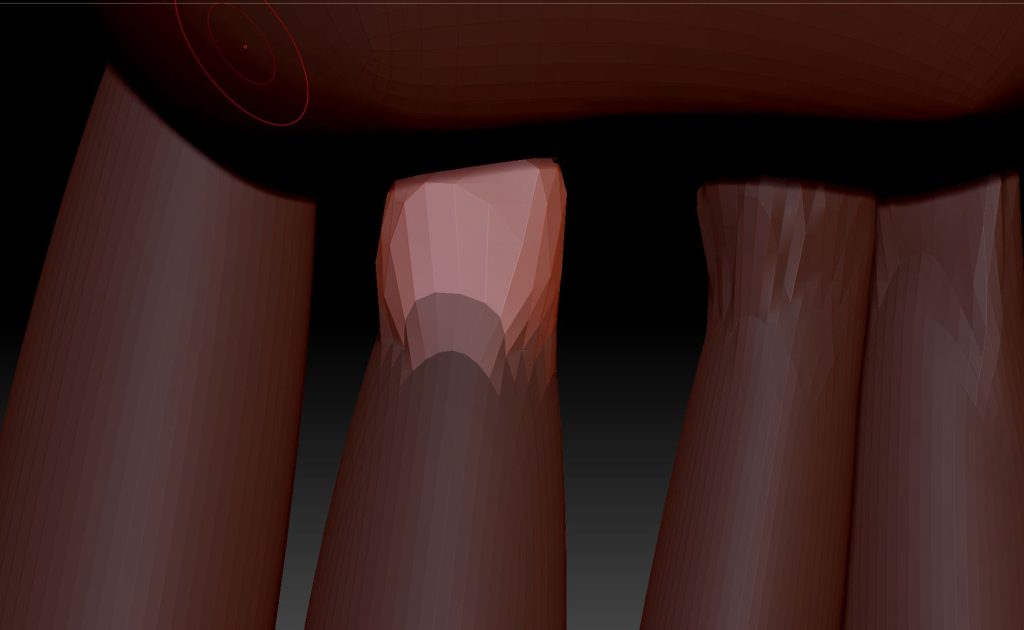
After this i moved onto the hand where i added more in a more unorganized fashion to imitate parts of his hand still being there and others not. I also wanted it to be all over the place as it will help me add materials to it in the future because it will look the part more than it would have without it.
It also looks like the hand is burnt too which will coincide with the injuries sustained.
Bandages on hand.
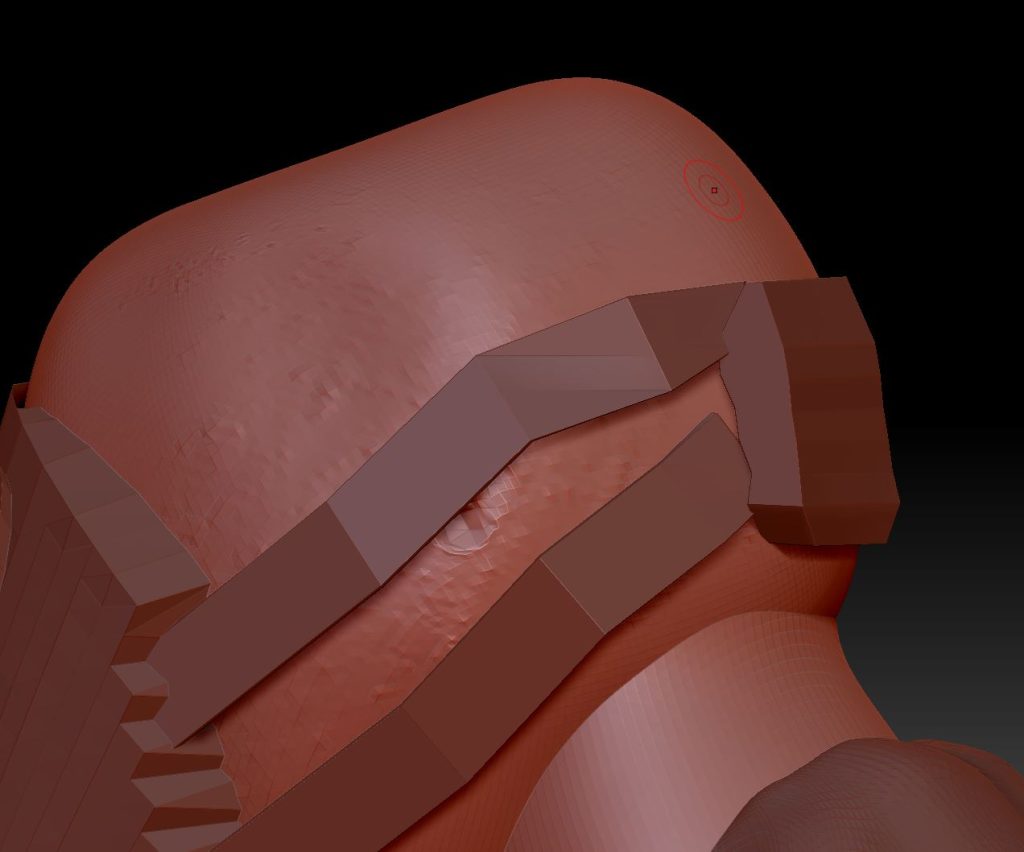
For my characters torso and tunic, I decided to add some weathering and cuts to the uniform as my characters backstory sets him as a person who has scavenged for different uniforms just to keep warm, therefore the uniforms have different cuts and holes inside of them to signify previous use and ownership by people less fortunate than my character.
I did this by using the alt key and the clay tool to dig down into the tunic exposing the skin mesh, and then adding some texture by doing the same to the skin underneath.