Categories
3d Character Creation

Creating Extra objects for my character

As my character is in ww1 i need to create era appropriate additions to the model, these being a helmet and a gas mask.

Firstly i created the gas mask.

I first went into blender and added a UV Sphere, i then cut the top and bottom parts of the mesh off and bridged both faces to create flat ends to the mesh. I then extruded the top layer of vertices and shrunk them down to create the canister a the front of the mask.

I then levelled out the vertices and extruded them further back to make the rough shape of the fabric part which covers my characters face.

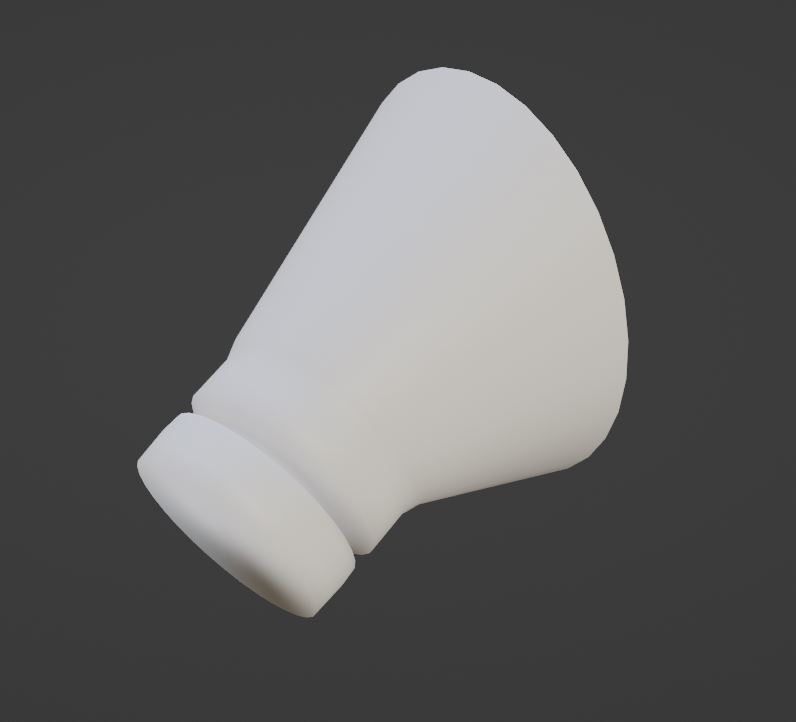
View of early progress mask.

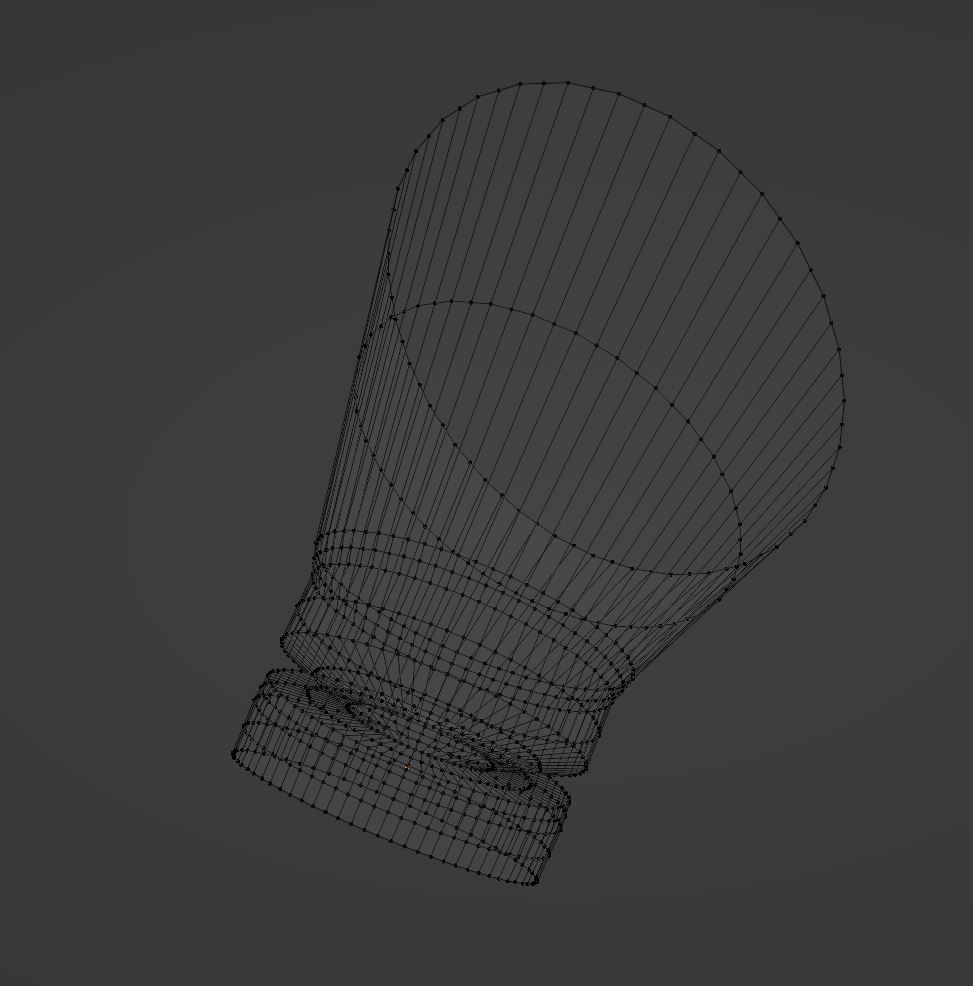
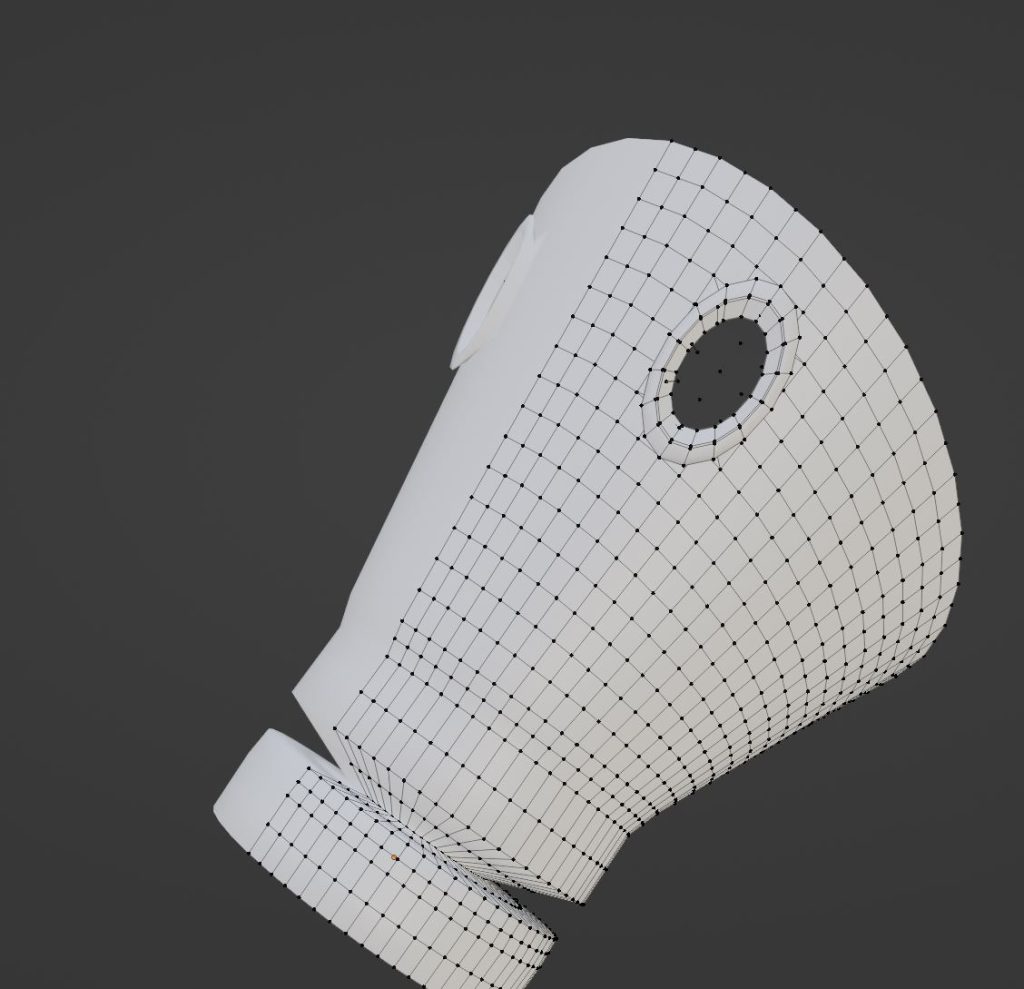
Wireframe view of same image.

After this stage was finished I moved onto creating the eye holes. Firstly I added loop cuts all around the fabric area to ensure high quality if I were to move the vertices, I then I then pressed I to indent it and then right clicked and made the selected vertices a circle via the loop tool addon in blender. i then right clicked again and bridged it so that the middle vertices would attach themselves to the outer wall of the circle creating a hole which can be used for the eye holes.

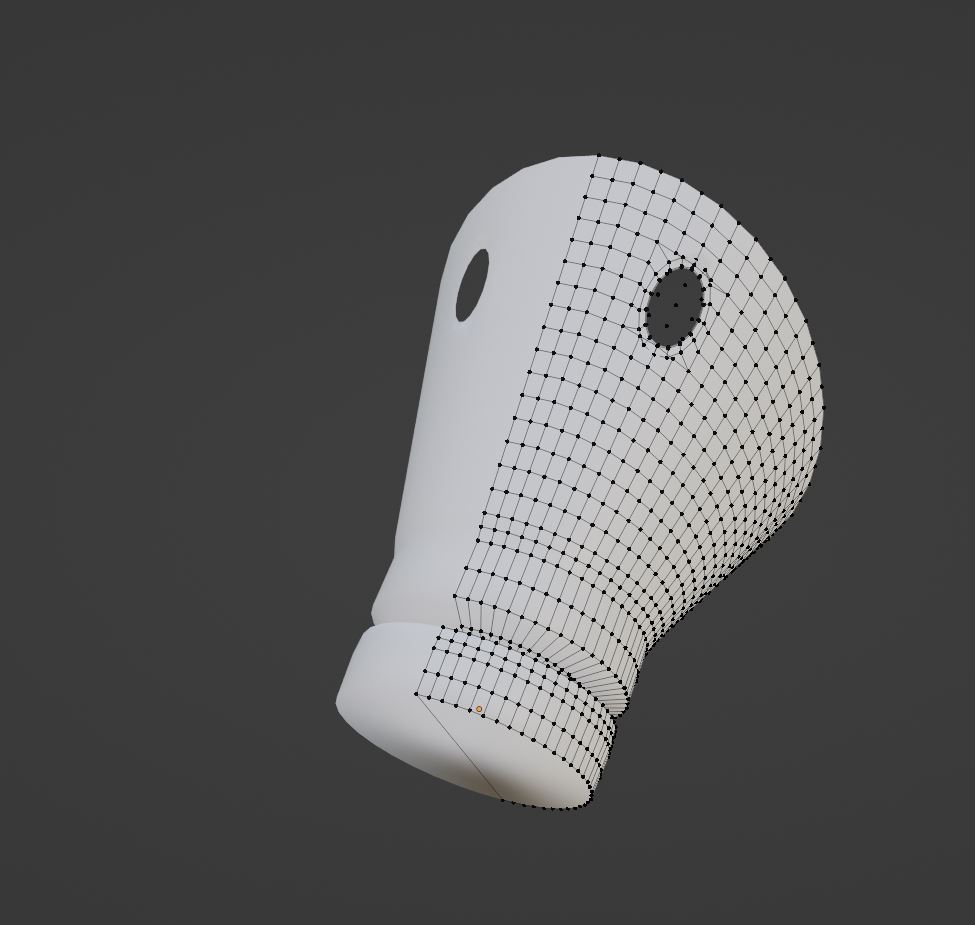
Mask after the holes were created.

After this i then extruded the outer hole vertices down to cover other vertices to make it look realistic, i then extruded all of the vertices on the hole upwards to bring the circle forwards from the mask so it wasn’t all flat.

View after I extruded the vertices upwards.

Finally i cut out the back vertices to create a smooth edge to the gas mask so my characters head and face could fit inside of it. I did this by removing certain vertices and then adding faces in-between 2 other faces to create an appropriate edge for my characters face.

View after smoothing the back edges out.

Helmet

Secondly I gave my character a helmet, initially i gave him a German Stalhelm, however due to issues creating the model I gave it a a British Brodie helmet instead, this was because its an easier model to make and in my opinion looks nicer on the character.

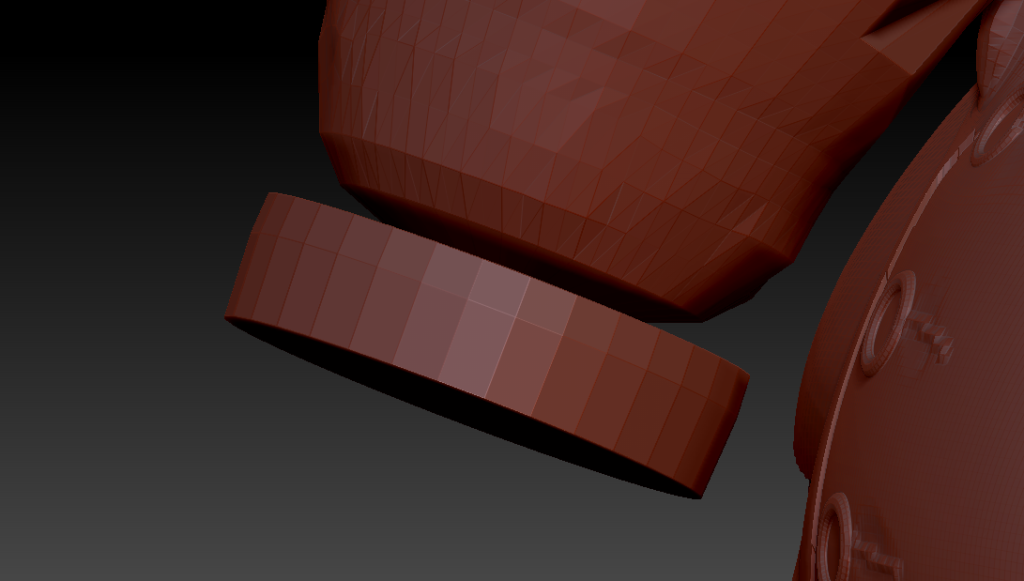
I started out by creating a circle and filling in its face, i then extruded it downwards and outwards in the shape of the helmet and made sure to make it all even so it doesn’t look odd. I then used the bevel modifier to make sure the flick at the bottom of the helmet looks good instead of being a straight 90 degree angle.

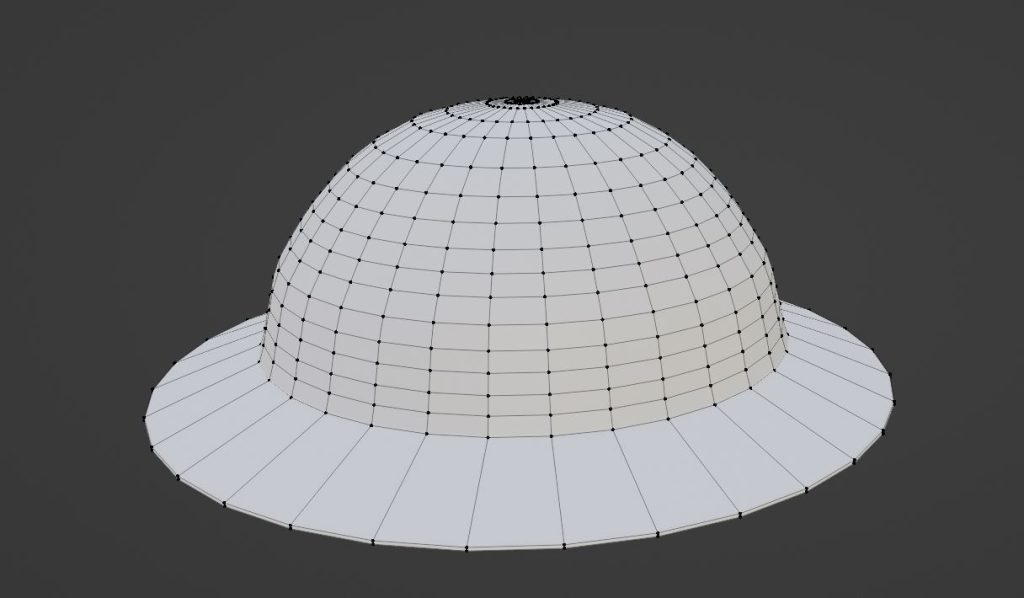
Finished helmet with vertices visible.

After this i joined both of the meshes up into one to test how they would look when joined together.

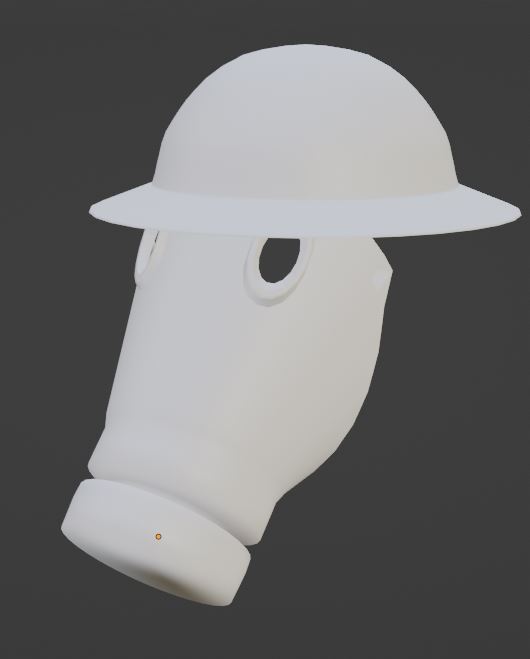
Gas Mask and helmet joined.

Finally for the helmet and gas mask i added straps to the back so the gas mask isn’t just floating off the front of the characters face.

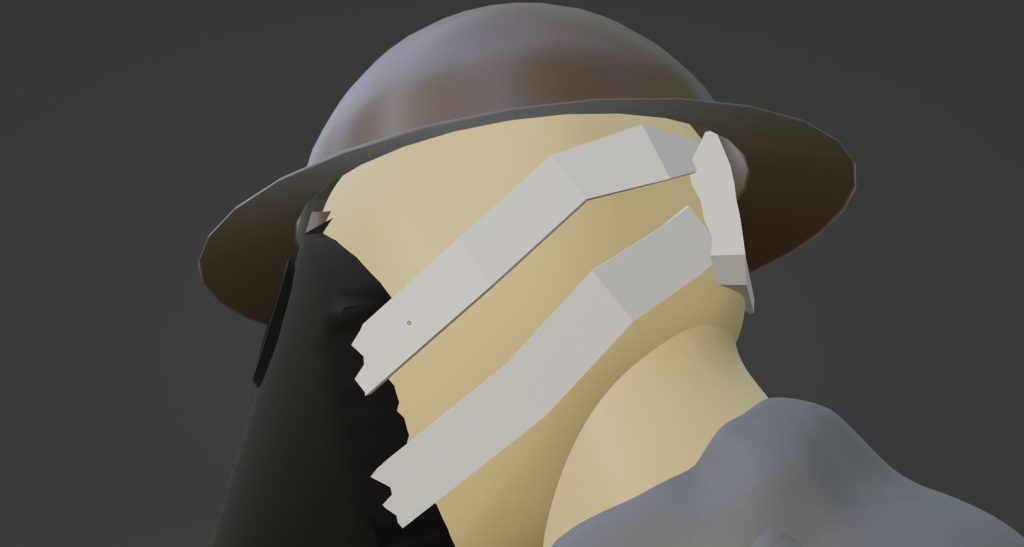
Mask straps with colour added foor definition.

Further Details

Once i finished with the creation of these assets i then decided to move onto detailing them so that they don’t stand out as being bad or look weird compared to everything else on the model.

I began by dynameshing the helmet so that it was smooth, this created small dents in the helmet which i decided to keep as i thought they added extra depth to the helmet.

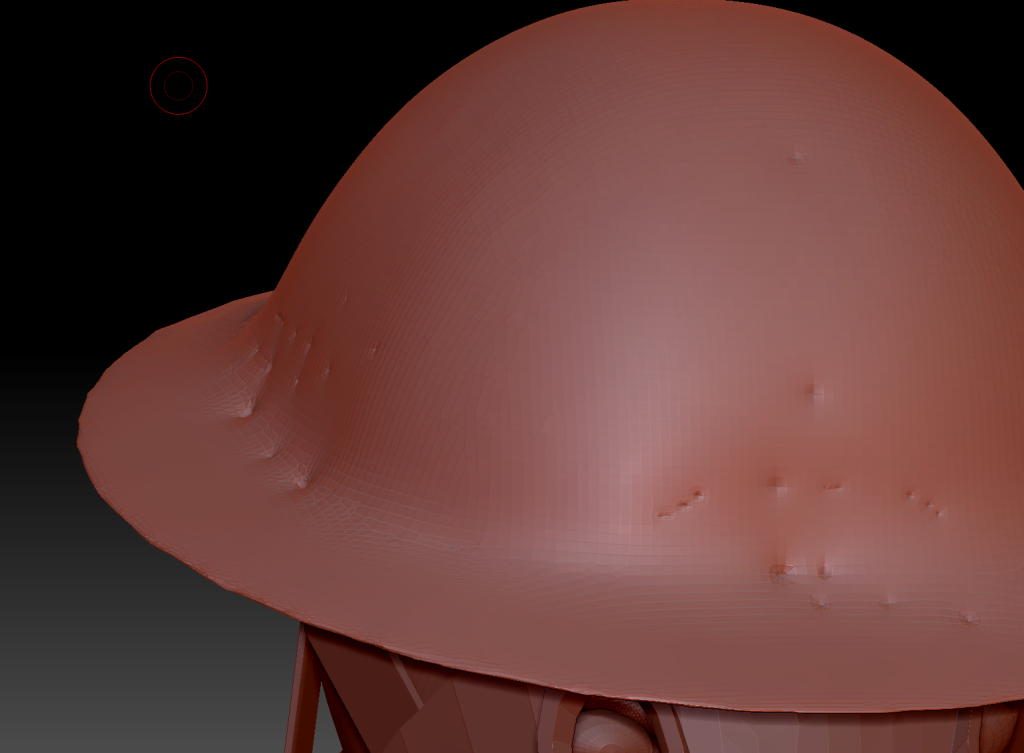
Helmet after dynameshing.

I then started to add chips into the helmet this is so that it adds onto the dents in the helmet and adds onto realism so its not perfect, as nothing in the real world is perfect. In addition to this my characters style would not suit a clean helmet so dents and chips would be great for it.
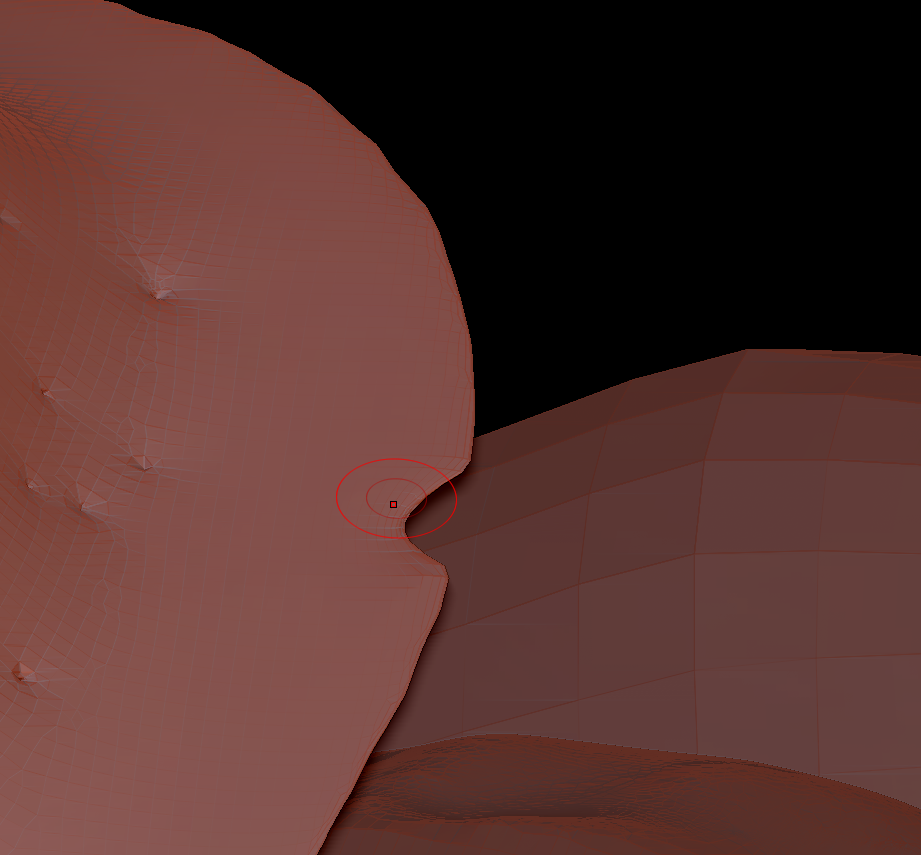
Helmet Chip.

Helmet after weathering is complete.

I moved onto the Gas Mask after the helmet, i decided to go simple with this so i just smoothed out some of the very rough edges on the gask mask front and center.

After I added some detail to the gas mask I decided to use the pipe tool to add a pipe to the end of the gas mask. I then used the move tool to move the top parts towards the gas mask to cover up any nasty seems and then smoothed the bottom part of the pipe to stop it looking like a pipe and more like a tube that would be connected to a box.

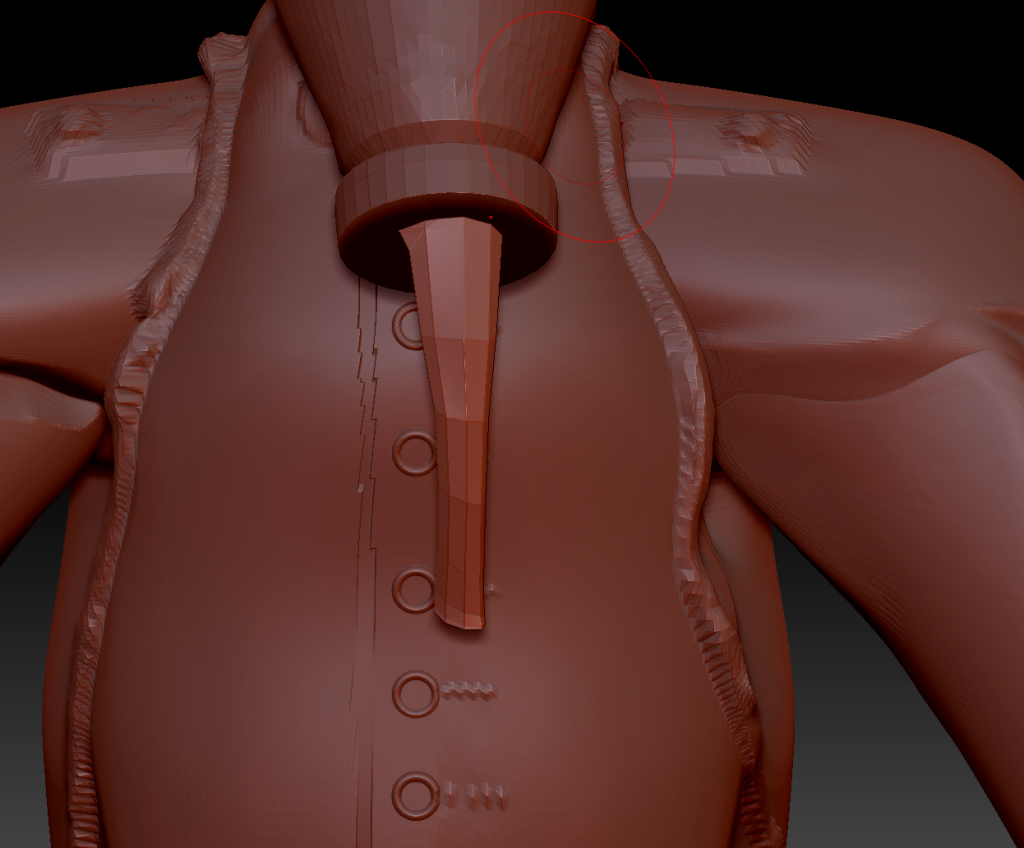
Smoothed out Pipe on gas mask.

Categories
3d Character Creation

Character Background

Name: Glendale Brooks.

Age: 26.

Country: England.

Gender: Male.

Occupation: British Army Soldier.

Backstory

Glendale Brooks was born in 1890 to a poor family in the UK. Always obsessed with the military he joined up as soon as he could. Once war broke out in 1914 he was already a respected officer and in charge of his own company. He served with distinction through many battles until 1916 when the battle of the Somme arrived.

Glendale was scared. He was already suffering from early shell shock due to the countless head injuries he has injured in 2 years of brutal all out war. During the battle they were under intense artillery fire when a shell landed directly next to Glendale and his men, killing everyone but Glendale instantly.

Severely disfigured and missing a hand and both his ears, Glendale then scourged for supplies, finding some bandages and a fire that could cauterize what was left of his hand and then cover it all up.

However after he did this he realized a lot of time has passed no fellow soldier was around, or enemy for that matter. He was alone. Glendale kept wandering, finding a dead German which he took their tunic to replace his severely burnt tunic. He found a gas mask which helped cover his burnt and broken face. His helmet, shielding his flaking head from the sun.

Glendale continued to roam the empty trenches feeding on rations and bodies or anything that was present. Never to be seen by any mortal again.

Categories
Level Design

Level Blockout Video

References

Does Not rely on words 

Mad-gfx.com (2018) 10 Principles of game design. Available Online: https://mad-gfx.com/news/2018/7/15/10-principles-of-good-level-design [Accessed 11/11/21]

Weenies Used
Mikebarcley.co.uk (2016) Level design guidelines. Available Online:http://www.mikebarclay.co.uk/my-level-design-guidelines/ [Accessed 12/11/21]

Hard Boundaries 

Mikebarcley.co.uk (2016) Level design guidelines. Available Online:http://www.mikebarclay.co.uk/my-level-design-guidelines/ [Accessed 12/11/21]

Vantage Points

Mikebarcley.co.uk (2016) Level design guidelines. Available Online:http://www.mikebarclay.co.uk/my-level-design-guidelines/ [Accessed 12/11/21]

Categories
Uncategorized

Portfolio

My Portfolio / Iron Games

About us.

 Iron Games is a games development and publishing company which assists in the development of indie games with smaller or larger studios, we strive to bring indie games to the mass market bringing in new people to indie games all across the world. 

We strive to create high quality indie games for a worldwide audience. 

The team at Iron Games is dedicated in creating these high quality experiences for people and all have great individual skills that can enhance the products in their own special ways. 

Our Goal

Our goal at Iron Games is to help create the best possible versions of indie games, this can include FPS games, adventure games and much more. 

Previous Work

Financial Side

How is Iron Games financed and how much does it earn a year?

We were initially funded by crowd funding money, then we moved onto share holders once the business was set up. 

Each year we earn anywhere from £70000 to £100000, this is entirely based on how many games we work on and release each year and how much we charge developers per game/ how copies are sold. In addition to this, we make our money by advertisements and also sponsorships with different companies during and after production of a game. This helps us reinvest into new games and also allows us to push ourselves further with the quality of games.

How much will it cost to work with Iron Games?

There are no set rates for our company, but due to our high level of dedication to each product we assist with it will be roughly in line with £5000-£15000 depending on the type and scale of the game at hand. You can contact us for more details. 

How to contact us

Email us at Support@IG.co.uk:

                     Irongames@IG.co.uk:


Call us at 01925 91221


You can view our progress in making games on our wordpress site and our currently released games on our itch.io site.

5/5

Rated 5/5 by Stonks media.

Categories
3D character Design

Zremesher Dog

Here is my attempt at remeshing a dog model from Zbrush, i used clay to fill in the gaps of the zSpheres and then i used the smooth stronger tool to start smoothing out the model, I then went over smaller details and used clay and the standard smooth tool to smooth out the little details to make it less blocky.

Here is the view of the dog when i press shift + F.

Categories
Creative business pitch

Creative Business- Iron Games Powerpoint

Categories
Level Design

Week 3 level design: Environmental storytelling.

Here is my attempt at an environmental storytelling level within unreal, i made a cave with a large walkway over fire which then went into a corridor with a sarcophagus inside of it hinting at an ancient presence within the cave.

Categories
Level Design

Level Design Week 2: Landscaping

This week I made a simple level in unreal with the landscaping tools where i created a simple mountain environment with a sort of canyon part and open area with a dried up river within it.

I also used the foliage tool with assets from the unreal marketplace to populate the landscape with trees and bushes.

Categories
3D character Design

Week 3 Character Design: Gregory the Komodo Dragon

This week I used Z spheres to create a rough model for an animal, I initially started out making a frog, however it went a bit pair shaped and I then started to create a Komodo Dragon which I think went quite well considering it wasn’t even meant to be one at the start.

I used the move tool to move the spheres around into position and scaled them appropriately to create the legs and toes along with claws.

Categories
3D character Design

Week 2 Character Design

Here is my first attempt at using the Dynomesh tool within Zbrush to help me sculpt a pumpkin, I added a top part to it which ended up looking like a mushroom cloud, but I think that overall it went quite well.