Category: 3d Character Creation
Character Turntable
To give my character more of a realistic look i decided to add some texture to it by using Alpha channel brushes, these raised and lowered specific areas of the model where i wanted it to be bumpy, or smoother or ripped. It all comes down to my personal preference.
To begin with I used the blob tool with an alpha brush which has scratches. I used this to add scars and scabs to the side of my characters head and the back of his head, this is to convey his burns sustained, i also added small indents to the side of the head for where his ears used to be.
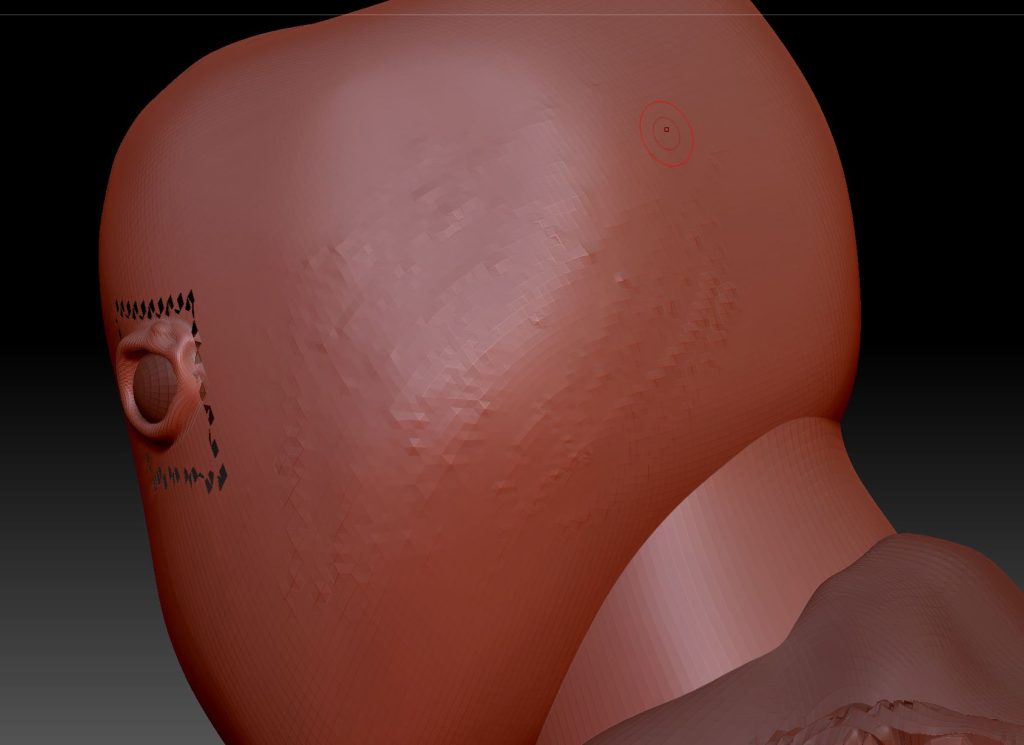
Side of head without Ear remnants.
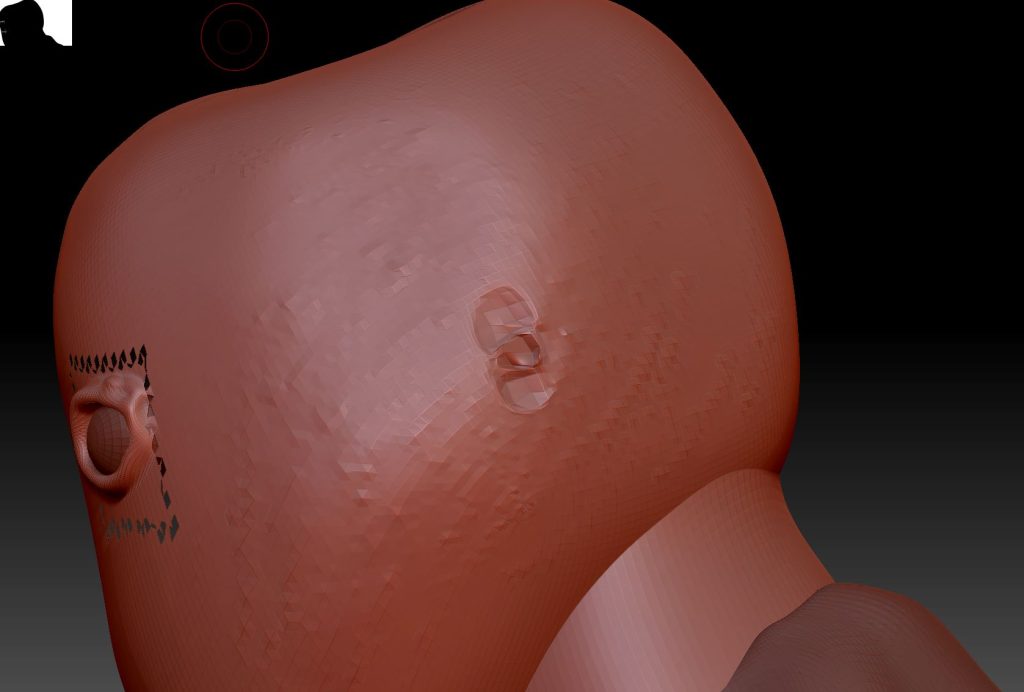
Side of head with ear remannts.
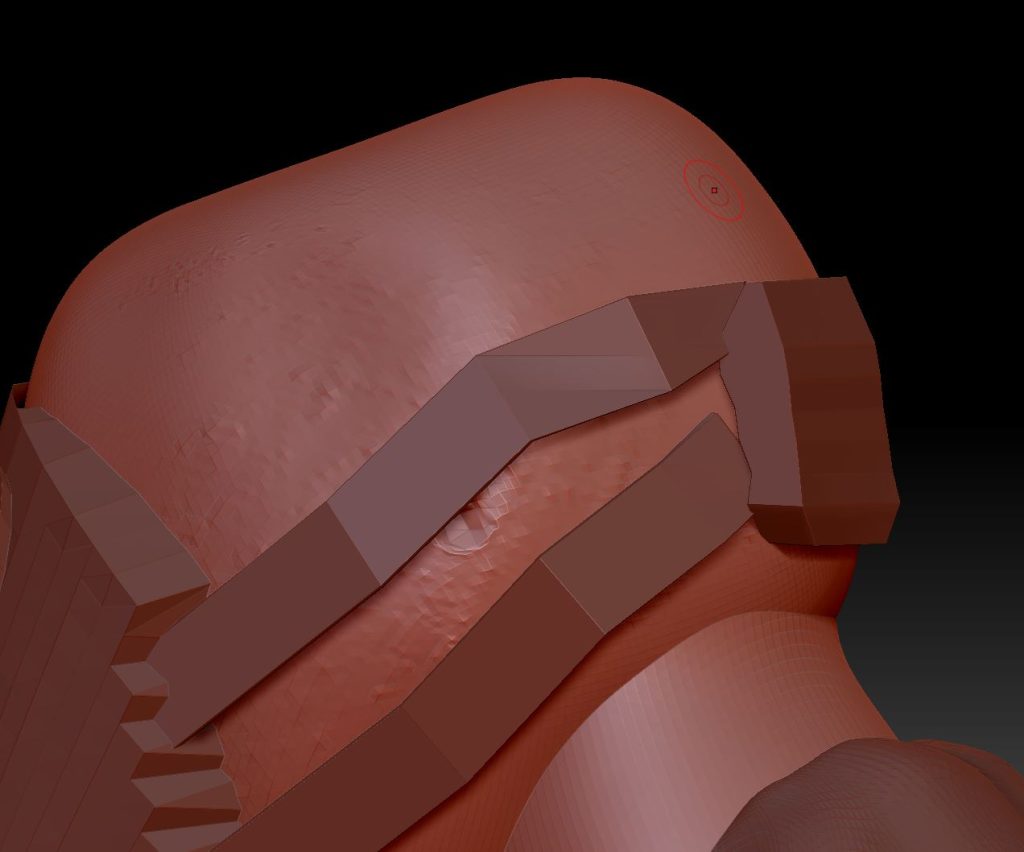
Side of head with gas mask on to show how it looks.
After this I created a hole in the face where the nose used to be located at.
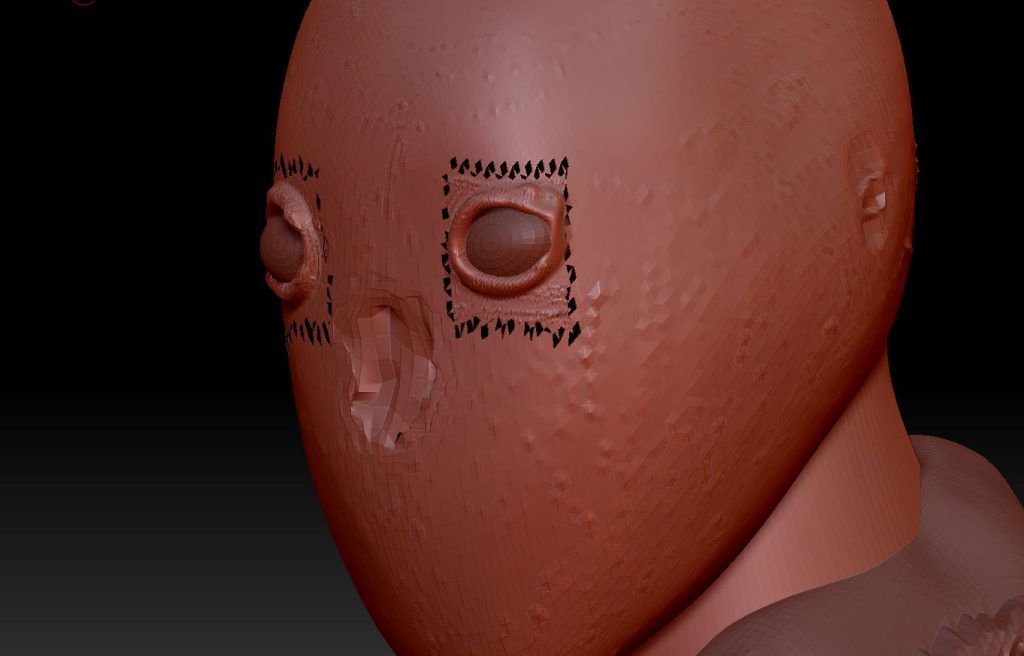
Nose remnants.
Once I finished the face I moved onto the clothes.
I began by adding details to the tunic using the scratching alpha brush, I did this so the tunic wasn’t soft and smooth but rough instead so that it looks better.
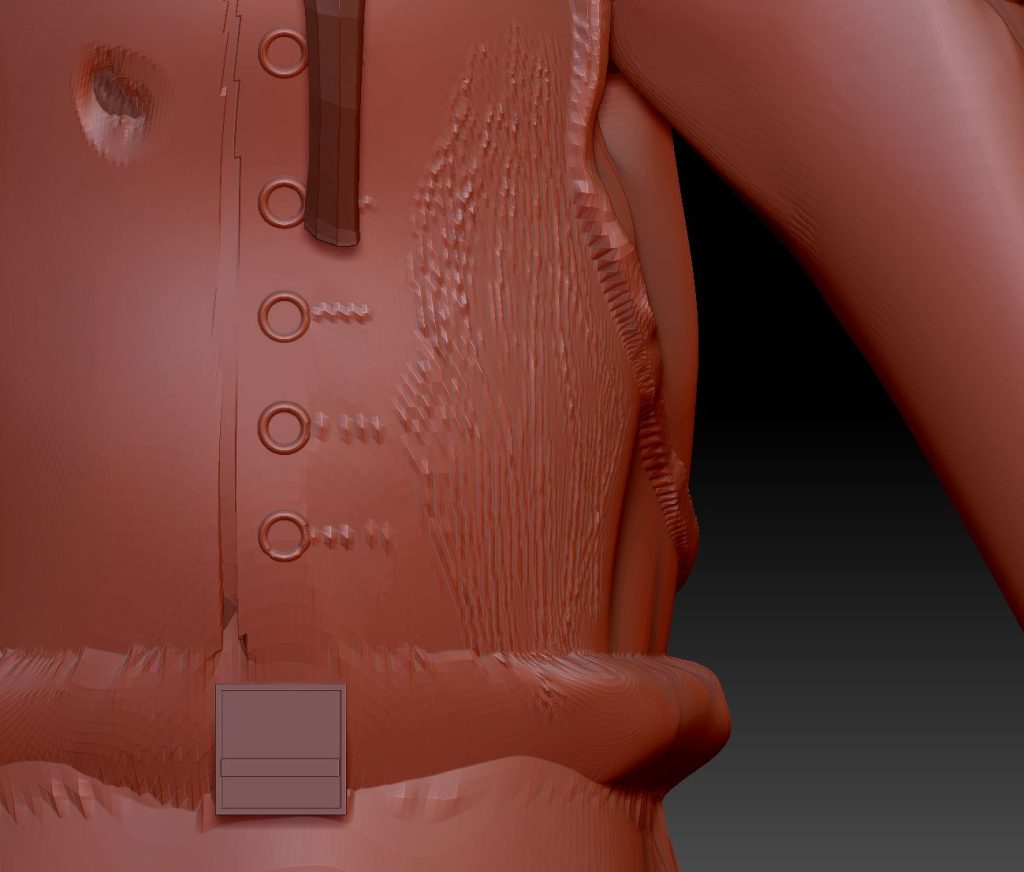
Side of tunic view.
I then painted the same brush onto broken part of the tunic to roughen it up and stop it from looking smooth.

Tunic rip with alpha brush present.
Below are some more images of weathering on the tunic.

Lower tunic area.
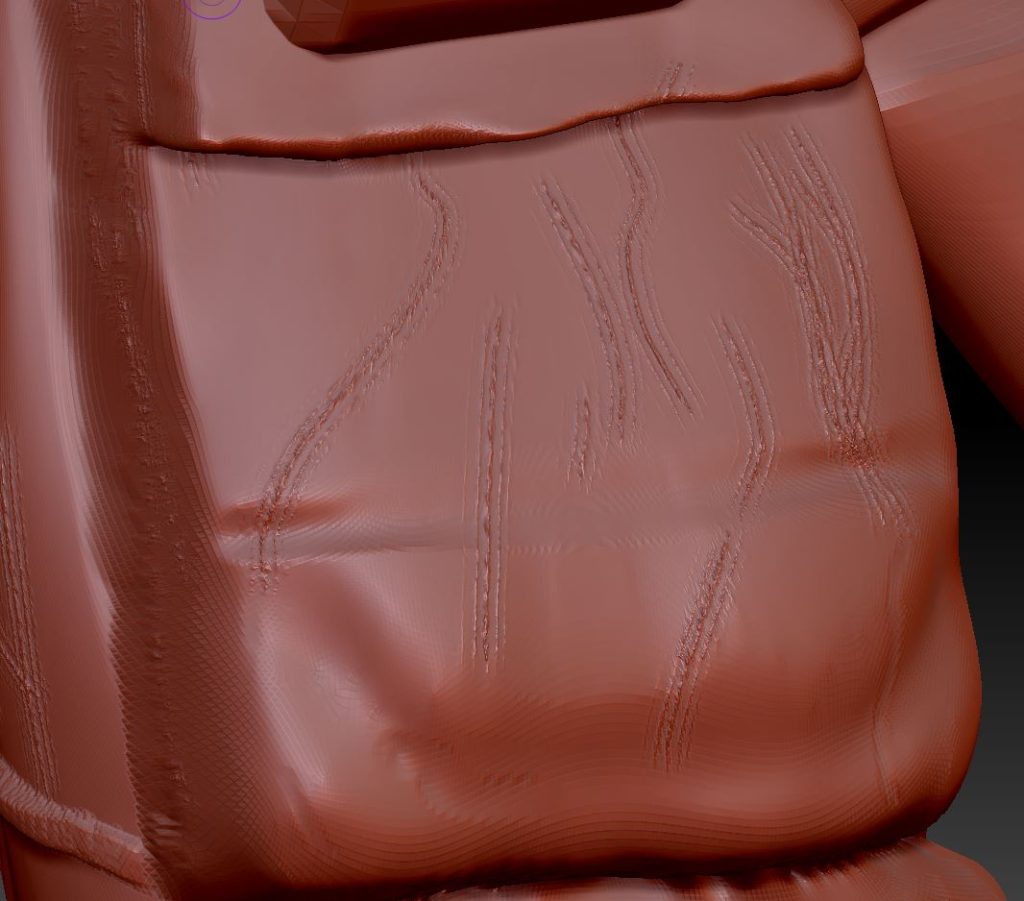
Backpack
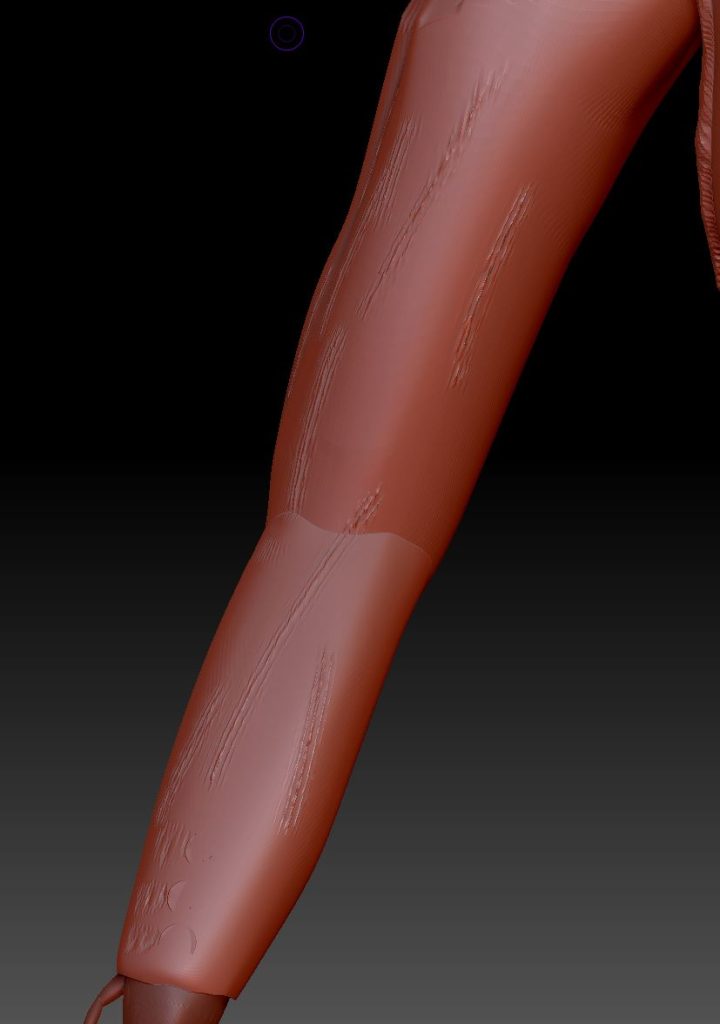
Arm
I then moved onto the legs and did the same thing for the upper leg, I gave these a lot more damage as these are my characters original uniform.
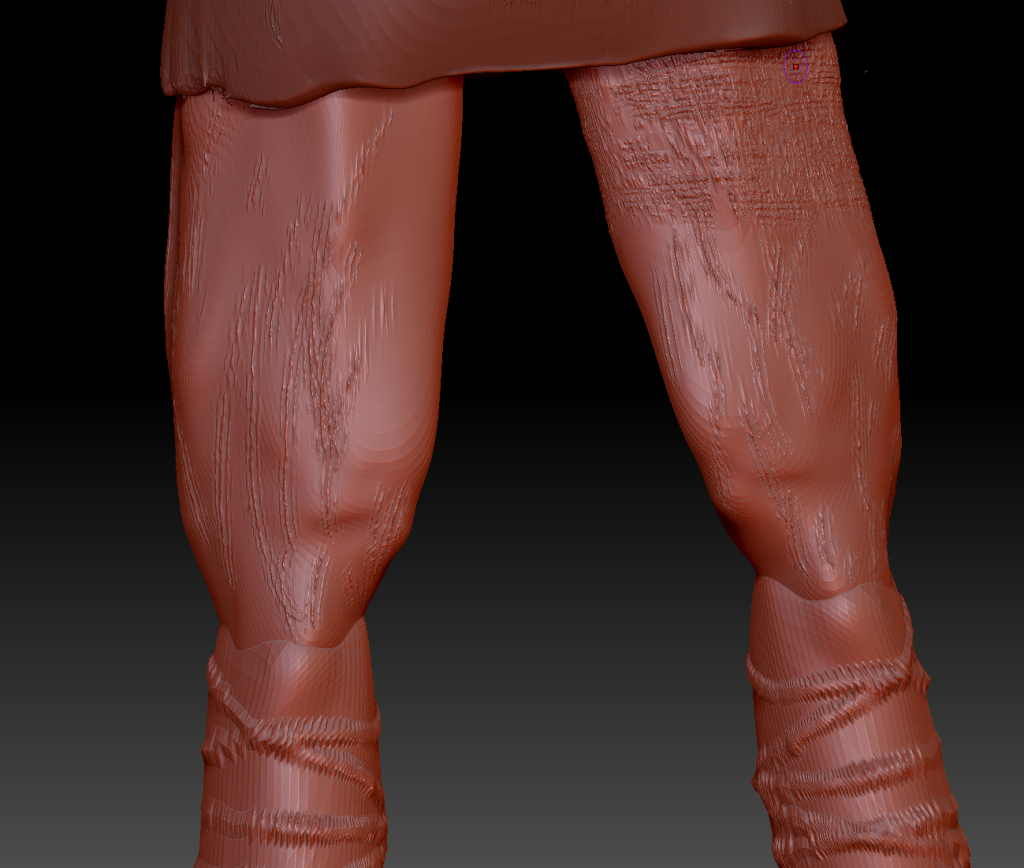
Legs area with detail.
Now that i finished my model I began to add materials to my character. Below are Images of each mesh accompanied by text on what I did for each part.
Helmet
For the helmet i gave the object a leathery colour material which I then broke up with some metal on the edges where there are chips in the helmet.
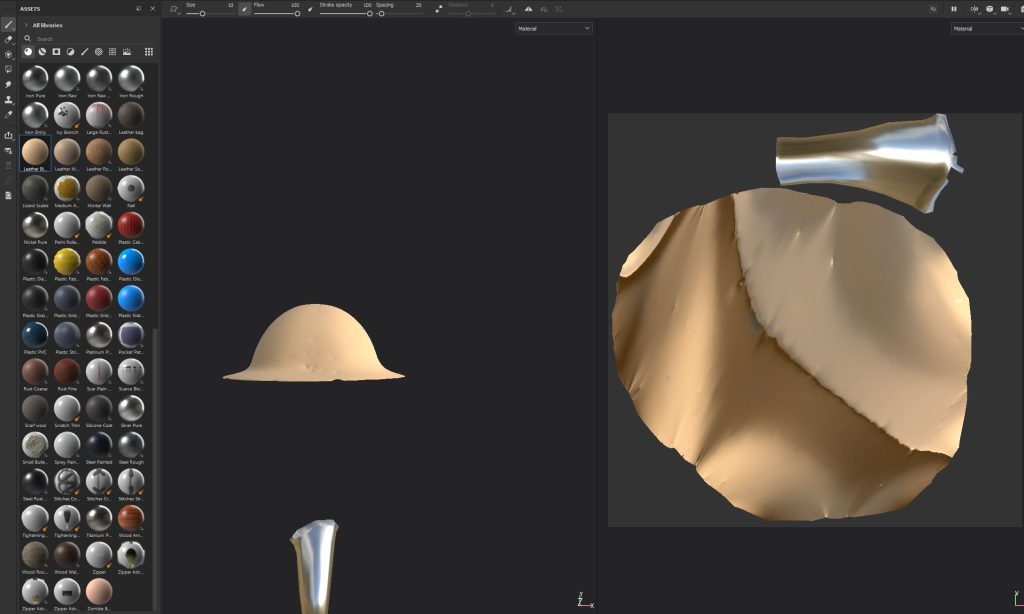
Helmet plain colour
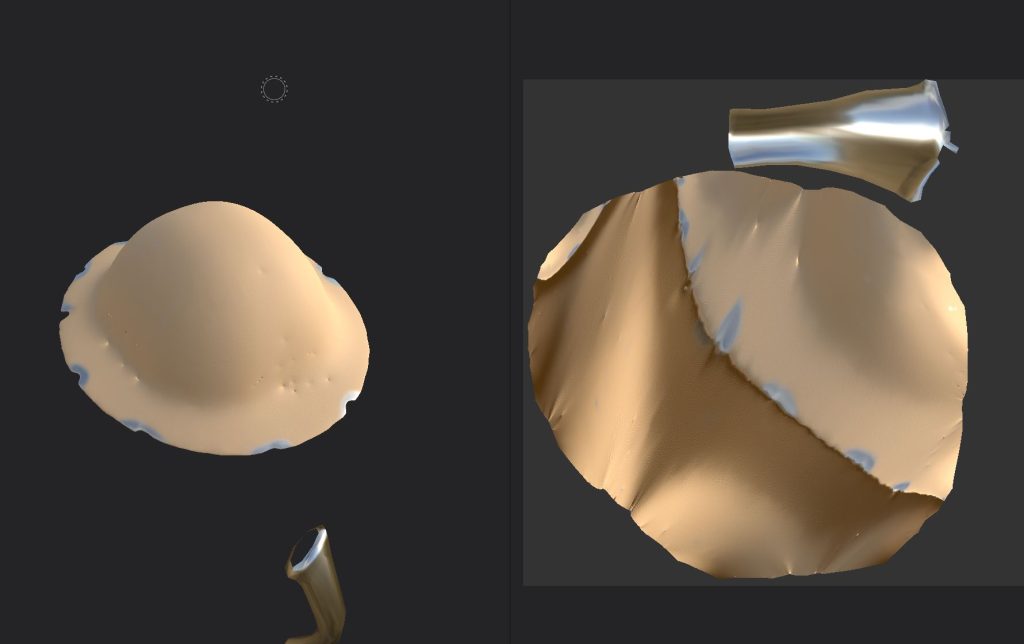
Helmet with metallic areas.
Eyes
For my eyes i made a simple material of white and black where i coloured the black onto the white base colour to create the inner part of the eye.
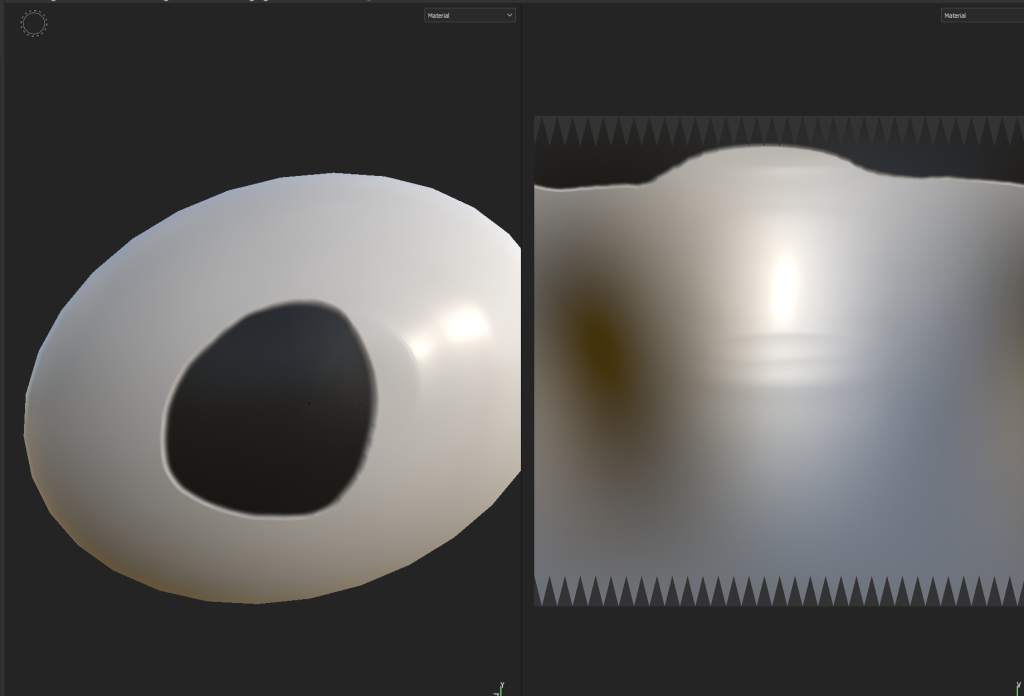
Eye material
Belt buckle
For the belt buckle i had 2 seperate materials, an aluminium material for the big square on the belt, and then a black metal texture on the small metal straps holding the belt buckle in.
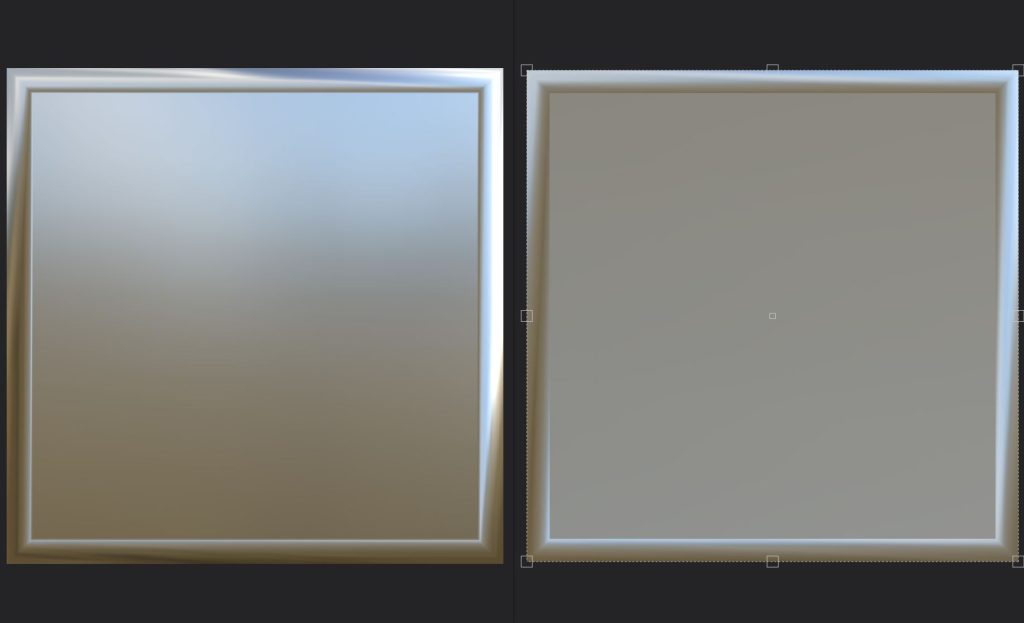
Belt base square
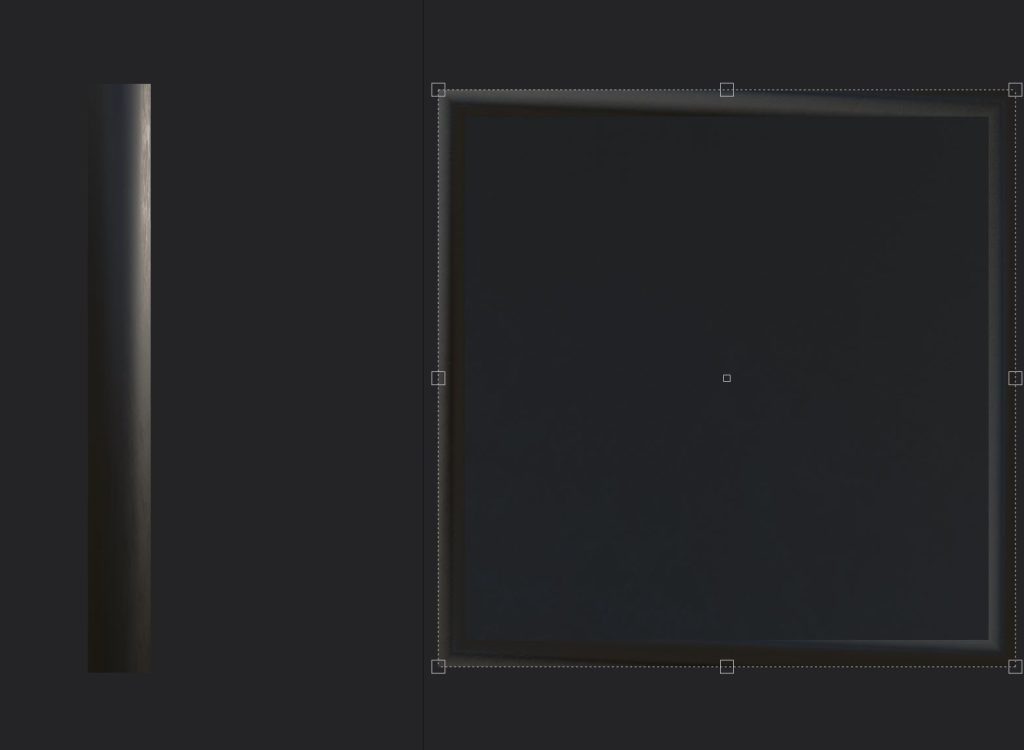
Buckle rectangle.
Body
For the body of my character i went with multiple approaches, firstly i added a base human skin material to the entire body, this is as most of the mesh itself is skin, except the trousers and boots.
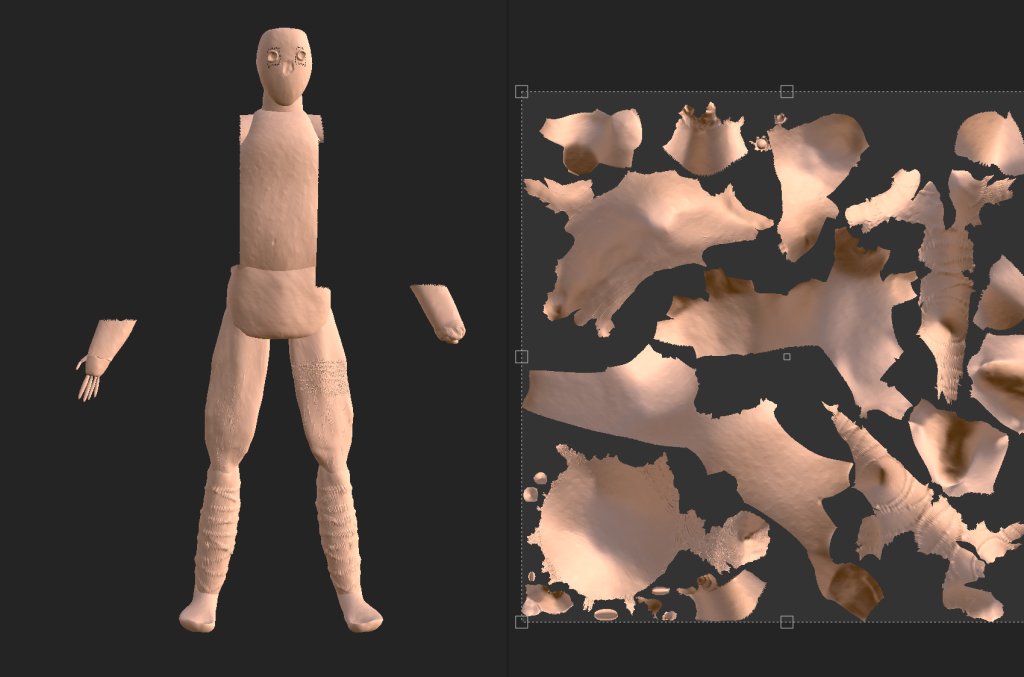
Base colour for body mesh.
I then made a base layer for my boots and trousers, i did this by finding a brown coloured material and painted the entirety of legs and lower torso area.

Body with trousers texture painted on
After this i moved onto the head where I painted red onto the sides of the head, these to mimic burn marks and cuts.
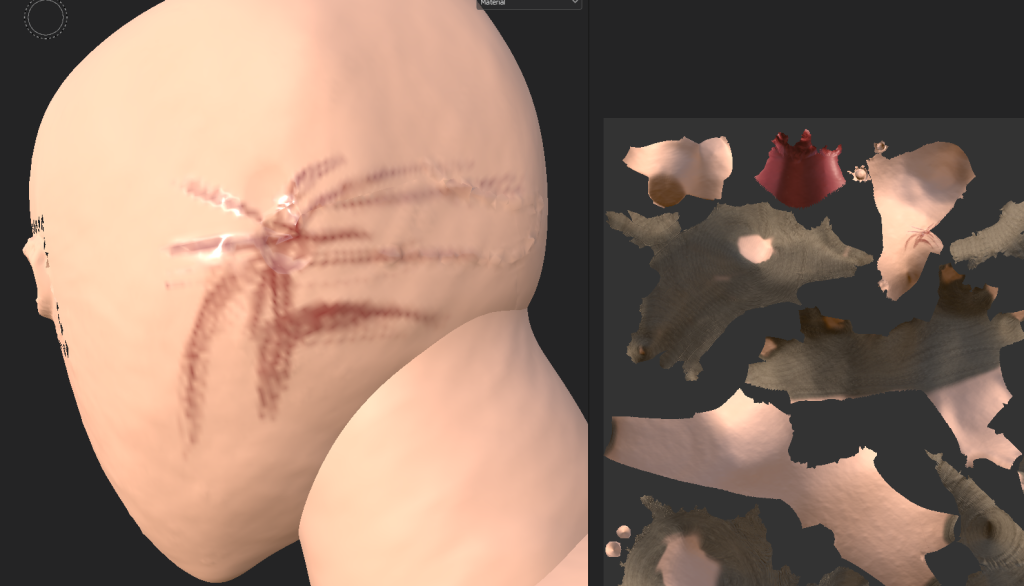
Side of head with blood type material.
For my hand I did the same as this, but covered the entire thing with the red material.
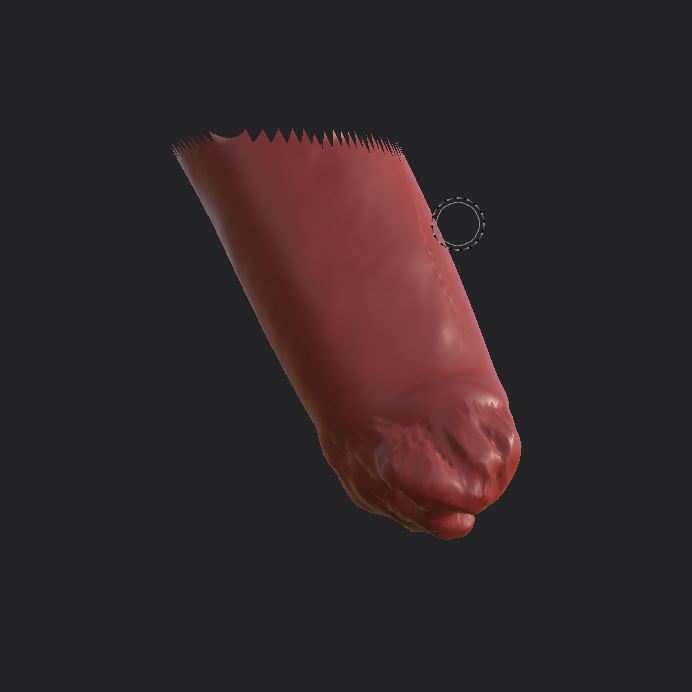
Destroyed hand with material.
Due to substance painter not loading the gas mask of my character, I had to move over to blender to texture it properly.
Tunic
For the tunic I began with a grey base material which would become the main colour of the tunic itself.
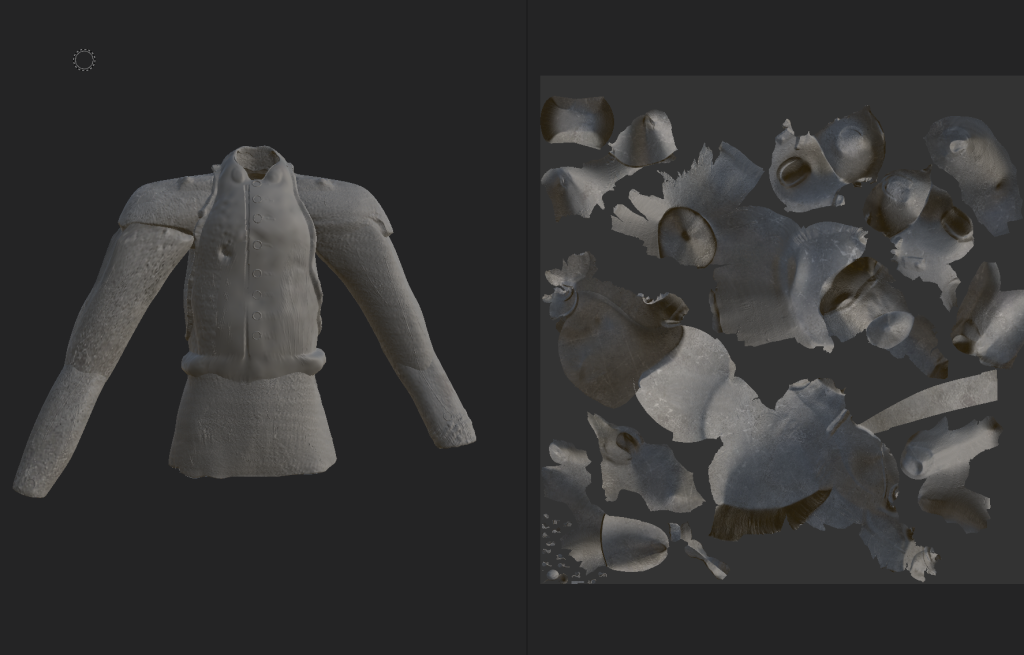
Tunic base material
After this I added gold buttons to the button faces on the tunic.
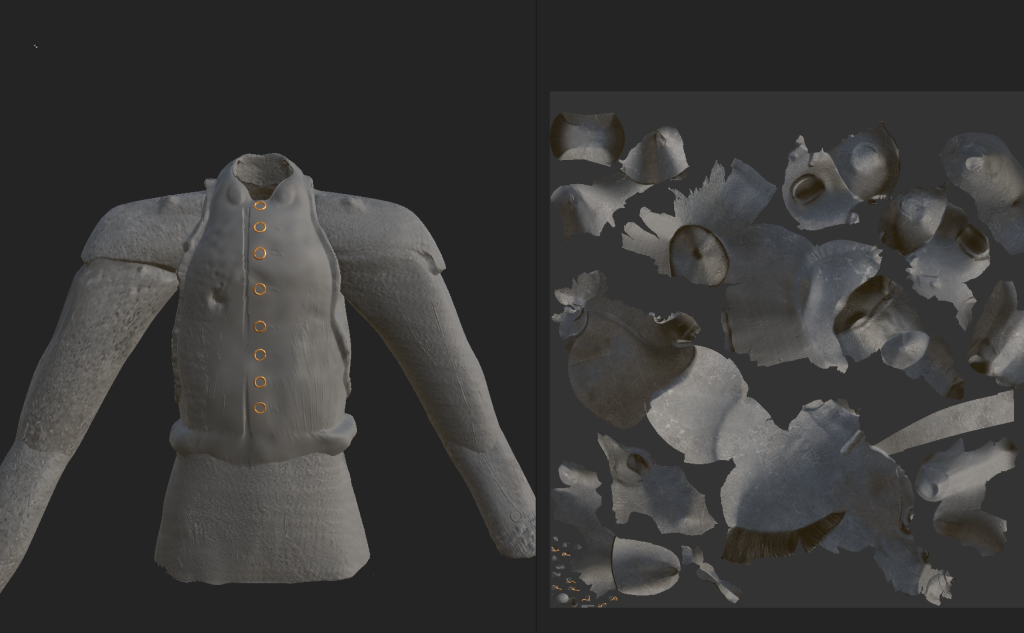
Gold buttons on tunic
I then did the same for the epaulettes.

Gas Mask
For the gas mask I created 2 simple textures, one being a light brown material the other being a matte black material, the first being for the body of the gas mask and the latter being the canister at the front.
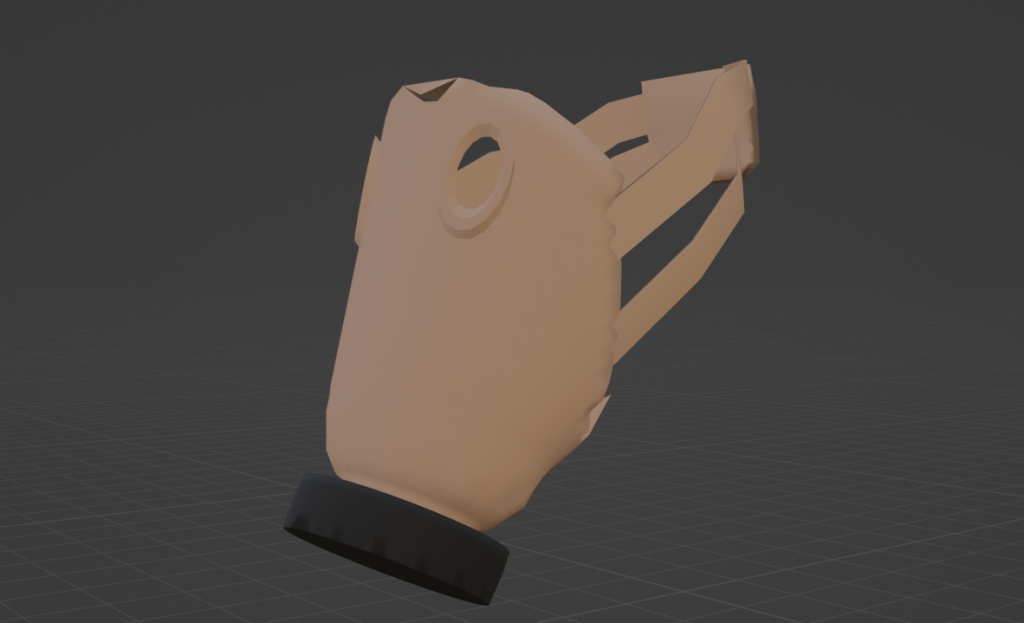
Fully textured gas mask.
After creating my gas mask and helmet i decided that it would be a good idea to create a backpack for my character, this relates to the era well as many soldiers carried them to carry supplies, ammo, food and more. To make it fit in with my character i decided that i want it to be roughed up and torn in some parts to it goes together with the aesthetic of the character well and doesn’t look out of place.
Firstly I masked the area on the back where the backpack is going to be located.
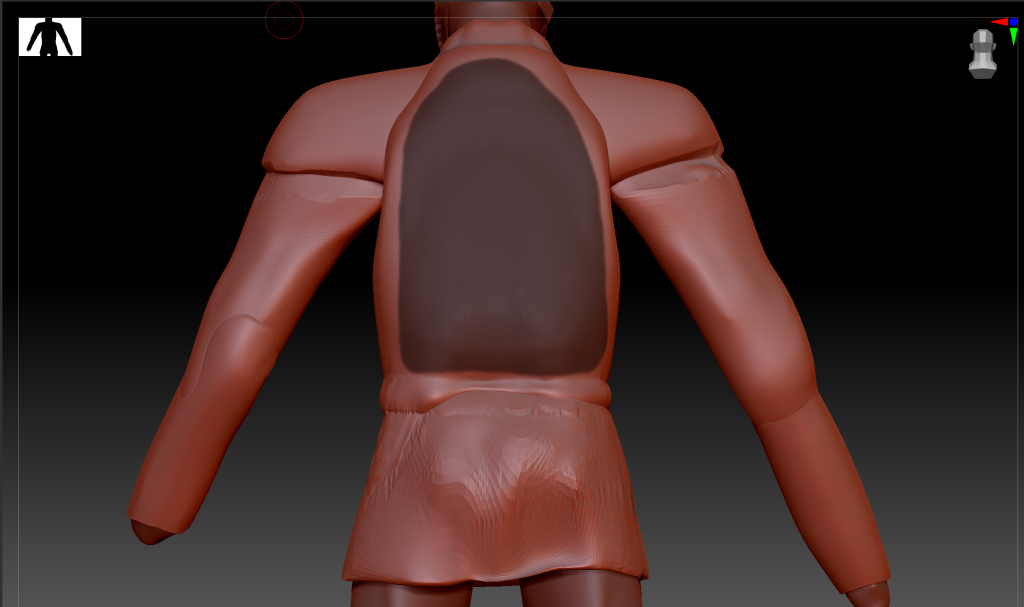
Masked out area.
After this i used the move tool at the top of the lightbox to extrude the masked out area to an appropriate distance from the body.
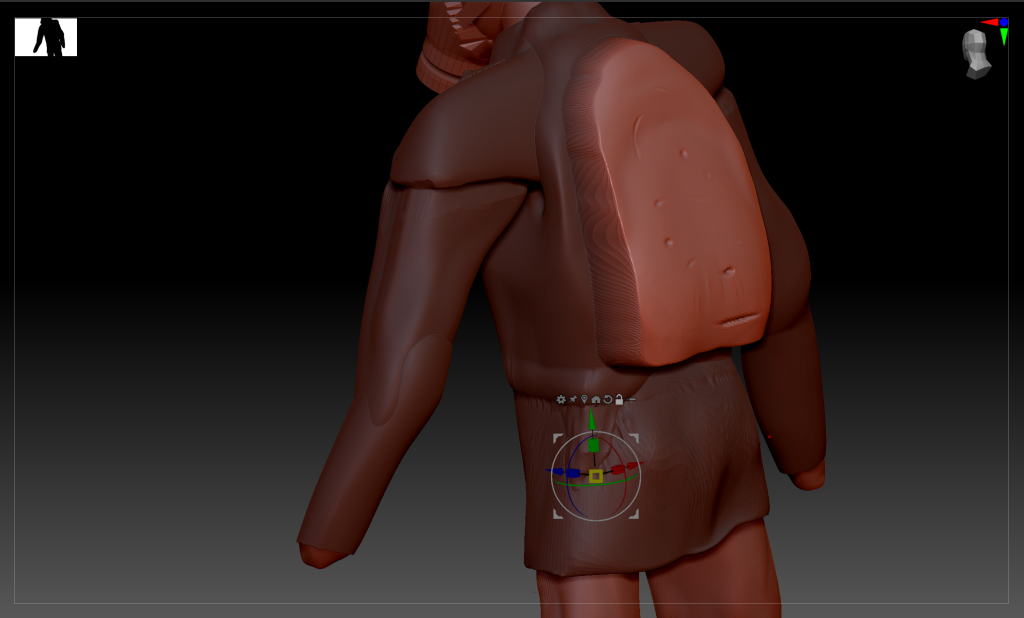
Backpack area after being extruded.
I then began by giving some rough detail to the backpack to define its shape before, I’m going this because I want a shape to work off when I go into detail so i know where to add more or less detail.
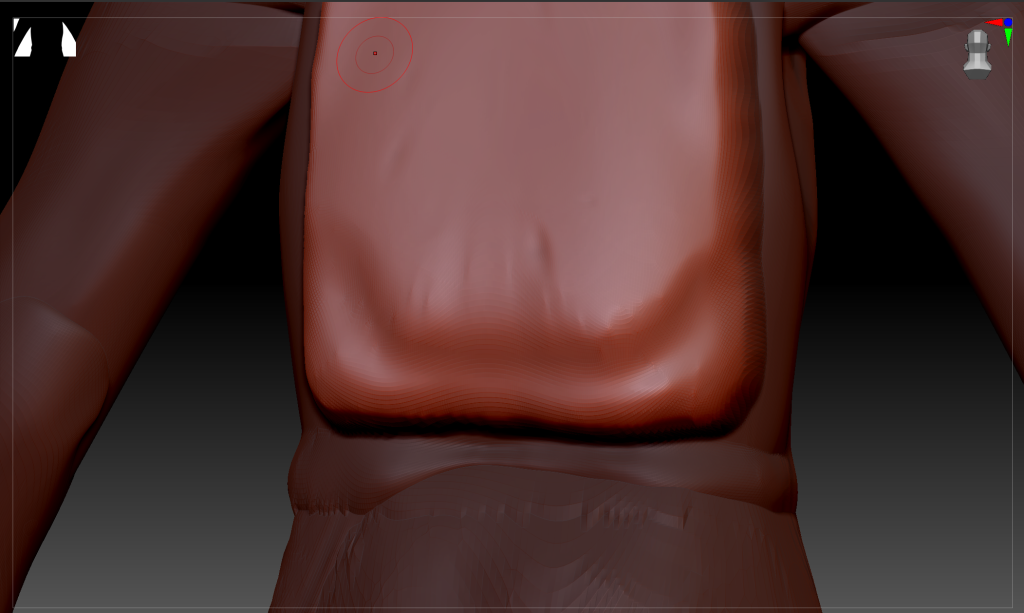
Lower backpack area being defined.
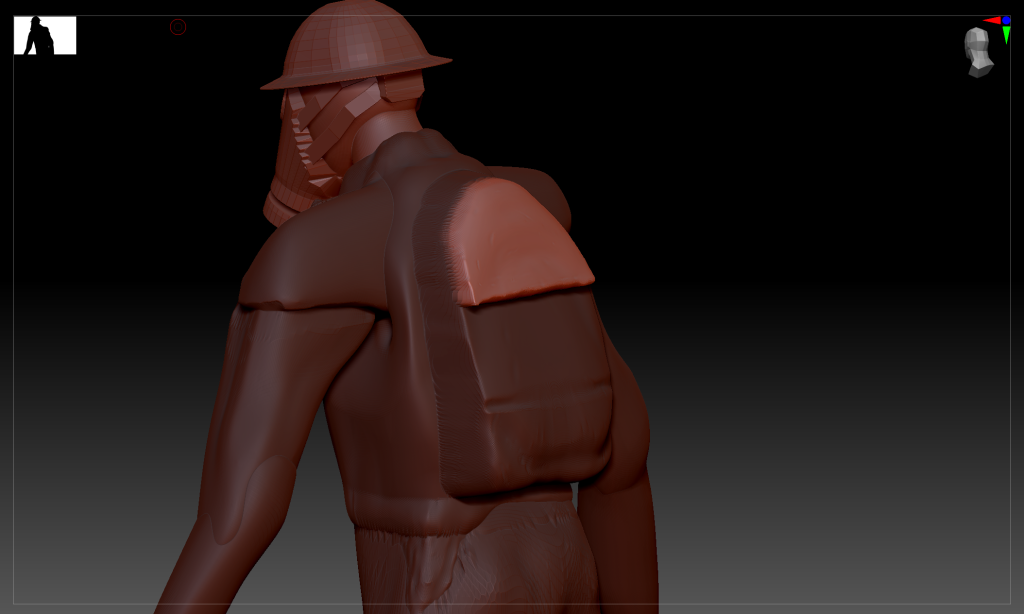
Extrusion of top part of backpack.
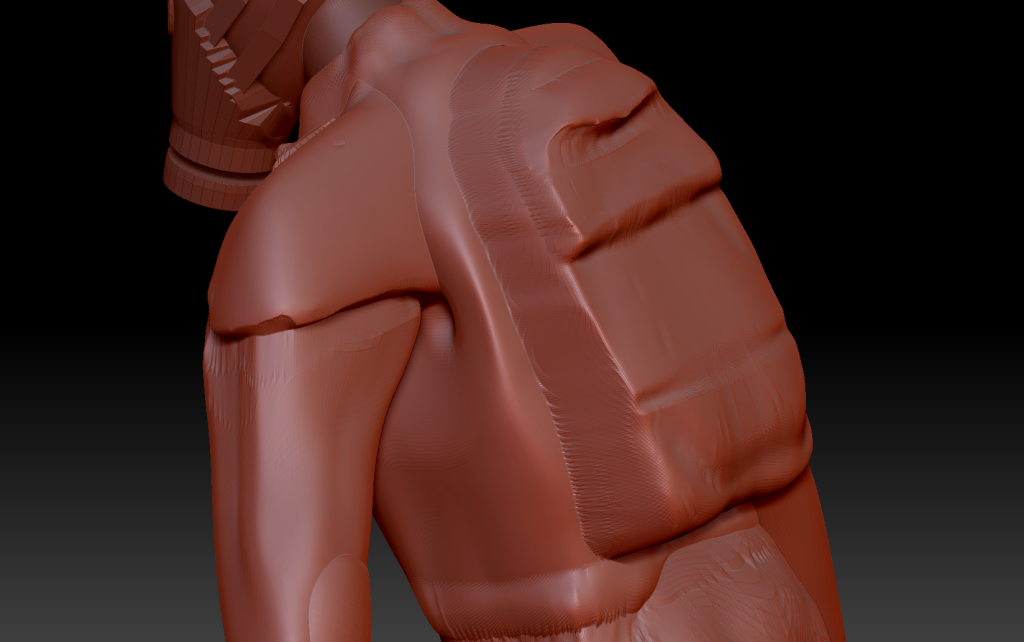
Extrusions to create new levels of backpack.
I decided to give the backpack multiple levels as that will look more like ww1 backpacks did. instead of modern ones without many layers.
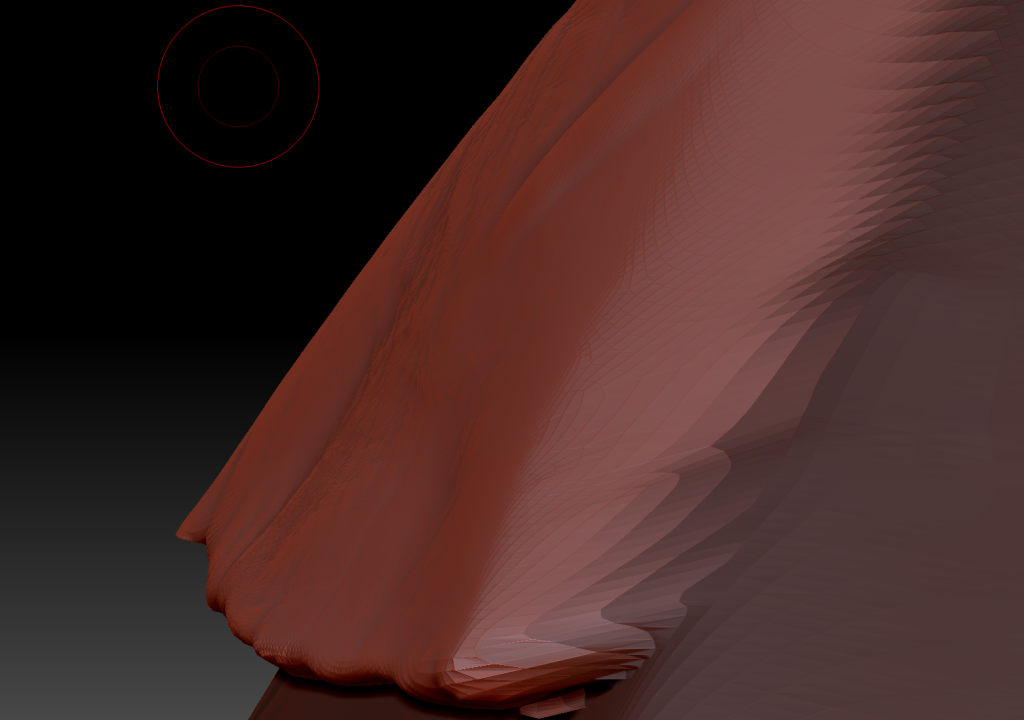
I creased the backpack to give some texture to it.
After this i then added a cylinder to the backpack to create a big sleeping containing area for items which soldiers would want.
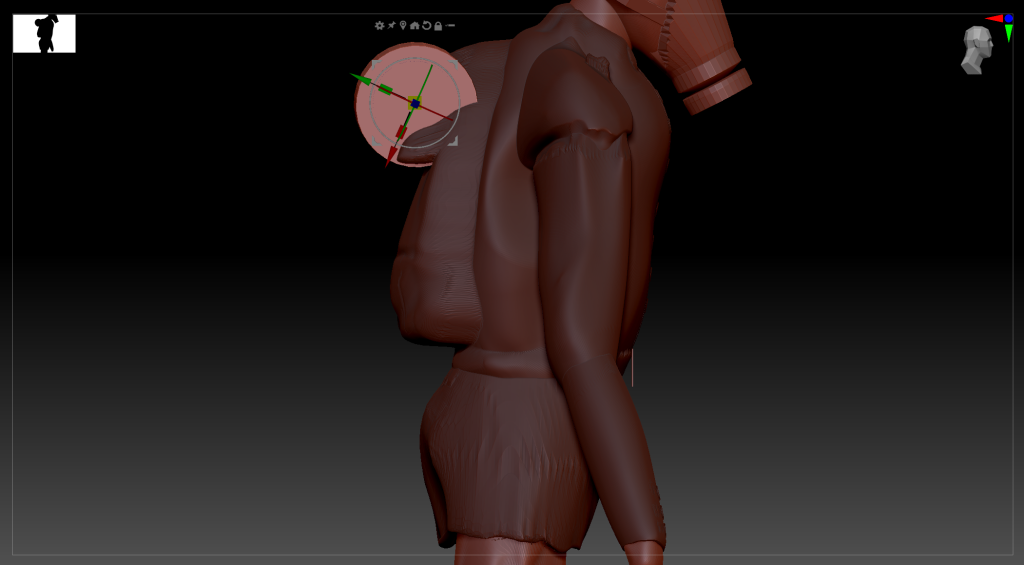
Cylinder after being added without proper posititioning.
I then shrunk down the cylinder a bit and then started to smooth it out and smooth out the edges, creating a more realistic looking cylinder for the backpack.
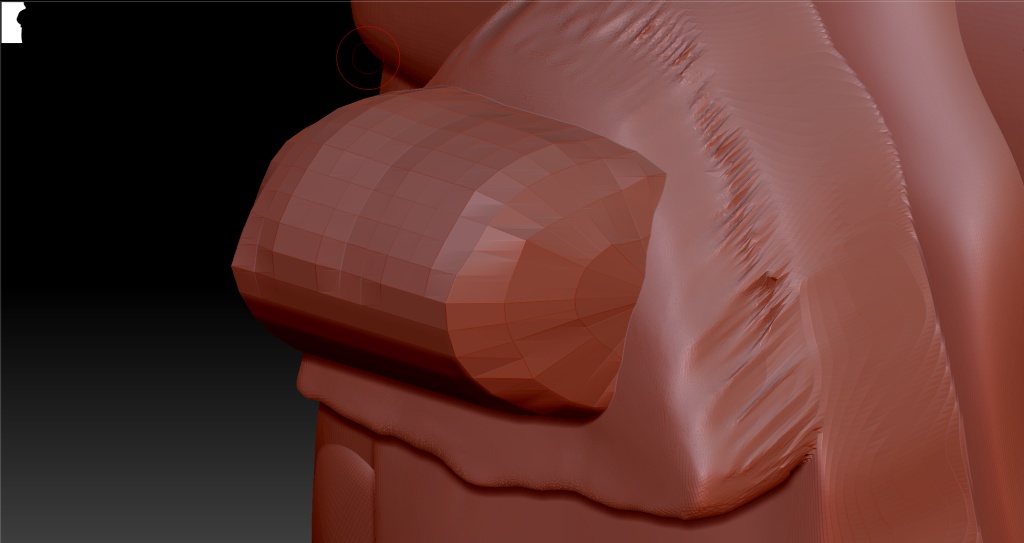
Smoothed out cylinder.
I made some straps for the backpack so it isn’t suspended off of the back of the character.
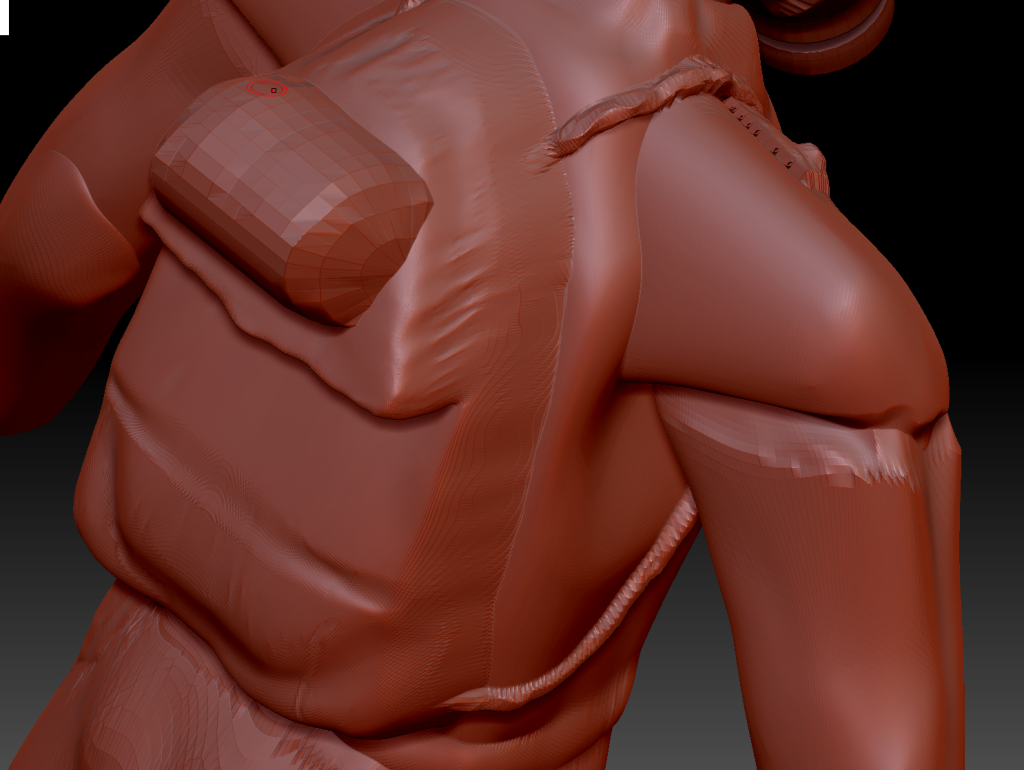
Straps for backpack.
To begin the creation of my model, I added some spheres which I began shaping once I put them together in a rough human shape, i created these spheres for each area of the model such as shoulders, upper arms, forearms etc.
After this I began to make them look like limbs extruding the forearms down and out away from the upper arms, thus making elbows. and i did the same with the legs.
Once I made the arms i moved onto the legs where i did similar, however i decided to crease the upper legs to imitate ww1 British trench trousers. and for the lower part of the leg, i added webbing around which is also the same thing the British army did in ww1.
For the head i made a rough shape of the head as it will be covered with a gas mask and helmet so it would not be that visible underneath it.
Below are walkaround images of my character in its early stages.
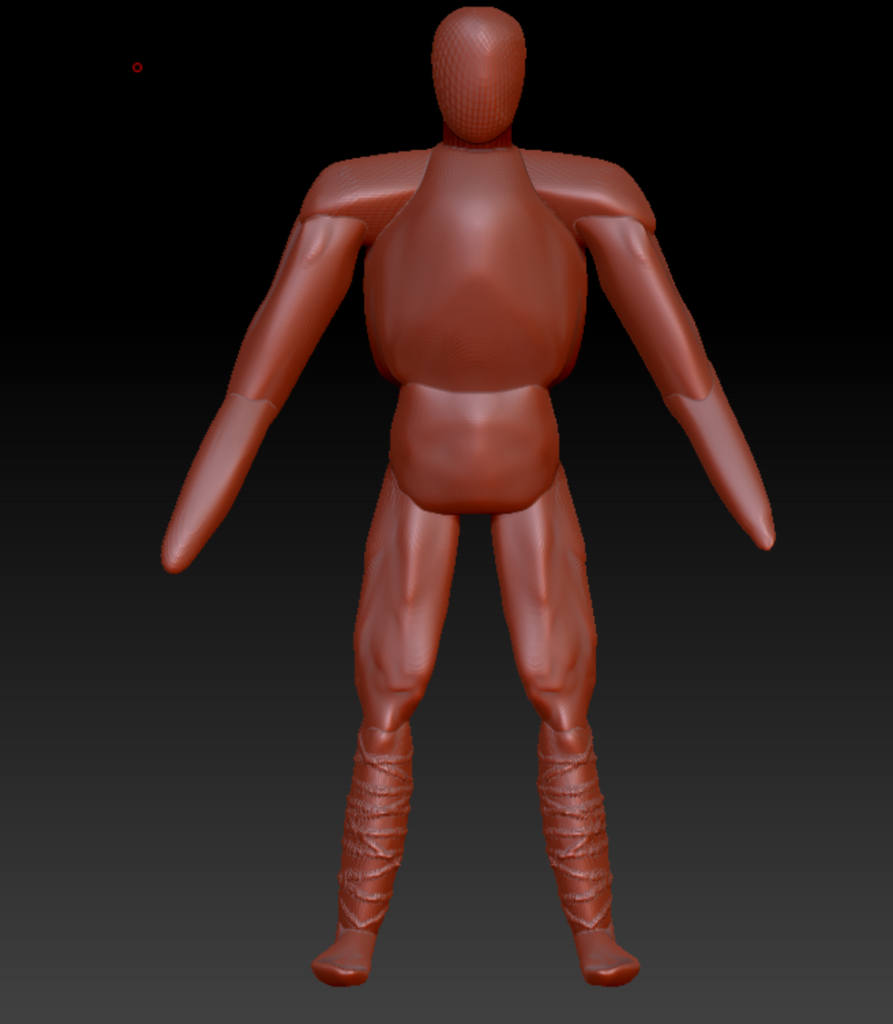
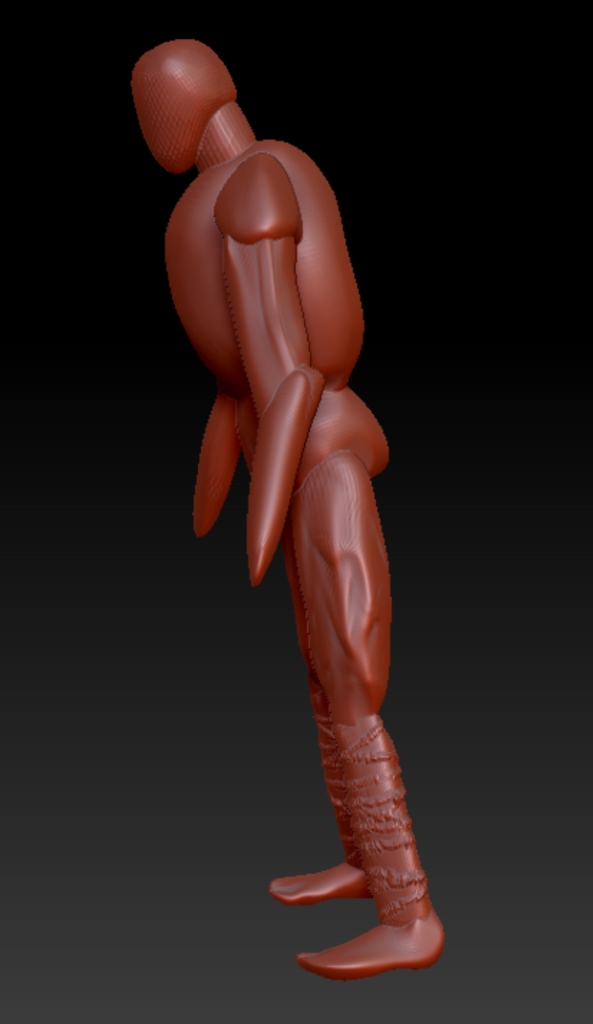
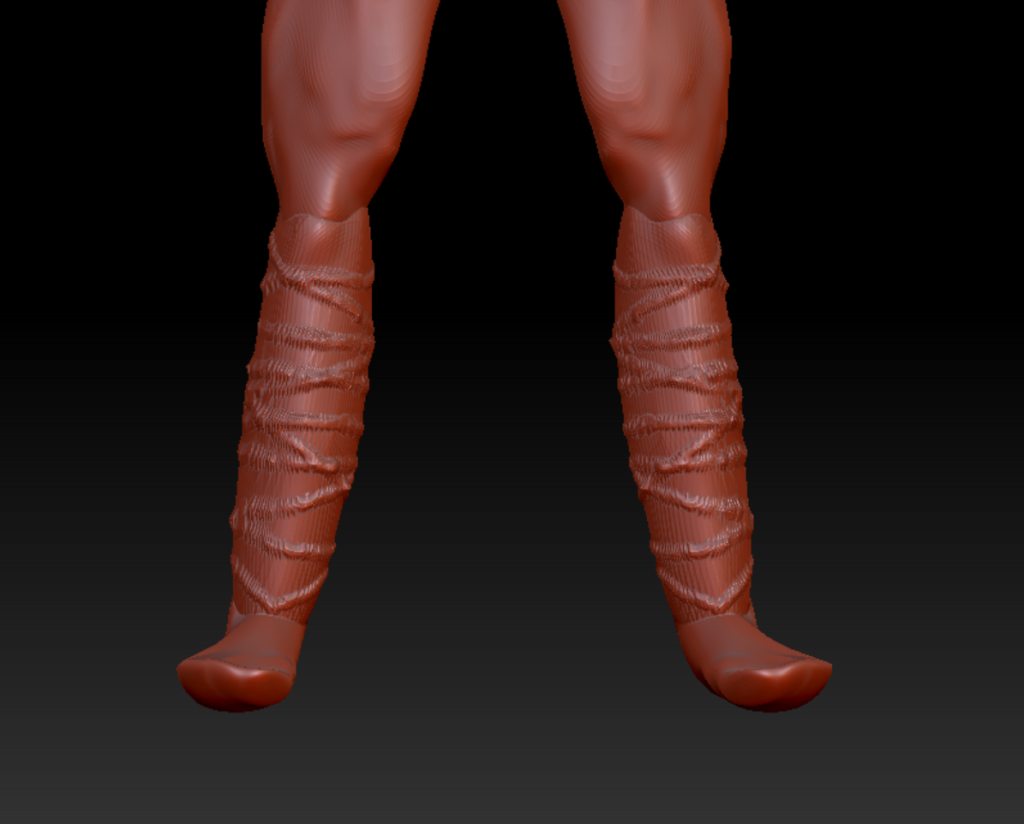
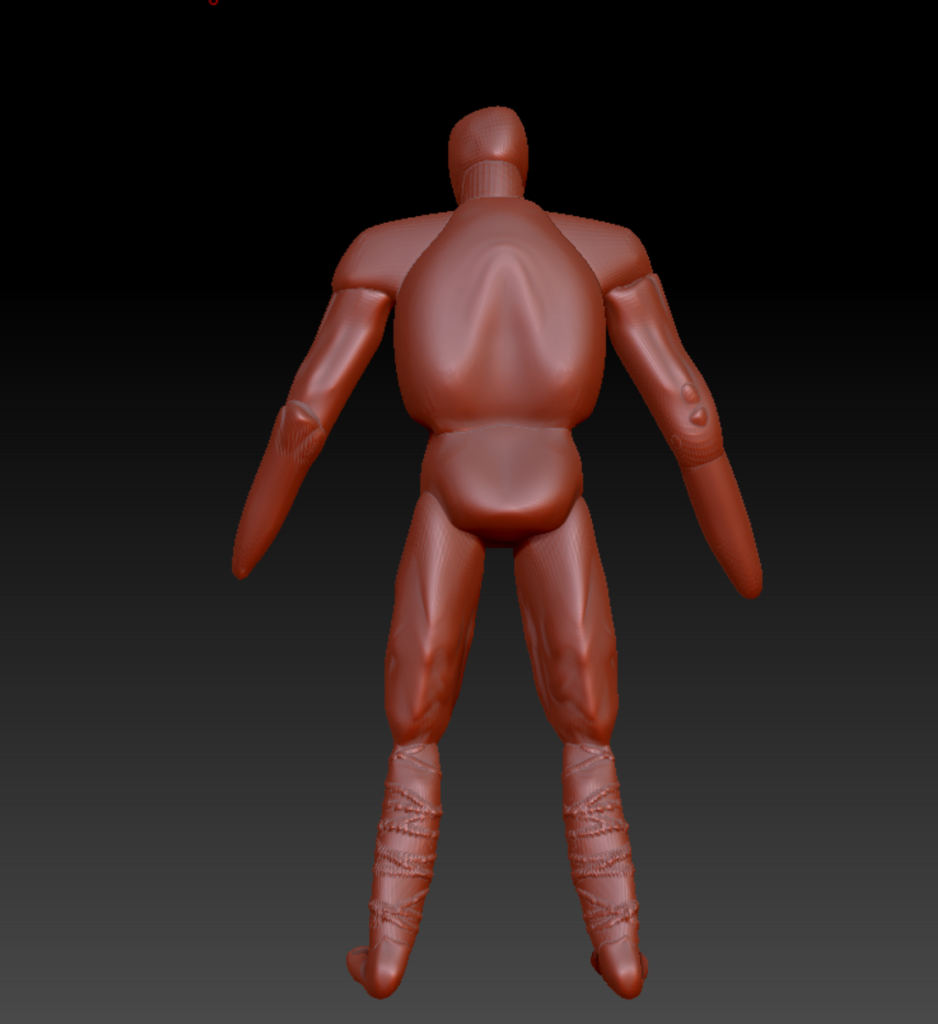
Once i completed my base mesh for my model I decided to cut out unwanted areas of the body mesh, this is to ease the workflow for animation and rigging later on. This is also good for lowering down the polygon count by quite a large amount, this helps me with speed of Zbrush when i’m modelling it.
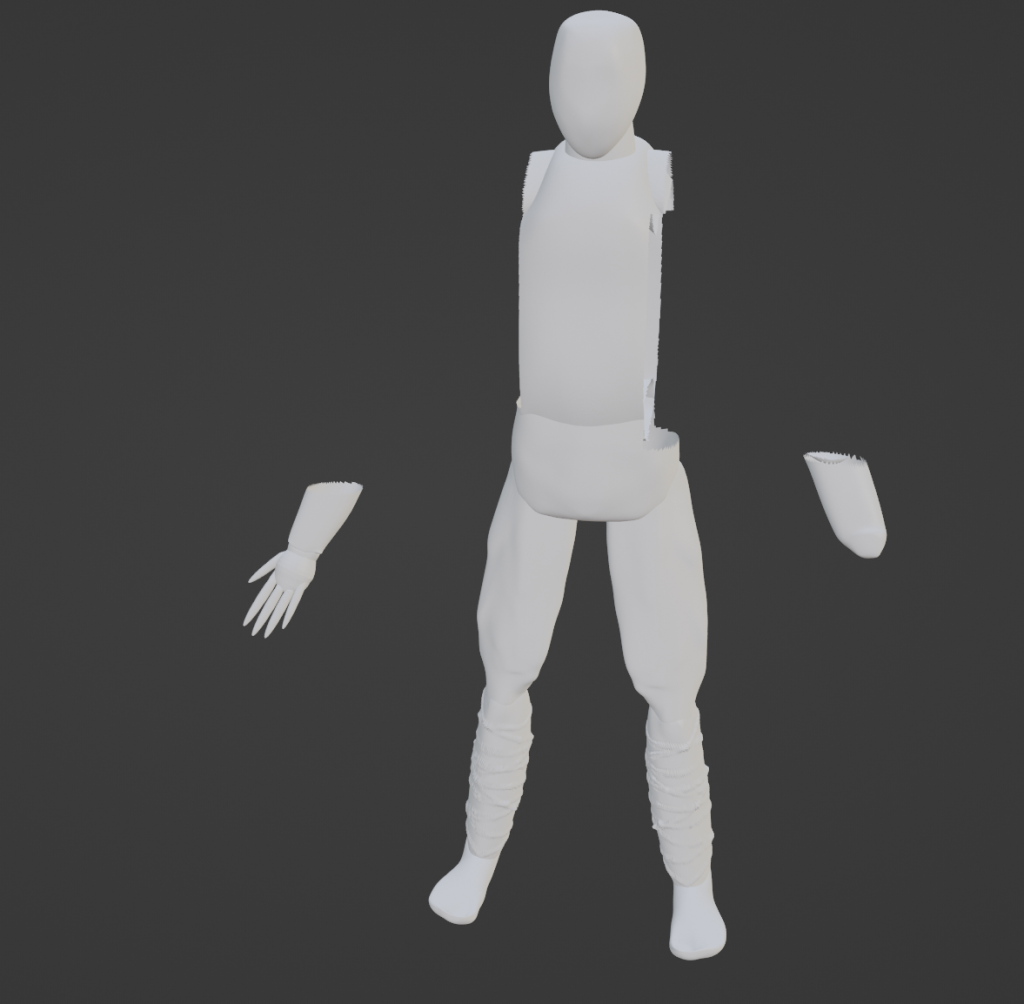
For the shirt I inflated the mesh while the arms and torso were still full, making the thickness similar to an actual ww1 tunic. I then puffed it out a little bit so that it could have a bit more thickness and depth, then I saved that and started molding it around the torso, making sure that it wasn’t clipping with anything.
Once I removed the upper arms and the sides of the torso, the creation of clothes was so much easier and took less time then before.
I began shaping the tunic and decided to add buttons down the uniform so that I could know how to style the uniform later on. I also did this because it goes with the style of uniform and would look more realistic
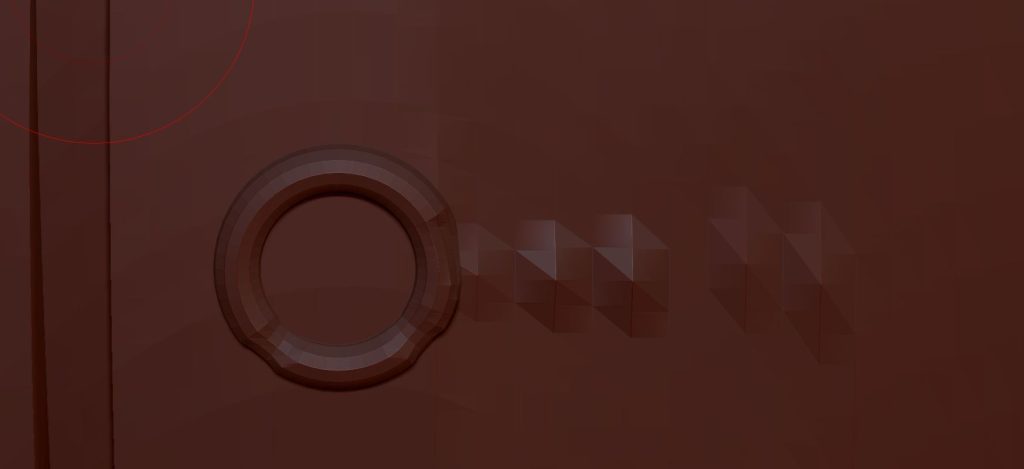
I also added a belt by using 3 cubes and scaling them down appropriately to create the buckle, I then inflated the area around the buckle to create the belt itself. Once it has a material added it will be a lot better.

I created the hands and fingers by firstly extruding the forearm downwards to make the hands, and then by adding spheres and extruding them downwards to create the fingers.
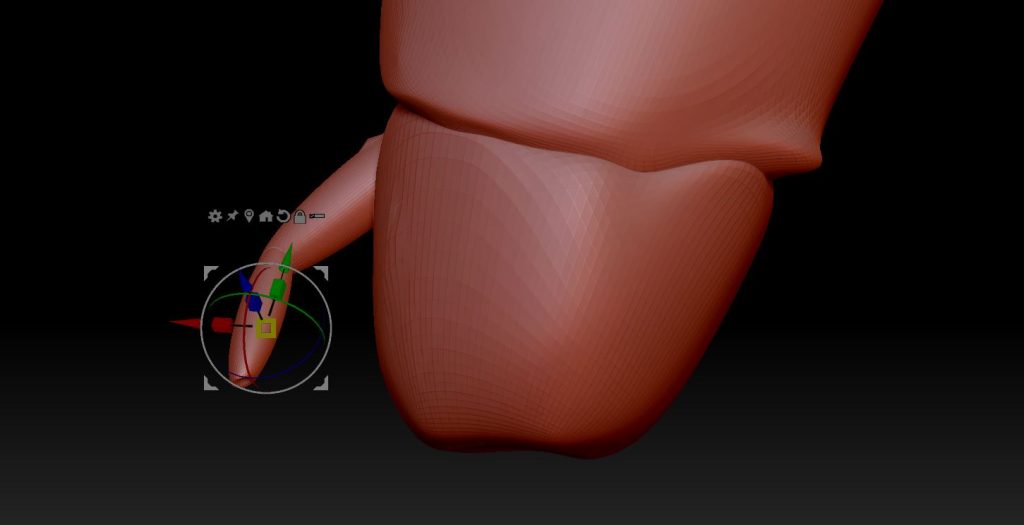
Once I had all my fingers in place I masked out the top part of the fingers and then used the move tool to bring them up slightly to make a more realistic start to the finger.
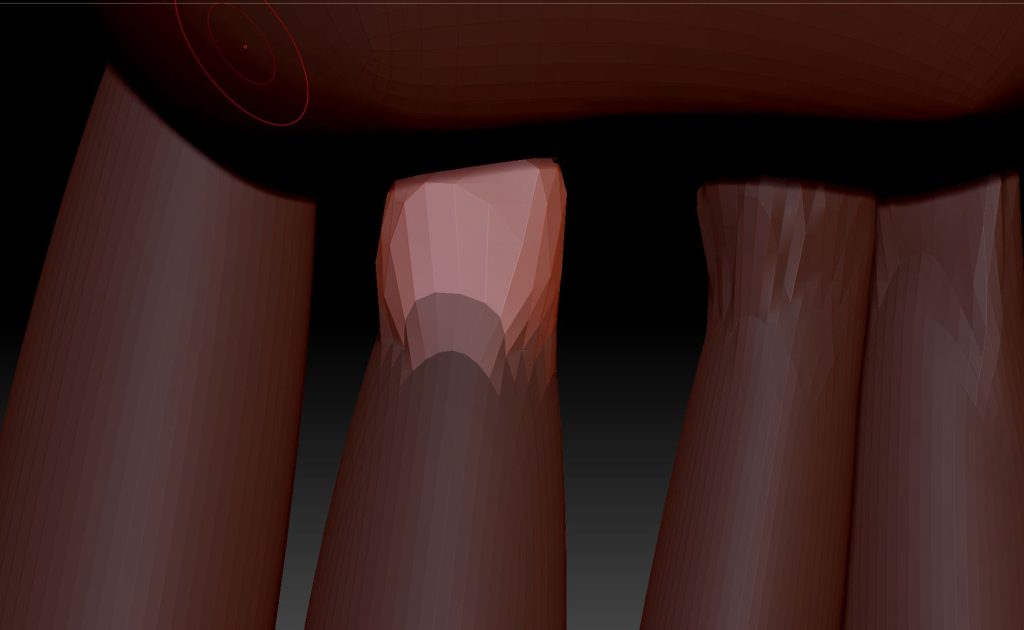
I created bandages for my characters left hand as they do not have one due to injuries sustained in ww1.
I began by using the clay buildup tool on the lower part of the forearm clothes and created bandage type stripes around the arm.
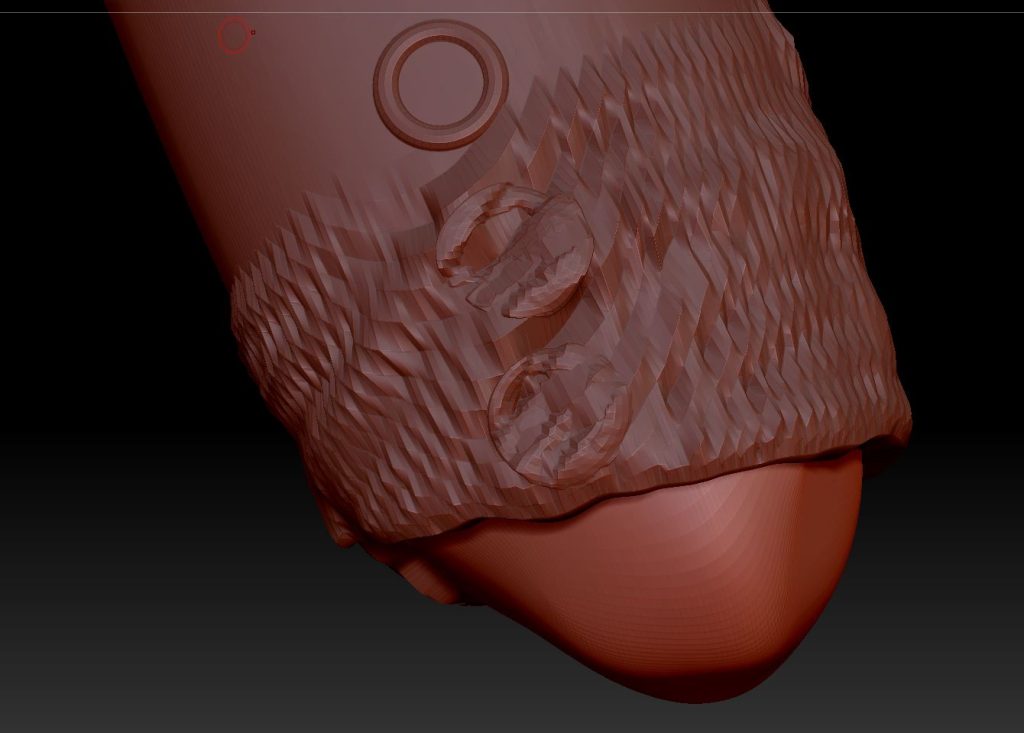
Bandages on clothes.
After this i moved onto the hand where i added more in a more unorganized fashion to imitate parts of his hand still being there and others not. I also wanted it to be all over the place as it will help me add materials to it in the future because it will look the part more than it would have without it.
It also looks like the hand is burnt too which will coincide with the injuries sustained.
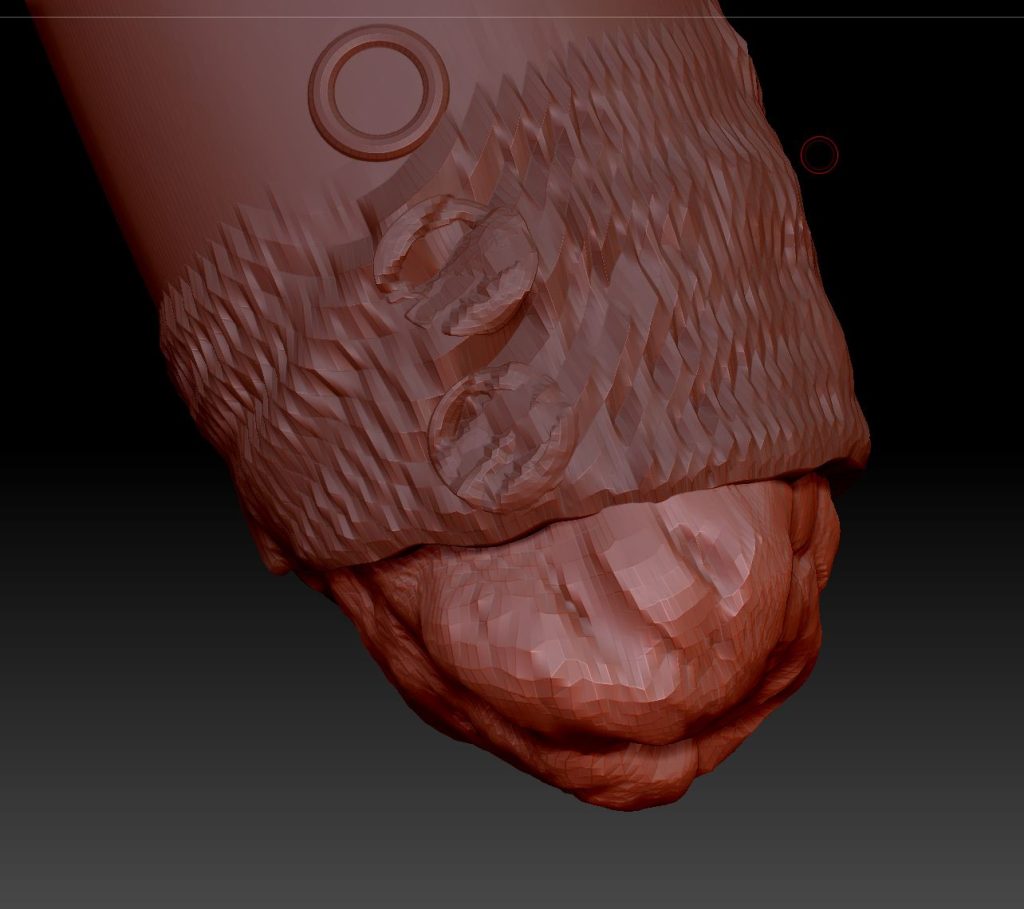
Bandages on hand.
For my characters torso and tunic, I decided to add some weathering and cuts to the uniform as my characters backstory sets him as a person who has scavenged for different uniforms just to keep warm, therefore the uniforms have different cuts and holes inside of them to signify previous use and ownership by people less fortunate than my character.
I did this by using the alt key and the clay tool to dig down into the tunic exposing the skin mesh, and then adding some texture by doing the same to the skin underneath.

Tunic break and skin.
As my character is in ww1 i need to create era appropriate additions to the model, these being a helmet and a gas mask.
Firstly i created the gas mask.
I first went into blender and added a UV Sphere, i then cut the top and bottom parts of the mesh off and bridged both faces to create flat ends to the mesh. I then extruded the top layer of vertices and shrunk them down to create the canister a the front of the mask.
I then levelled out the vertices and extruded them further back to make the rough shape of the fabric part which covers my characters face.

View of early progress mask.

Wireframe view of same image.
After this stage was finished I moved onto creating the eye holes. Firstly I added loop cuts all around the fabric area to ensure high quality if I were to move the vertices, I then I then pressed I to indent it and then right clicked and made the selected vertices a circle via the loop tool addon in blender. i then right clicked again and bridged it so that the middle vertices would attach themselves to the outer wall of the circle creating a hole which can be used for the eye holes.

Mask after the holes were created.
After this i then extruded the outer hole vertices down to cover other vertices to make it look realistic, i then extruded all of the vertices on the hole upwards to bring the circle forwards from the mask so it wasn’t all flat.
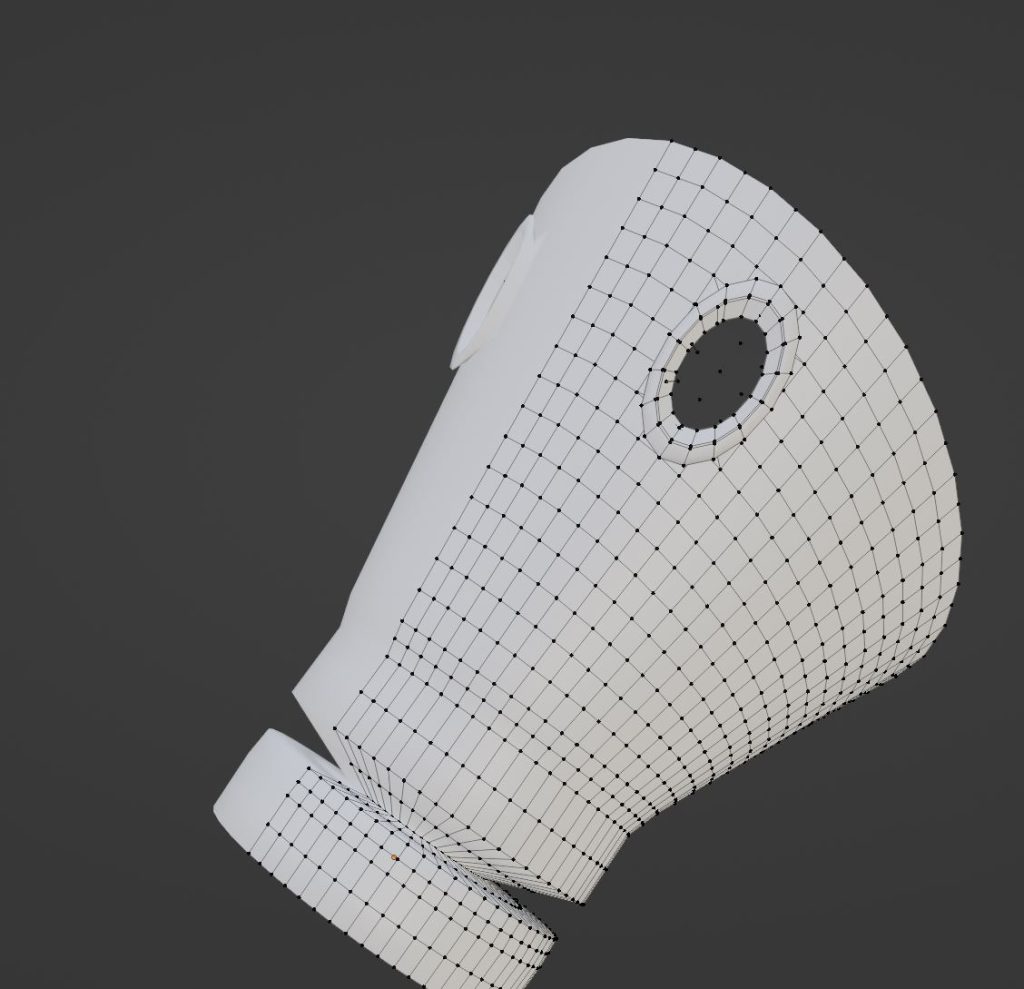
View after I extruded the vertices upwards.
Finally i cut out the back vertices to create a smooth edge to the gas mask so my characters head and face could fit inside of it. I did this by removing certain vertices and then adding faces in-between 2 other faces to create an appropriate edge for my characters face.

View after smoothing the back edges out.
Helmet
Secondly I gave my character a helmet, initially i gave him a German Stalhelm, however due to issues creating the model I gave it a a British Brodie helmet instead, this was because its an easier model to make and in my opinion looks nicer on the character.
I started out by creating a circle and filling in its face, i then extruded it downwards and outwards in the shape of the helmet and made sure to make it all even so it doesn’t look odd. I then used the bevel modifier to make sure the flick at the bottom of the helmet looks good instead of being a straight 90 degree angle.
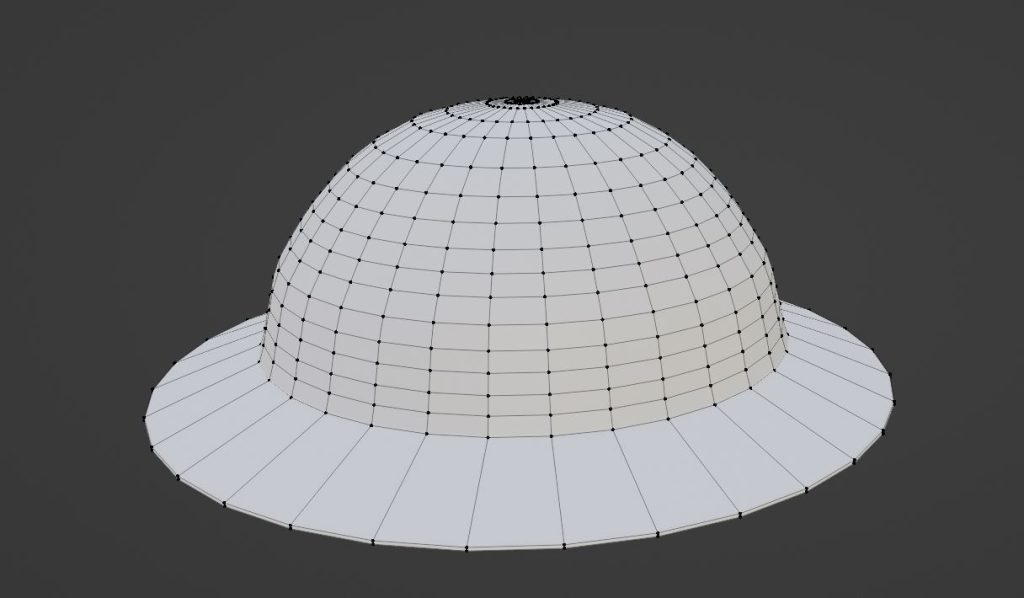
Finished helmet with vertices visible.
After this i joined both of the meshes up into one to test how they would look when joined together.

Gas Mask and helmet joined.
Finally for the helmet and gas mask i added straps to the back so the gas mask isn’t just floating off the front of the characters face.
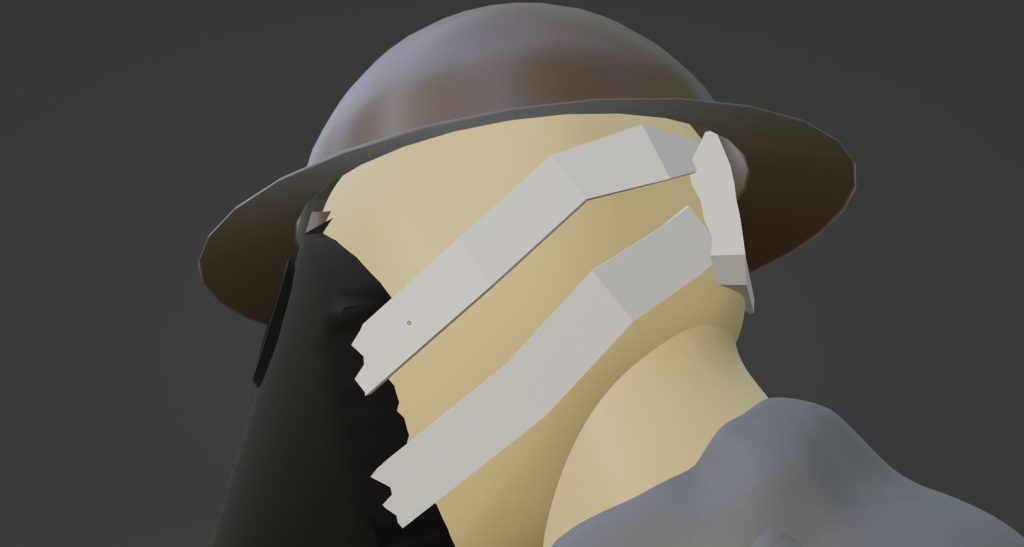
Mask straps with colour added foor definition.
Further Details
Once i finished with the creation of these assets i then decided to move onto detailing them so that they don’t stand out as being bad or look weird compared to everything else on the model.
I began by dynameshing the helmet so that it was smooth, this created small dents in the helmet which i decided to keep as i thought they added extra depth to the helmet.
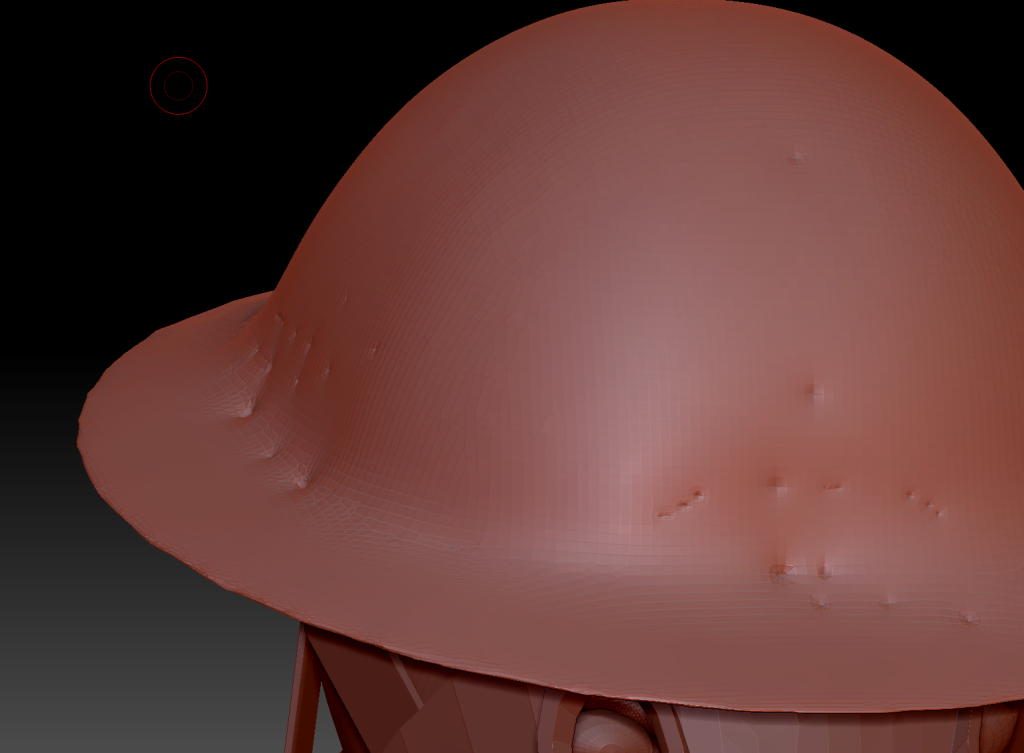
Helmet after dynameshing.
I then started to add chips into the helmet this is so that it adds onto the dents in the helmet and adds onto realism so its not perfect, as nothing in the real world is perfect. In addition to this my characters style would not suit a clean helmet so dents and chips would be great for it.

Helmet Chip.

Helmet after weathering is complete.
I moved onto the Gas Mask after the helmet, i decided to go simple with this so i just smoothed out some of the very rough edges on the gask mask front and center.
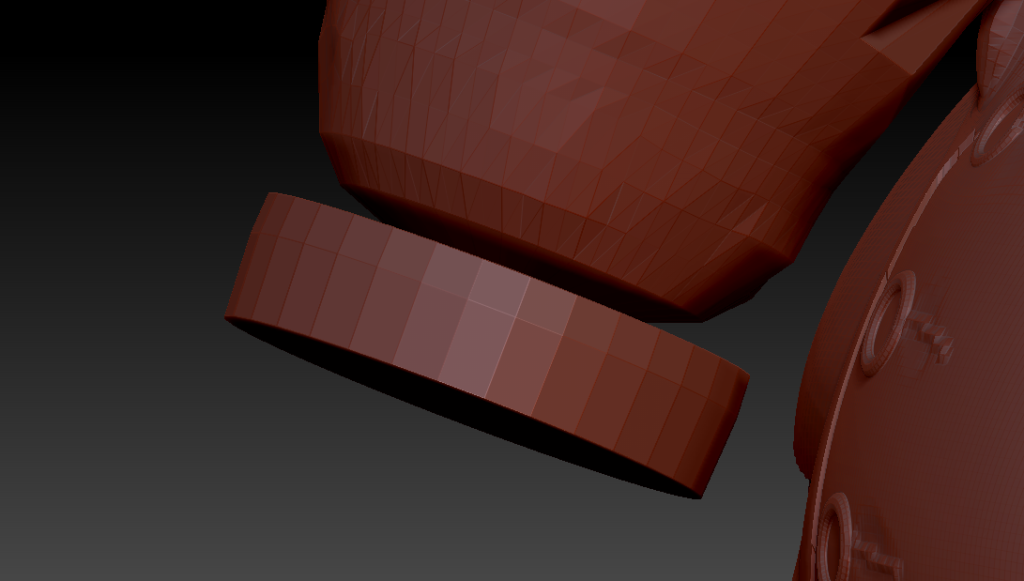
After I added some detail to the gas mask I decided to use the pipe tool to add a pipe to the end of the gas mask. I then used the move tool to move the top parts towards the gas mask to cover up any nasty seems and then smoothed the bottom part of the pipe to stop it looking like a pipe and more like a tube that would be connected to a box.
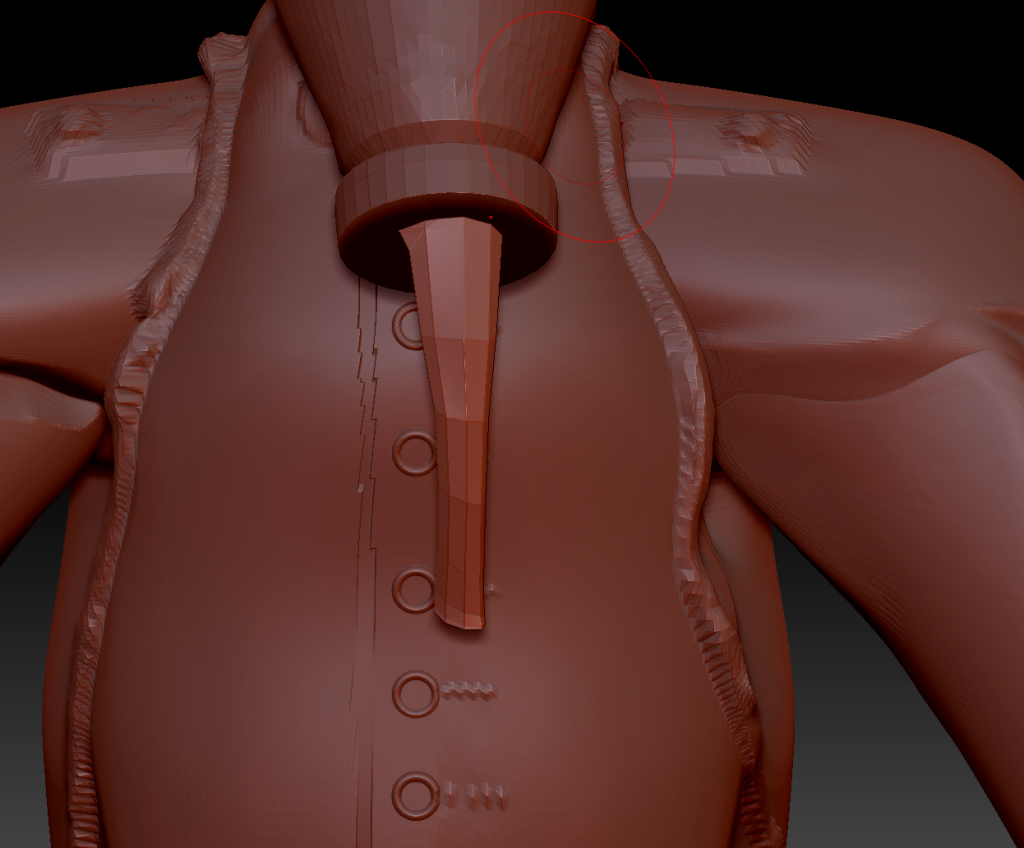
Smoothed out Pipe on gas mask.
Character Background
Name: Glendale Brooks.
Age: 26.
Country: England.
Gender: Male.
Occupation: British Army Soldier.
Backstory
Glendale Brooks was born in 1890 to a poor family in the UK. Always obsessed with the military he joined up as soon as he could. Once war broke out in 1914 he was already a respected officer and in charge of his own company. He served with distinction through many battles until 1916 when the battle of the Somme arrived.
Glendale was scared. He was already suffering from early shell shock due to the countless head injuries he has injured in 2 years of brutal all out war. During the battle they were under intense artillery fire when a shell landed directly next to Glendale and his men, killing everyone but Glendale instantly.
Severely disfigured and missing a hand and both his ears, Glendale then scourged for supplies, finding some bandages and a fire that could cauterize what was left of his hand and then cover it all up.
However after he did this he realized a lot of time has passed no fellow soldier was around, or enemy for that matter. He was alone. Glendale kept wandering, finding a dead German which he took their tunic to replace his severely burnt tunic. He found a gas mask which helped cover his burnt and broken face. His helmet, shielding his flaking head from the sun.
Glendale continued to roam the empty trenches feeding on rations and bodies or anything that was present. Never to be seen by any mortal again.