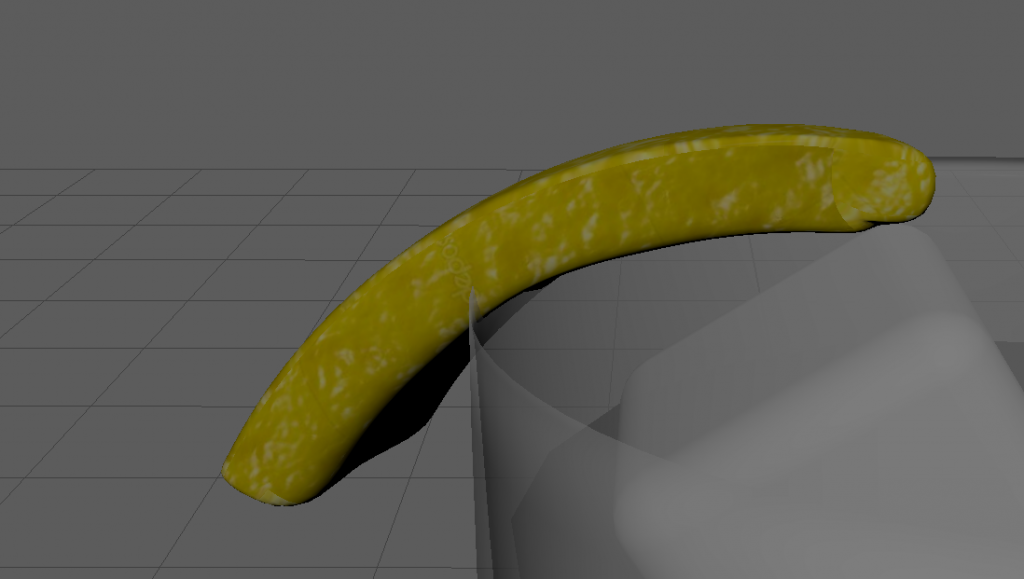
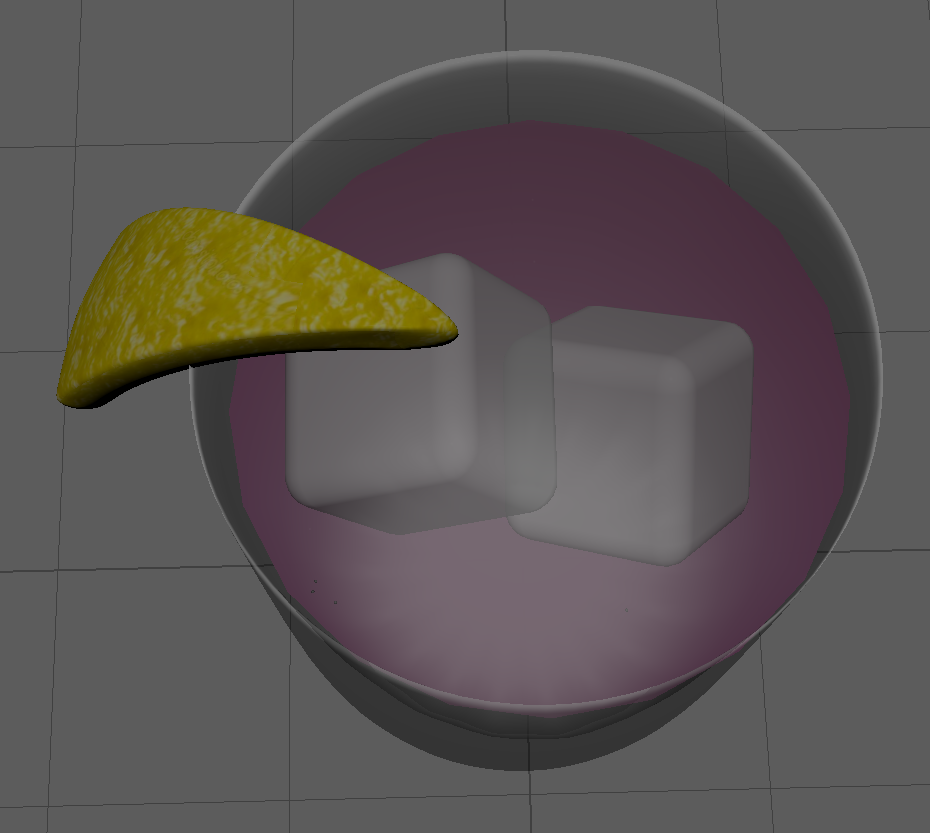
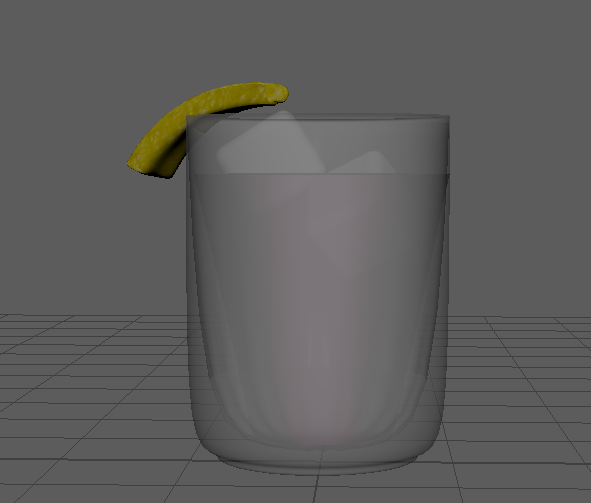
To start with I added a cylinder which i extruded and remove the top set of faces, afterwards I created another cylinder which I curved the bottom to make it smaller than the top half, this was going to be my liquid inside the glass, to top this model off I added 2 cubes, i beveled these 2 cubes and stretched them a little bit, these were to be my ice cubes. I also made a lemon which was a sphere cut into a small piece and then extruded upon the remaining vertices.
Textures
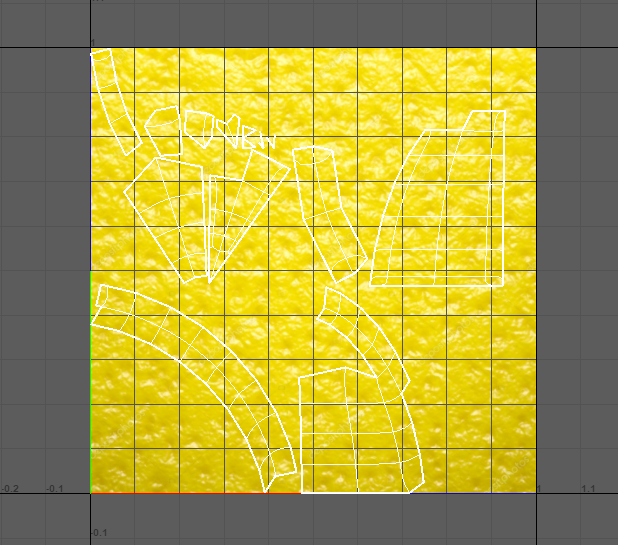
This model didn’t require much in terms of texturing, however I did use a aistandardsurface material which i then turned the transmission up, in addition to this I made the liquids colour pink so it would stand out from the glass and the ice cube. Finally for the lemon I took a texture from the internet so that my lemon would look realistic.
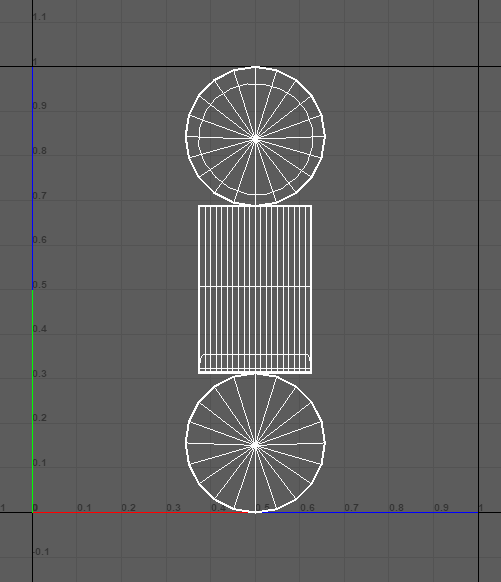
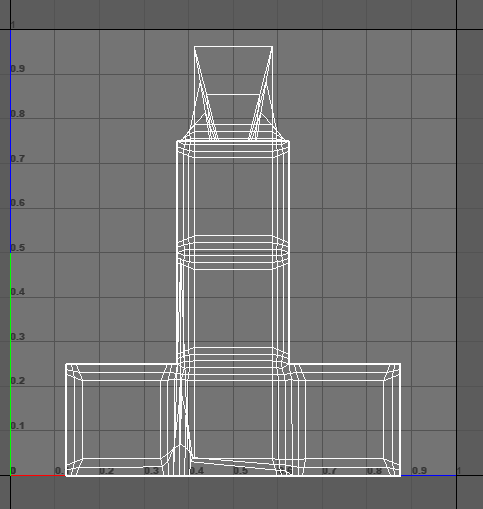
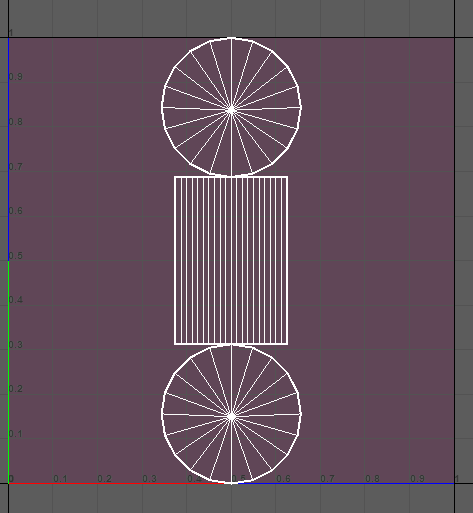
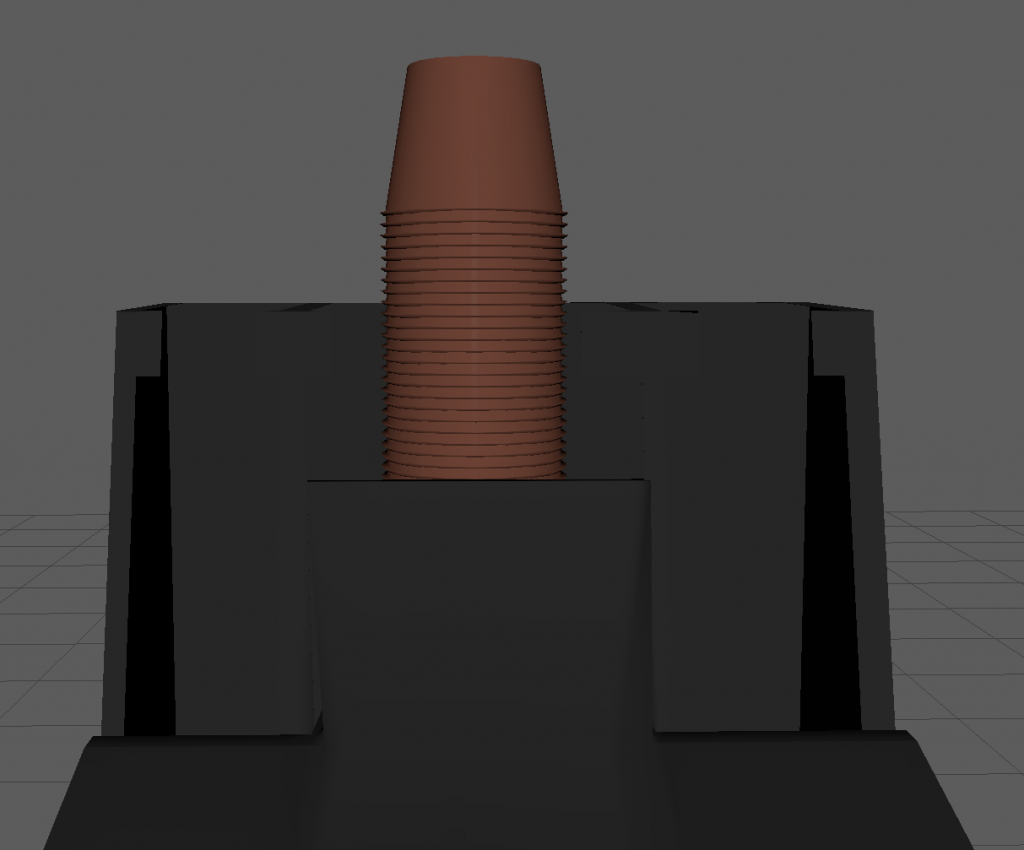
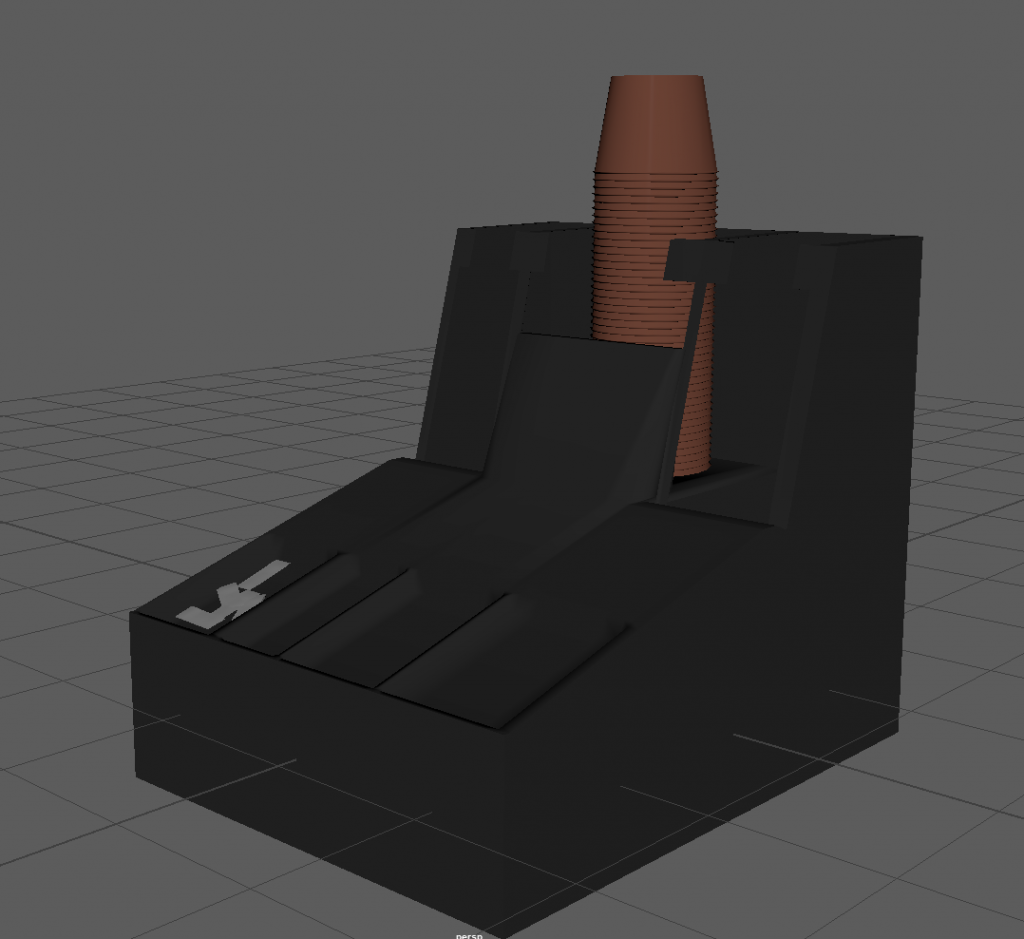
To create this asset I began by adding a cube to the scene, I then added loop cuts to it and moved the front vertices downwards to about 1/4 of its previous position, i then created more loop cuts and then indented different parts of the top face to create little sections which sugar packets and objects like that could be placed inside of. After this I created more loop cuts on the sloped face of the model, i then removed some faces and cleaned it up. I then created some cups out of cylinders where I removed the top face to the model, I then duplicated it 20 times to make 20 cups and then stacked them on top of each other and placed them inside of one of the openings at the top. Finally I created some packets
Texturing
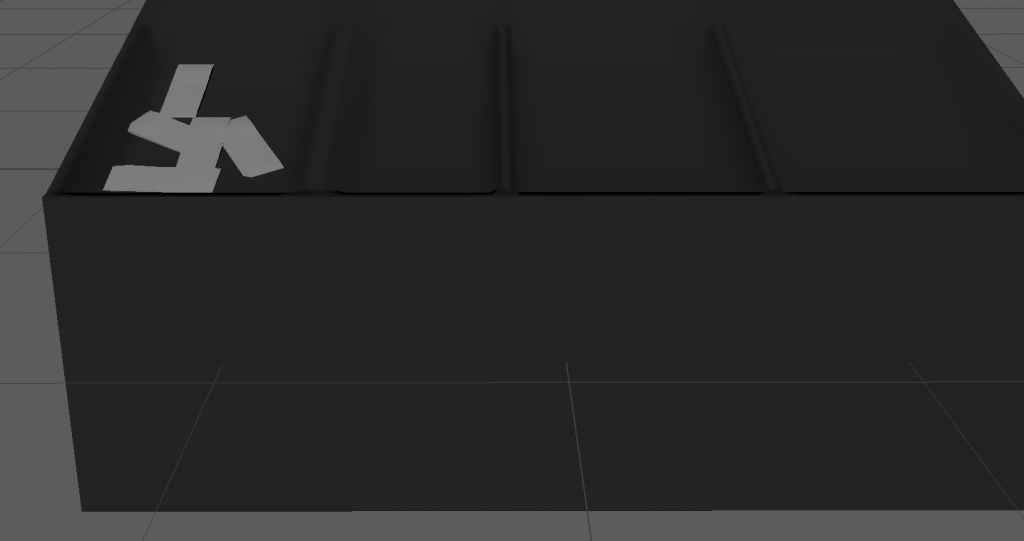
For the base box I gave it a black texture with a glossy finish so that reflect a bit of light off of itself. For the cups I gave them a completely matte orange colour as a lot of cups like this are in that colour, finally for the sugar packets I gave them a flat white.
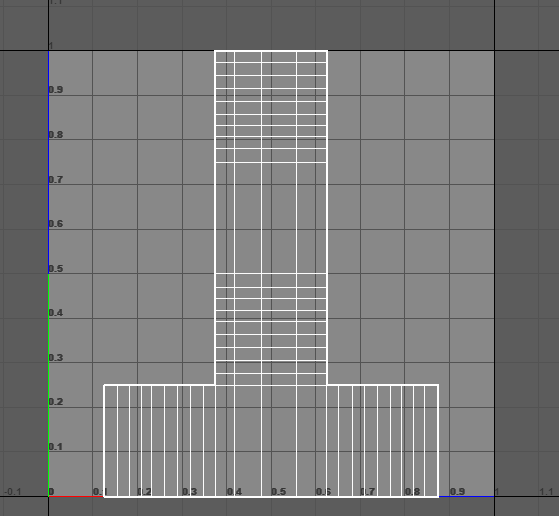
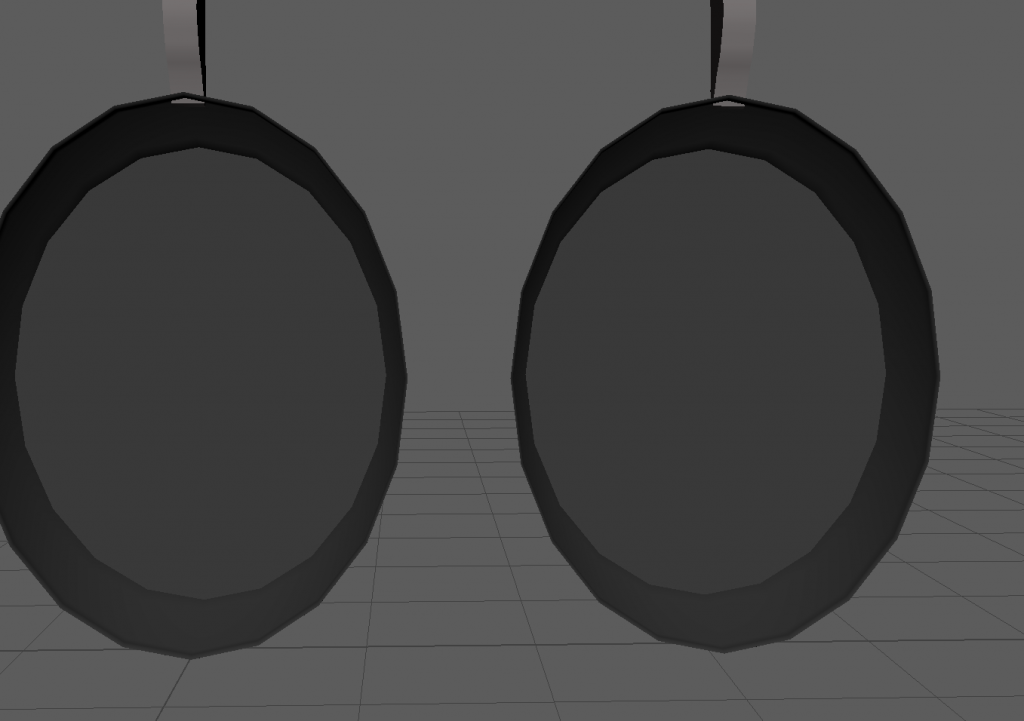
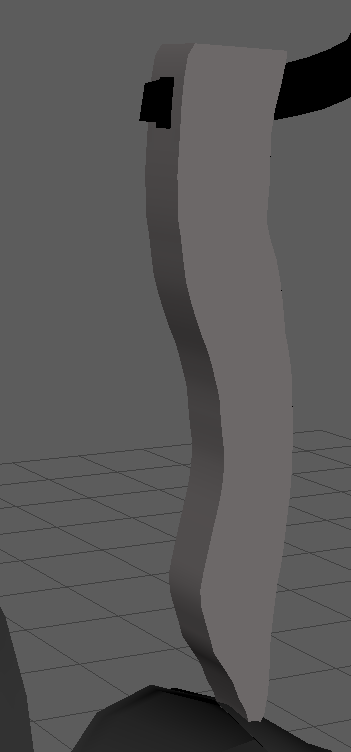
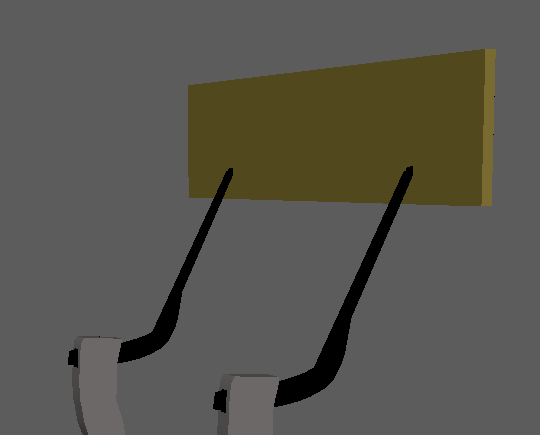
To create this asset, I first began with a cylinder which I shrunk down and removed the top set of faces from it, after this I extruded the top set of vertices and create some loop cuts below it, I then lowered these vertices and dragged them outwards a little bit to create a lip at the top of the pan. I then moved onto the handle which I created using a nubs curve which I drew onto the scene and then added a cube which i used to follow the lines after adding many loop cuts to the object, and shaped it into the shape of the handle. After this i created a rack which was just a cube and then made some hooks which attach to the rack and into the handle of the pan itself.
Texturing
I started off by texturing the pan, I used a slightly metallic dark grey colour which most pans are like, i then used a light grey colour for the handle along with a black hook and orange rack, these colours contrast each other so they stand out individually.
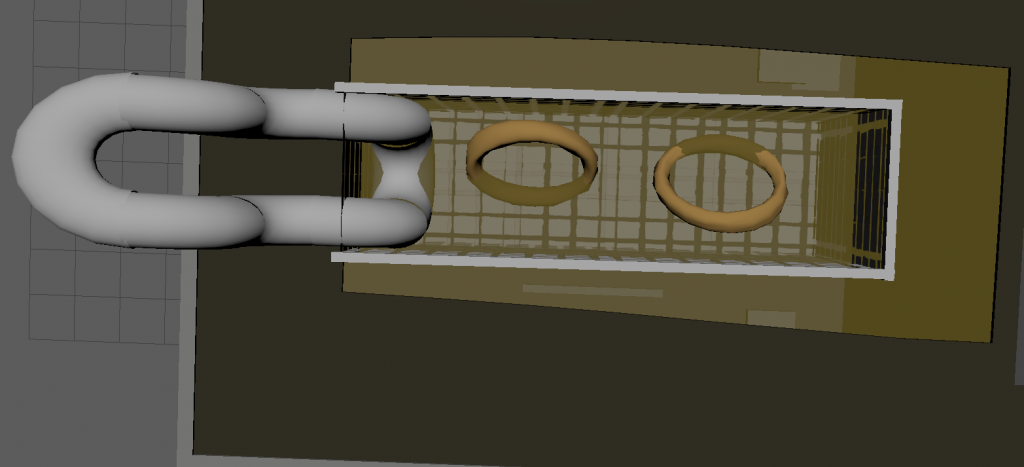
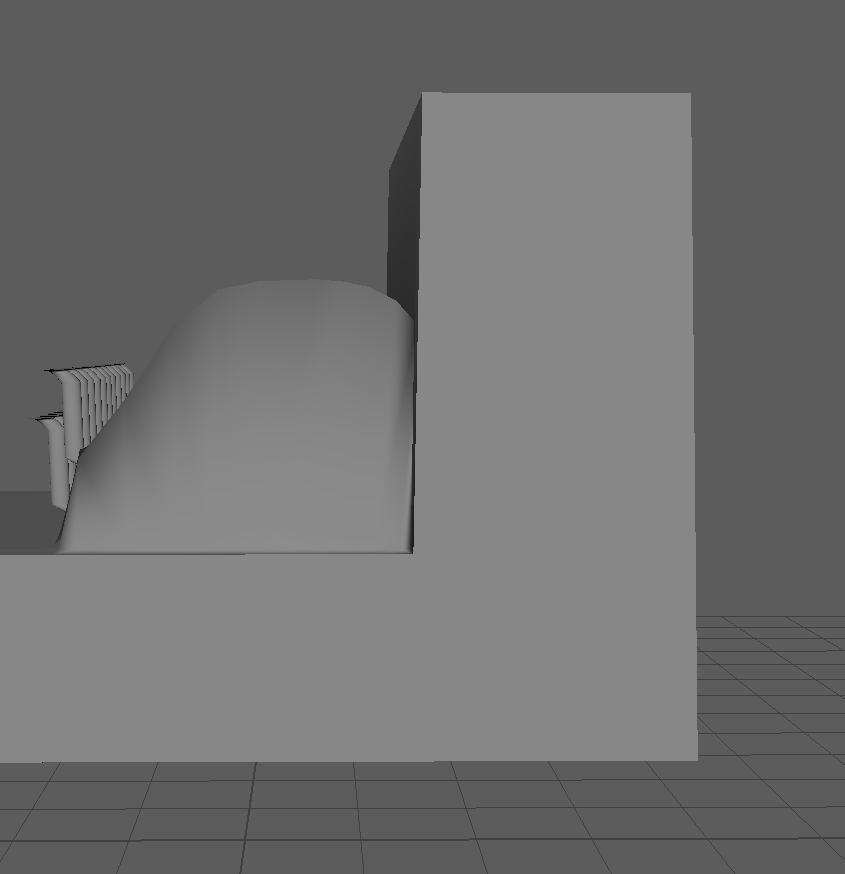
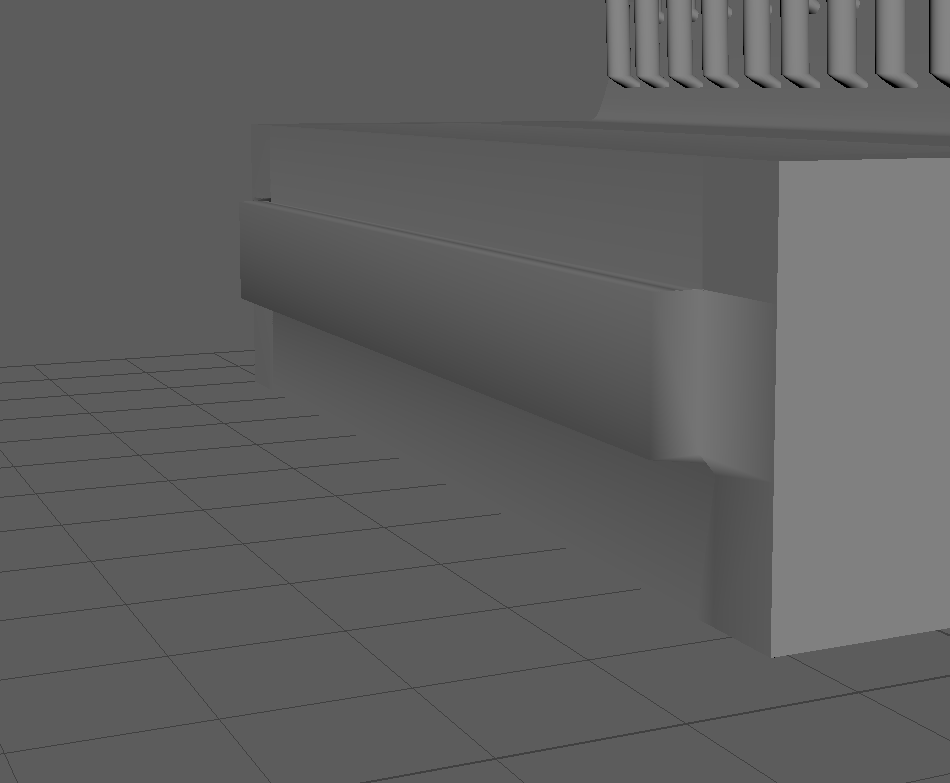
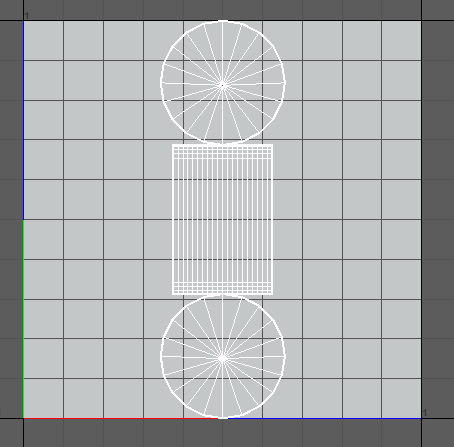
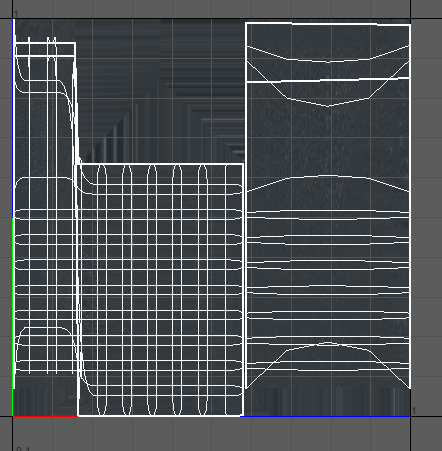
Creating this asset was quite difficult because of all the parts involved in it, however I managed a good model in the end. To start with I made the main box and cut out the top face in it, I then gave it some thickness so that it didn’t look bad. After this I created the tub that will be put into the deep fryer, this consisted of a lot of planes were made to look like metal railing of sorts so that once i textured it, it would look good, in addition to this the handle was made of some half donuts and a couple cylinders. After this i made an onion ring out of a donut which i scaled down, took divisions off of it and then sculpted into a rough shape of an onion ring, finally i added a brown colour liquid which would be used as the oil inside the fryer.
Texturing.
For texturing I went with simple colours as I felt it stood out more. The main body is a grey colour with the roof of it being a darker grey/brown colour. The feet to the fryer were a flat white throughout. The main tub inside the fryer was a metallic texture with a white handle, finally the onion rings were orange along with a dark brown liquid for the frying oil.
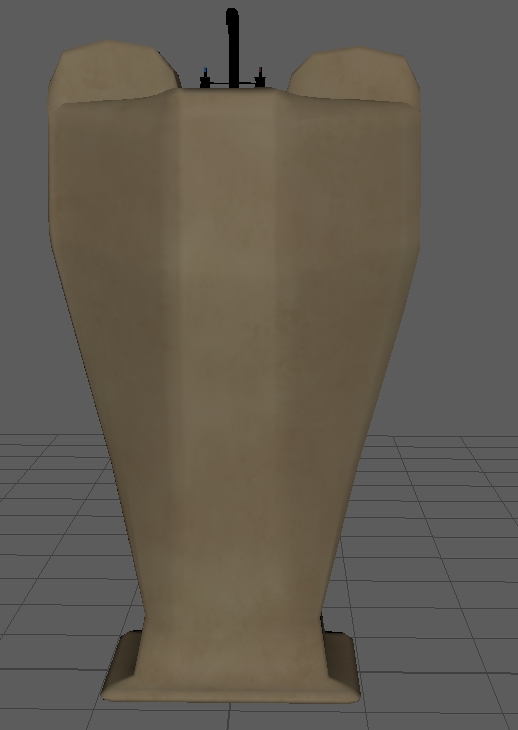
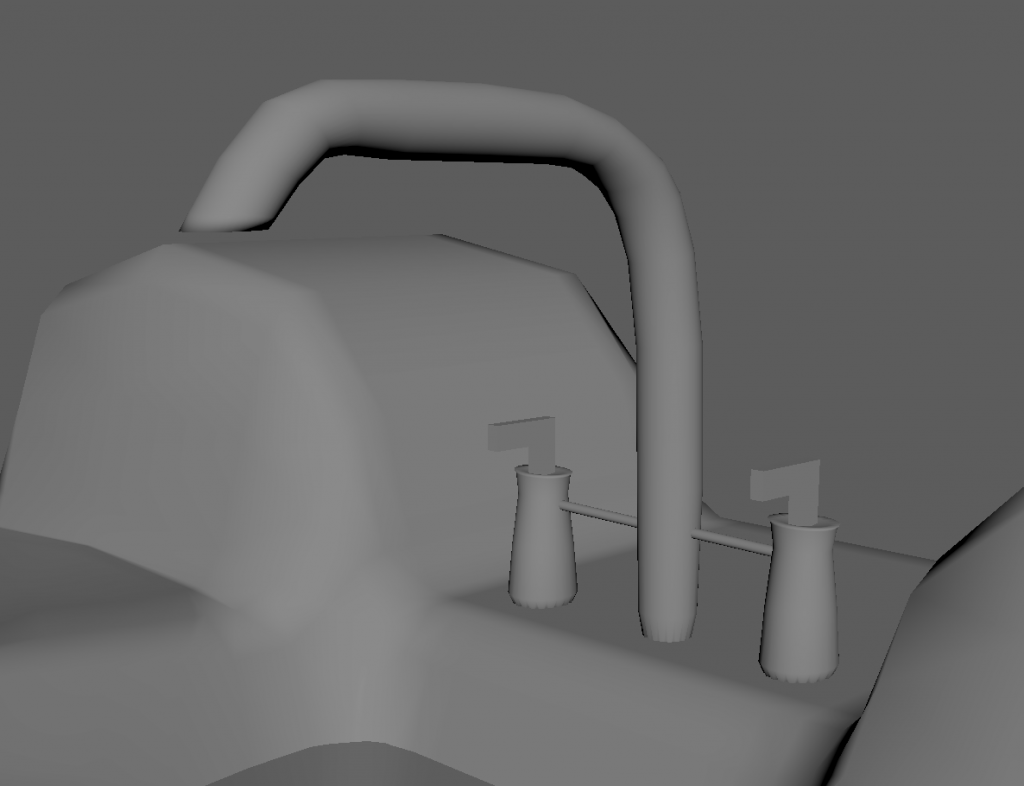
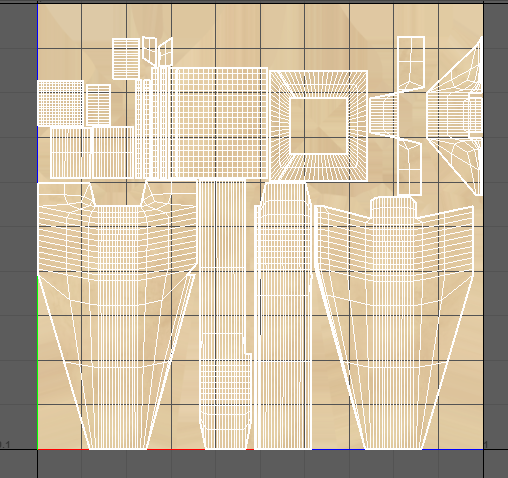
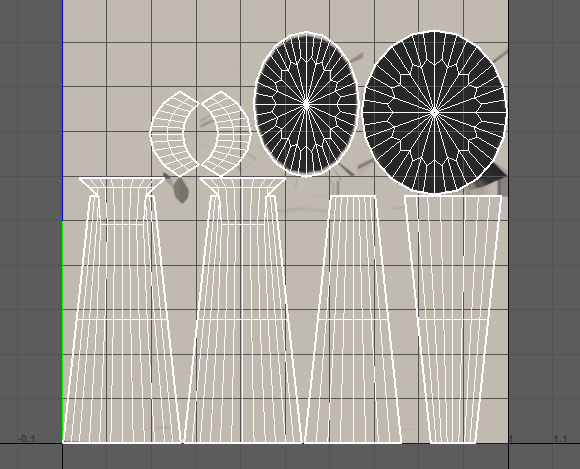
To create my asset I started off by making a cube which i elongated and manipulated to resemble a shape of a sink, I then raised parts of the model so that it would have some distinct sides to it. After this I made a cylinder which i beveled and moved to create the shape of a tap, after this i added a couple more cylinders and some cubes which I shrunk and positioned to make them look like taps, Finally I added a plane which I turned into water.
Texturing
For texturing I gave the main body a yellow ceramic texture from substance. For the taps I gave them a copper texture along with a red and blue stopper depending on the tap. Finally for the water I made it a grey/blue colour with some transmission for transparency.
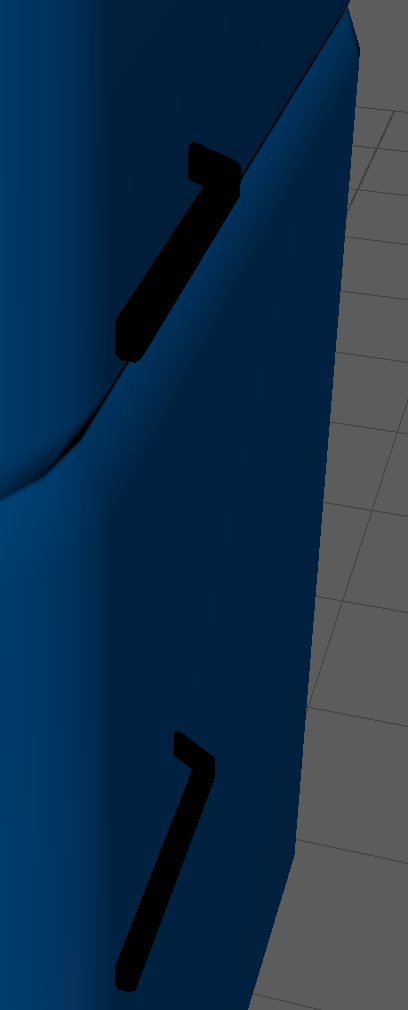
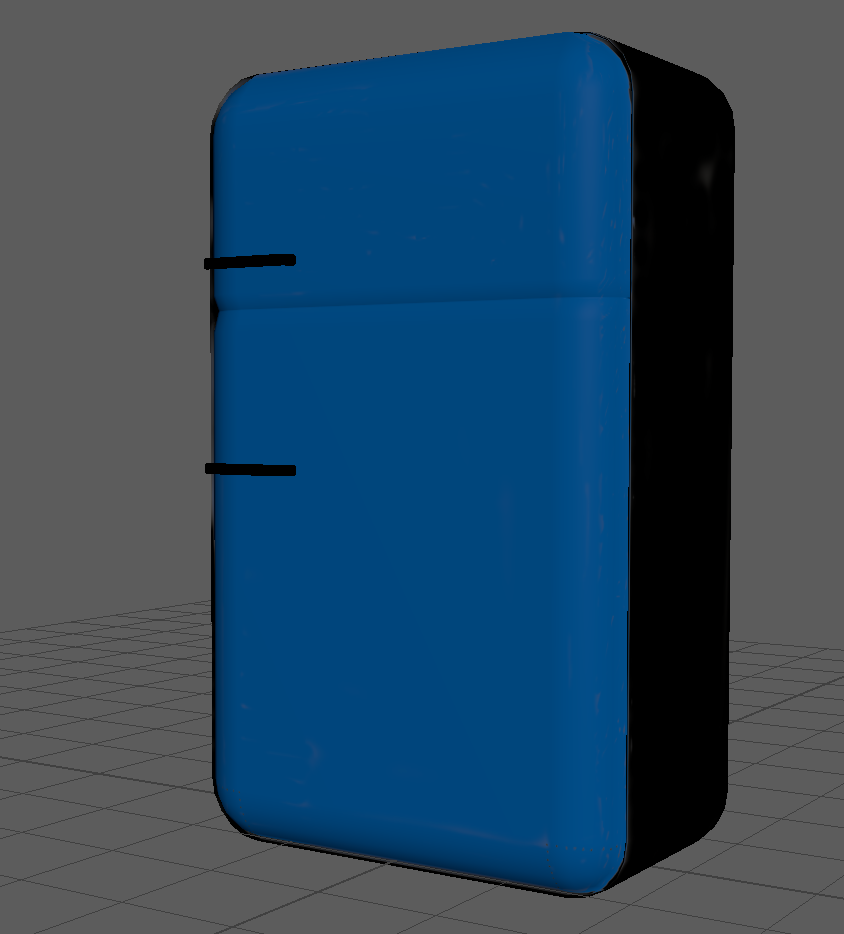
To create this model, I first added a cube, which I beveled the edges to make it curved, after this I made some loop cuts and then I pushed some vertices in to make a small gap to imitate the gap between a freezer and fridge inside of a fridge. After that I then added 2 cubes which I beveled and manipulated to look like handles, I then added them to the front of the fridge.
Texturing
To texture my model was quite simple, I first textured the front of the fridge to a blue colour, and then the back and sides of the fridge to a dark black, this is stark contrasts in colouring, next I gave the handles metallic textures so that they look just like fridge handles in real life.
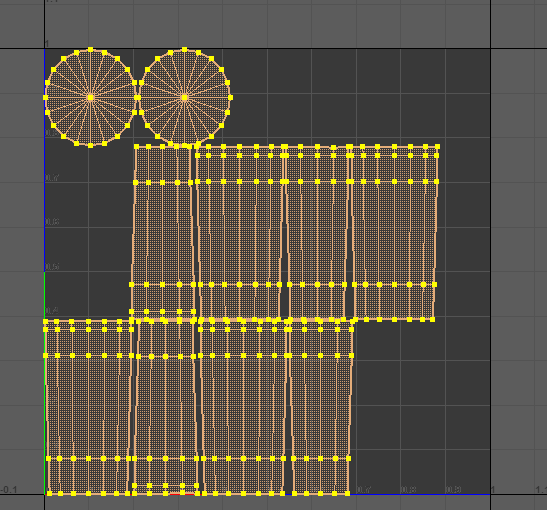
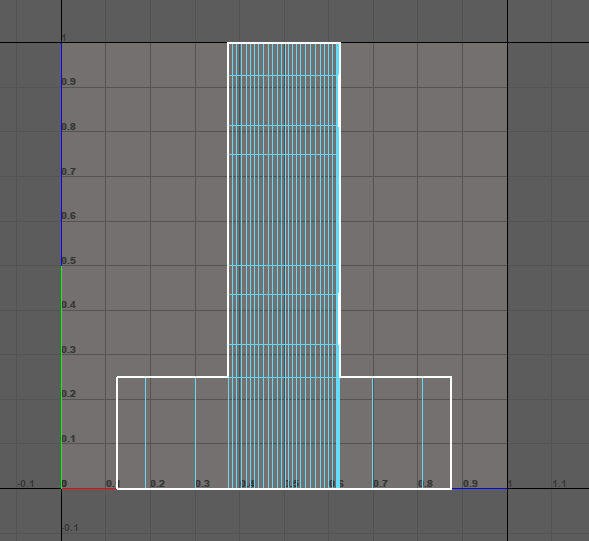
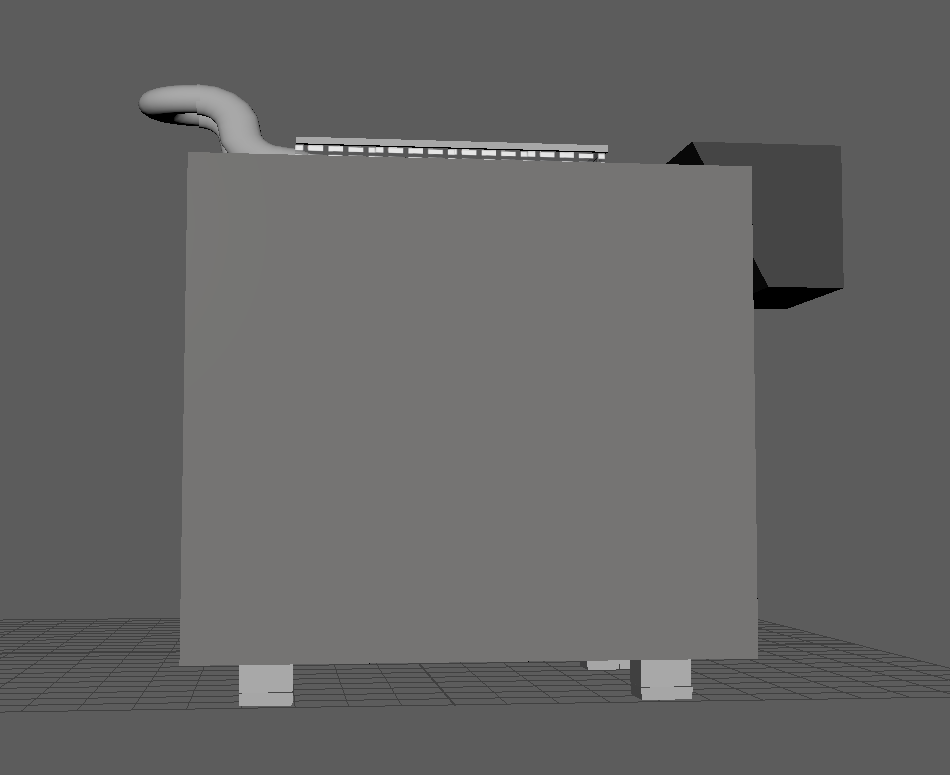
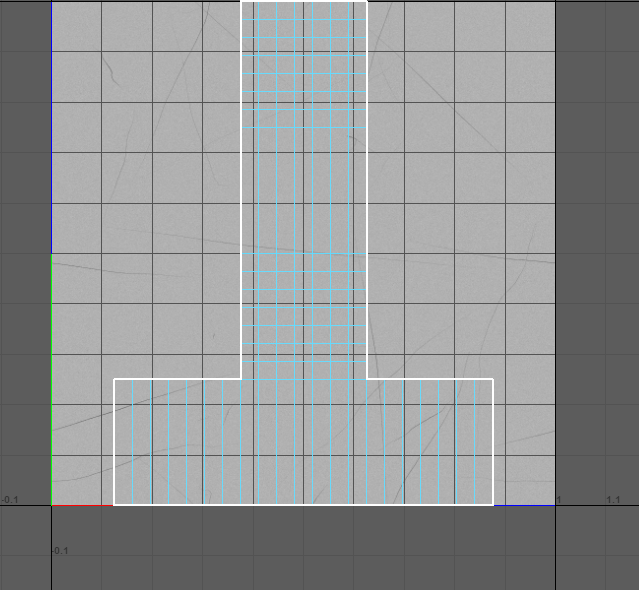
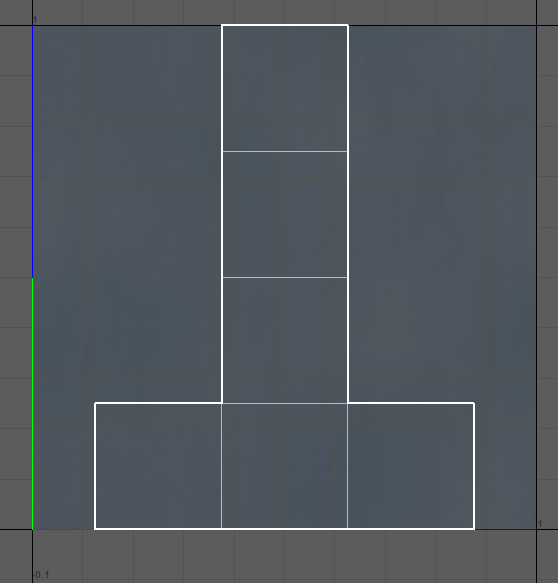
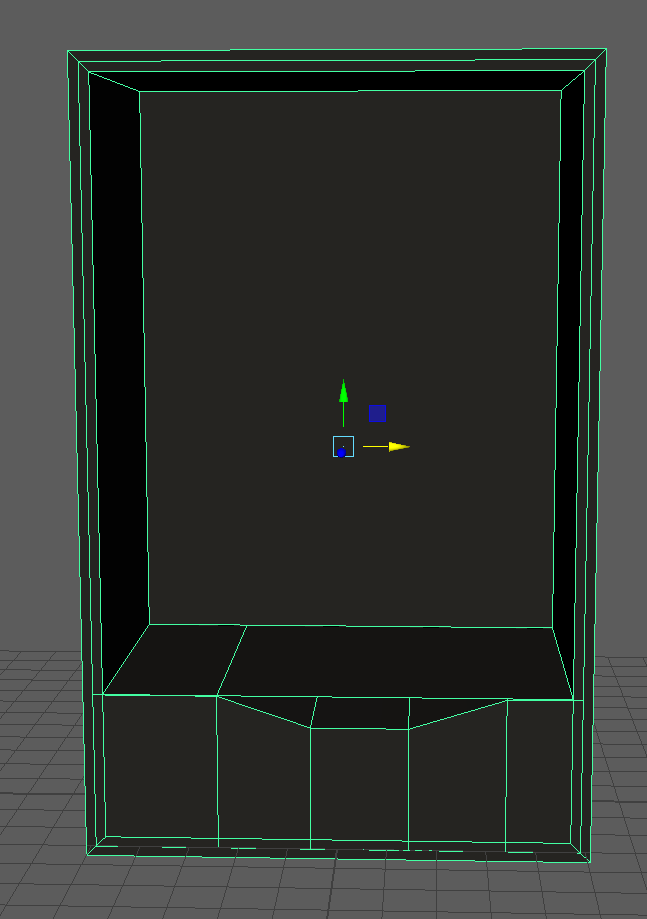
When making the model I first created the main body, I did this by adding a cube and then adding lots of loop cuts to the back end of the cube, then I raised these up and curved it so that it would look nice and smooth, I then raised the final ones behind that straight up so that it would meet the curved vertices. I then made the tabs which the person using the cash register would press, I made these by adding a cylinder, curving and beveling it, then I extruded the top vertices and made a little circle out of it, I then duplicated it many times to create a lot more versions of it. Finally on the front of the main box I extruded some faces outwards to make it look like the money opening at the front is coming out.
Texturing
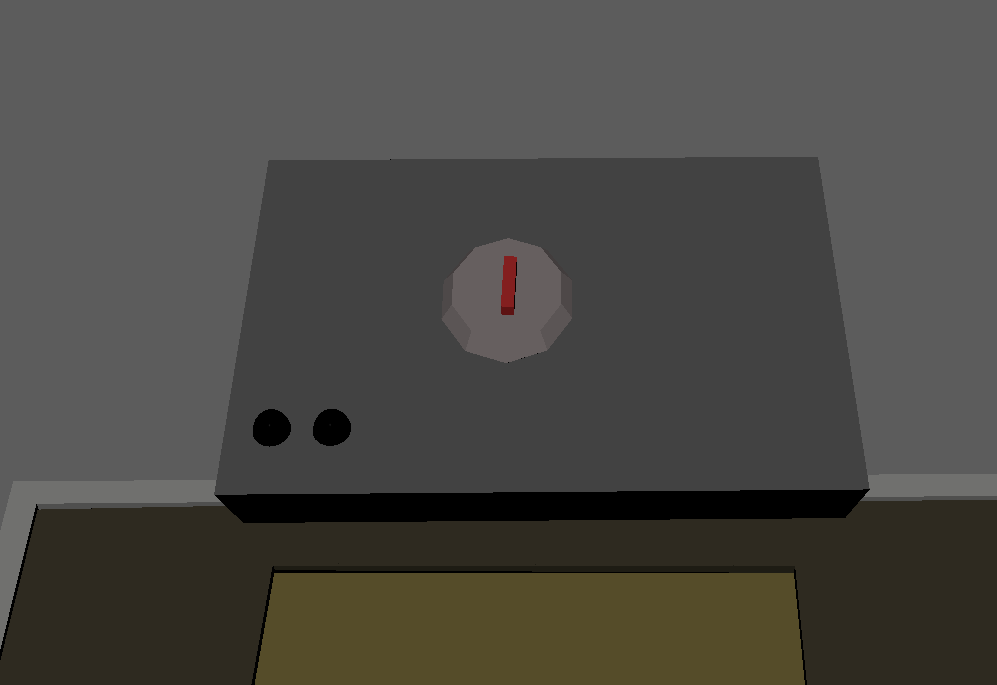
When texturing I started by texturing the main box as a very metallic texture to make it look like a standard cash register, after this for the bolt rack that I made, I also added a metallic texture along with some nails onto it. For the tabs I had 2 separate textures, one was a dark colour metal, the other was a pinkish copper metal, finally for the front opening piece I added a small strip of black along the front to indicate that it is there.
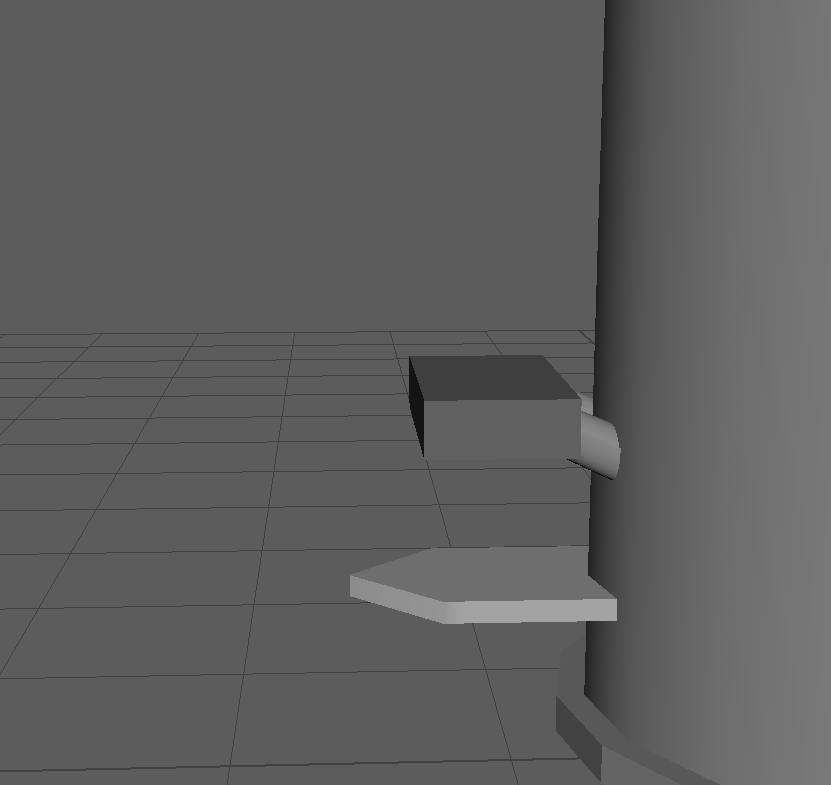
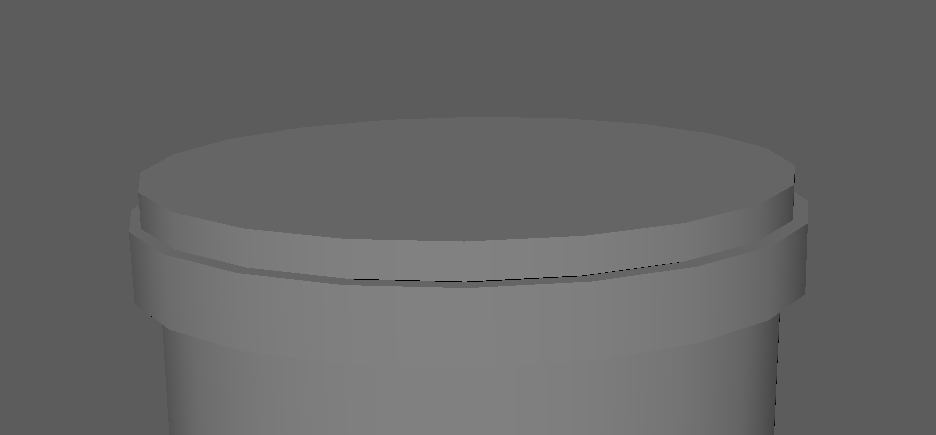
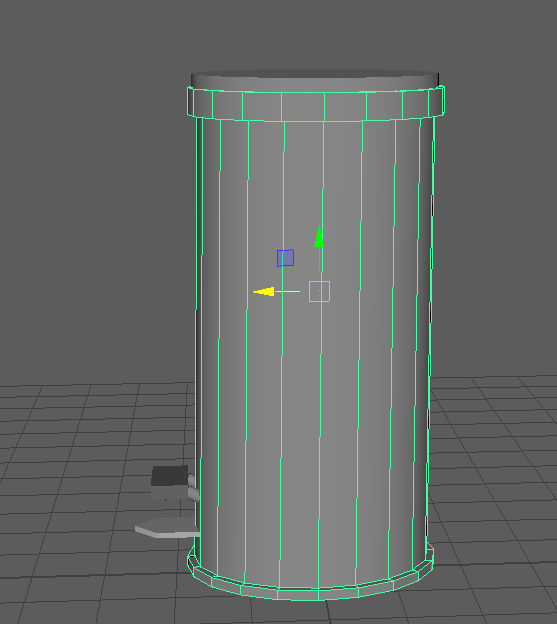
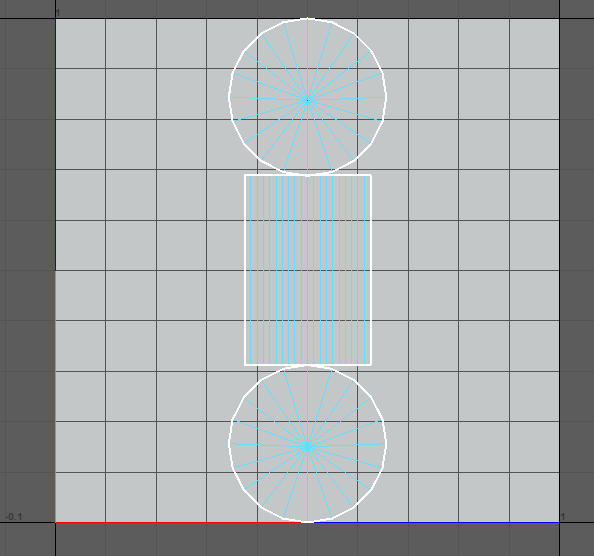
This asset was very simple to create. To create the bin I first began by making the bins body which is just a simple cylinder, after i made that i made some loop cuts at the top and bottom and extruded them outwards to make a stand for it and also a bottom part of the lid, after this I created another cylinder and made it almost flat so that it would be the top part of the lid, I then put this on top of the main body. I then moved onto the foot stand where a person would put their foot on to make the lid pop up, to make this I added 2 cubes, one which I made quite flat, the other a bit larger, I extruded the flat one into a half diamond look and the larger one kept the same, i then attached two small cylinders to the larger one and positioned them above the flat one.
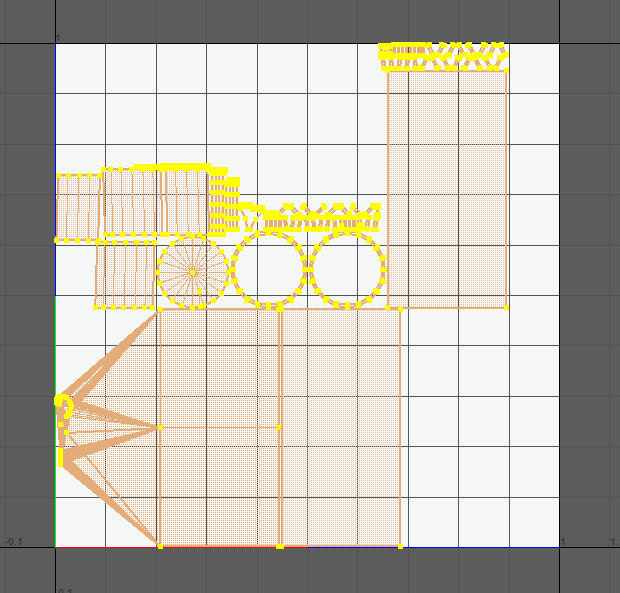
Texturing
For texturing I added a slightly metallic cream coloured texture to the main body, I added a very dark matte black to the lid of the bin. For the foot stand I added a grey texture to the large cube and a flat white one for the flattened cube. finally for the two small cylinders I made them a light grey colour.
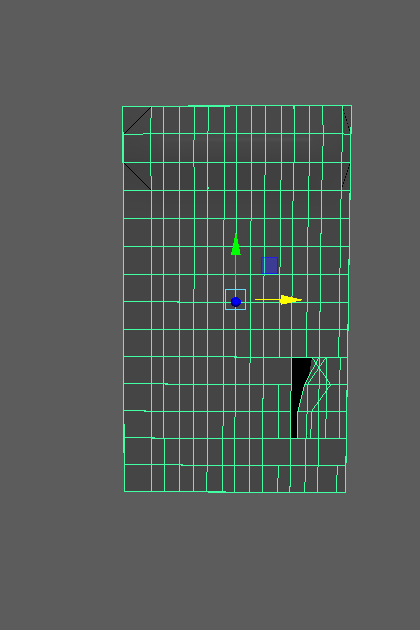
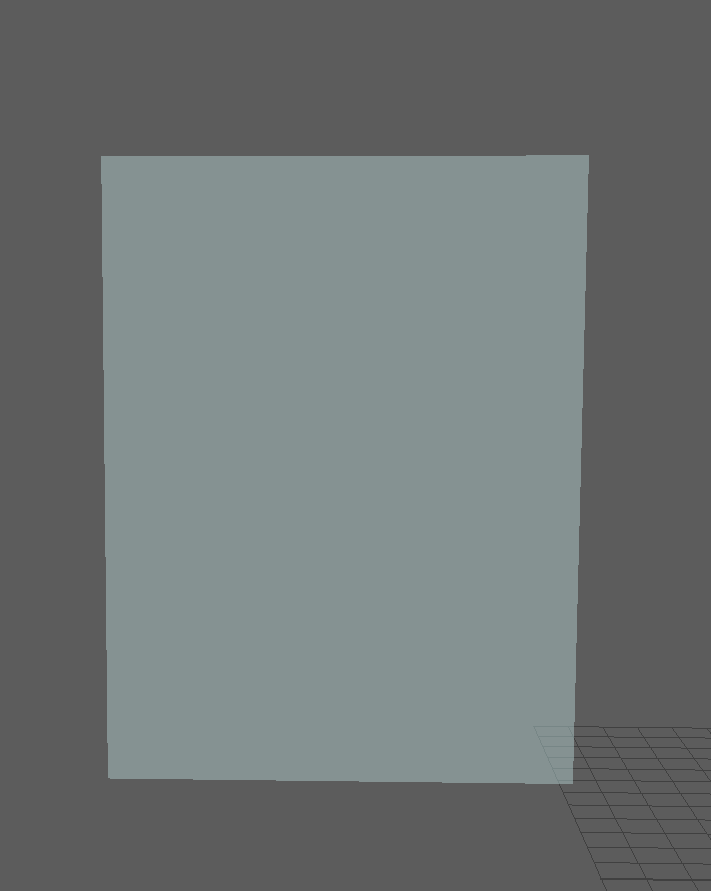
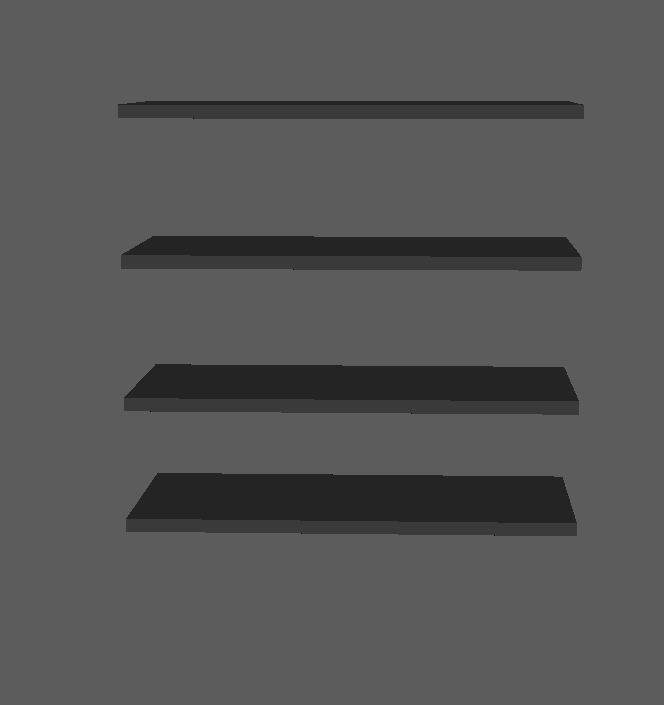
To begin with I made the main body of the vending machine, to do this I made a cube in which I extruded and added some loop cuts to it, after this I manipulated the new vertices from the loop cuts to make a small opening in the front of the machine so that it is imitates a vending machines opening where items come out from. After this I moved onto the numpad, for this I created a main body for it using a cube, and then smaller cubes for the letters and numbers that people would press to get their items out. I then moved onto the shelving inside the machine, these were just cubes which I elongated and shrunk length wise to make them into standard looking shelves. Finally I made a plane which I would use as the glass on the front of the machine.
Texturing
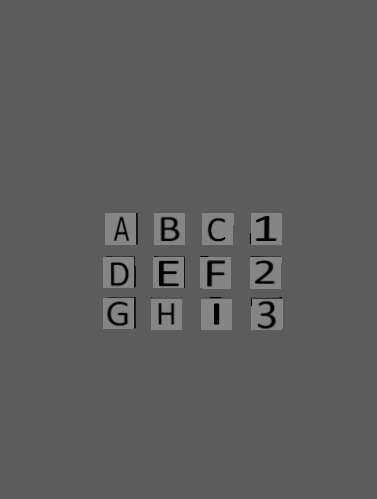
For texturing, i create simple materials using the aistandardsurface materials inside of Maya. Firstly I created a grey/black colour with high roughness for the main body, this is to make it look matte. Next I added a grey colour to the body of the numpad with a lighter grey colour for the numbers and letters, in addition to letters and numbers that I screenshotted from a Word document i made with the same letters and numbers. After this I made the shelves black with high roughness to make a matte colour like the main machine body. Finally for the glass plane I added a blue tint to it and also gave it some transmission so it is see through.
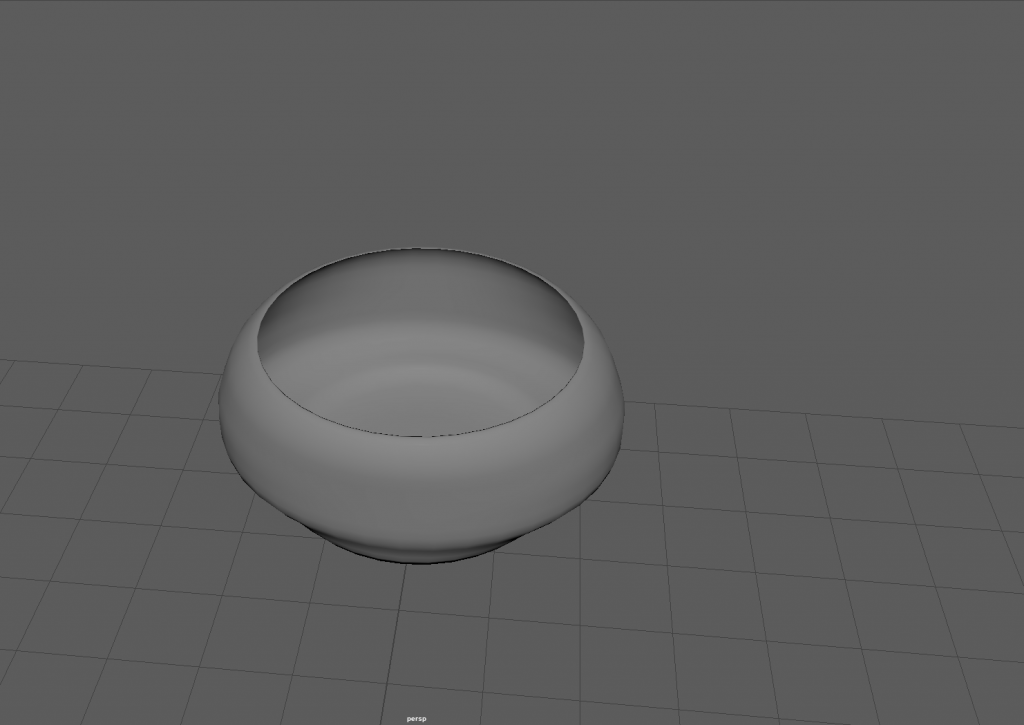
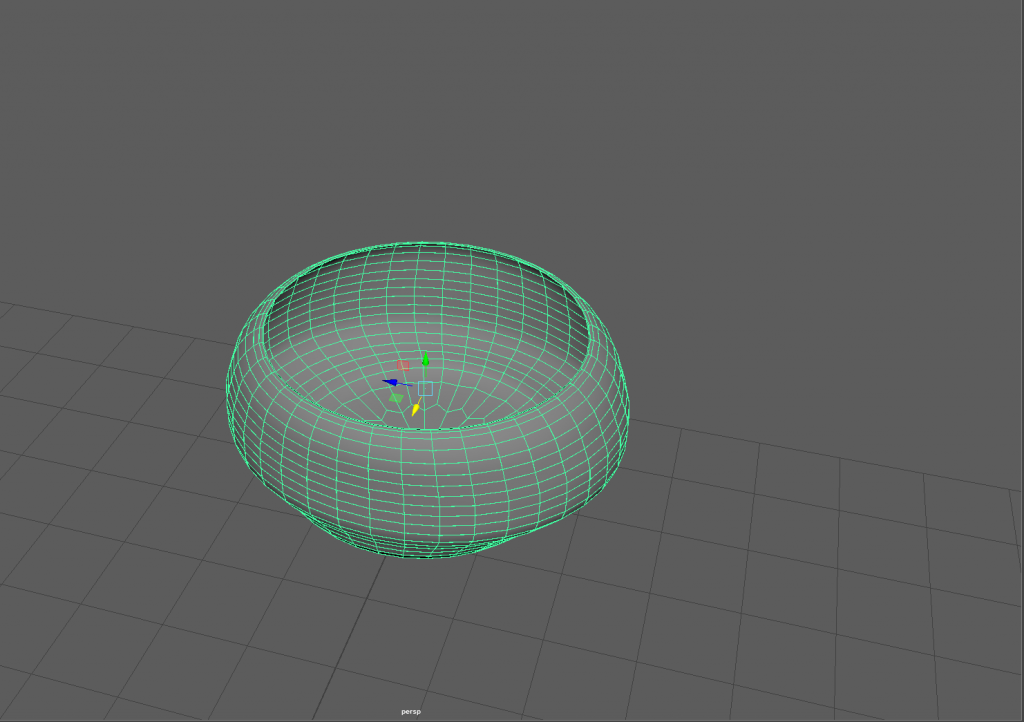
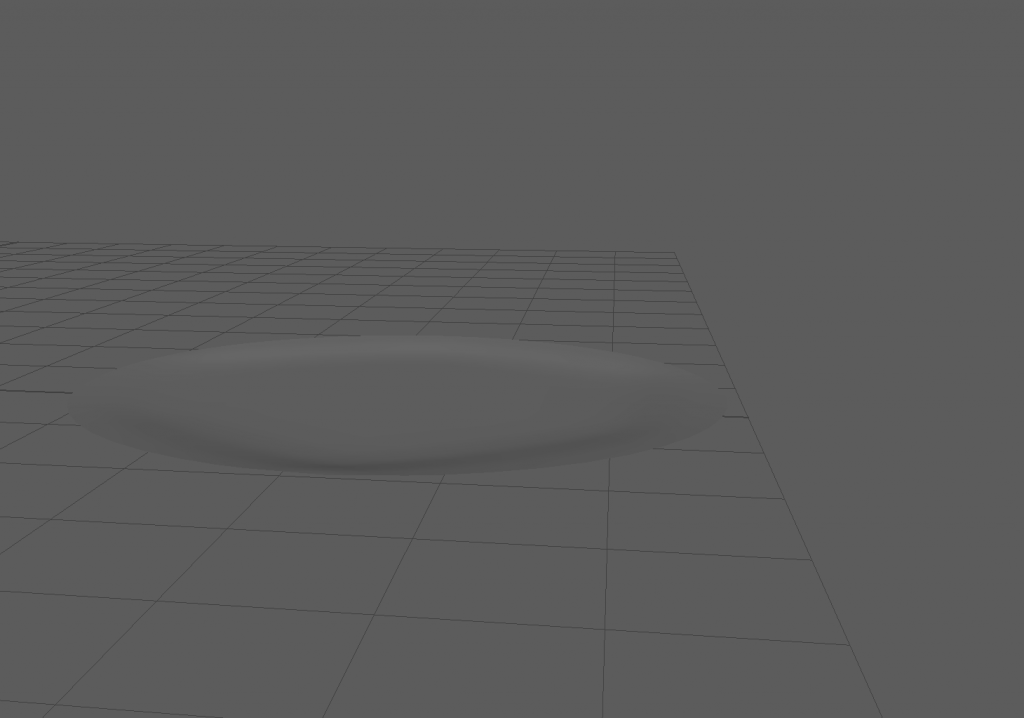
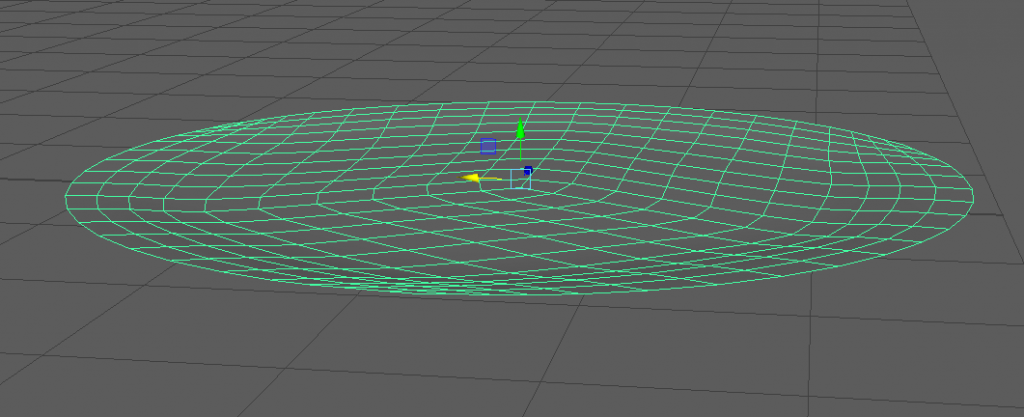
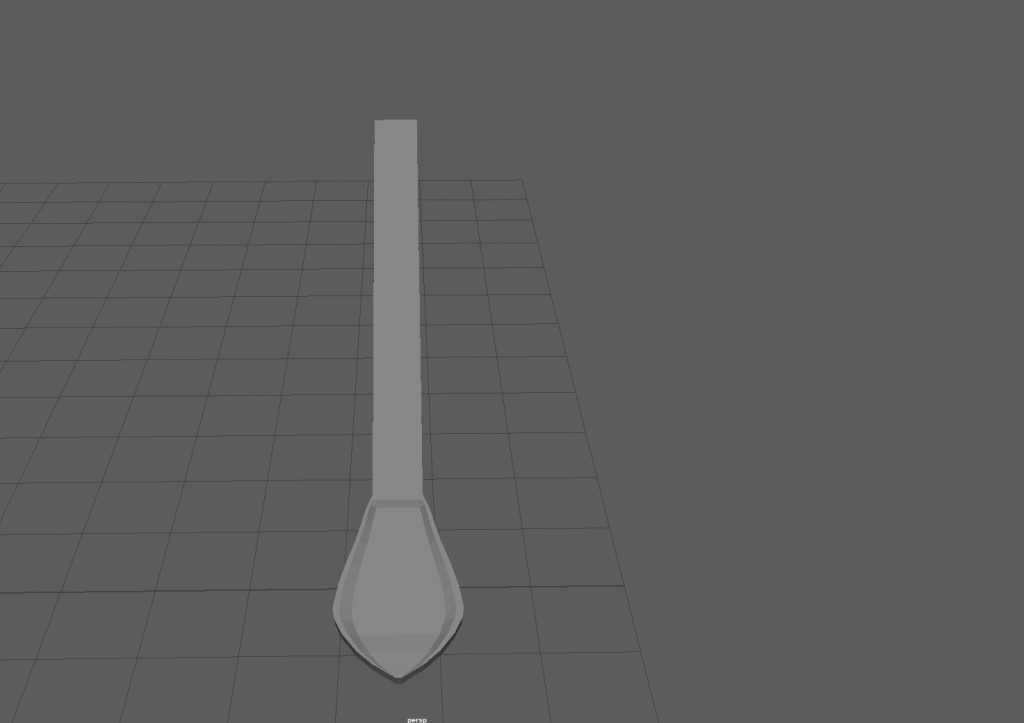
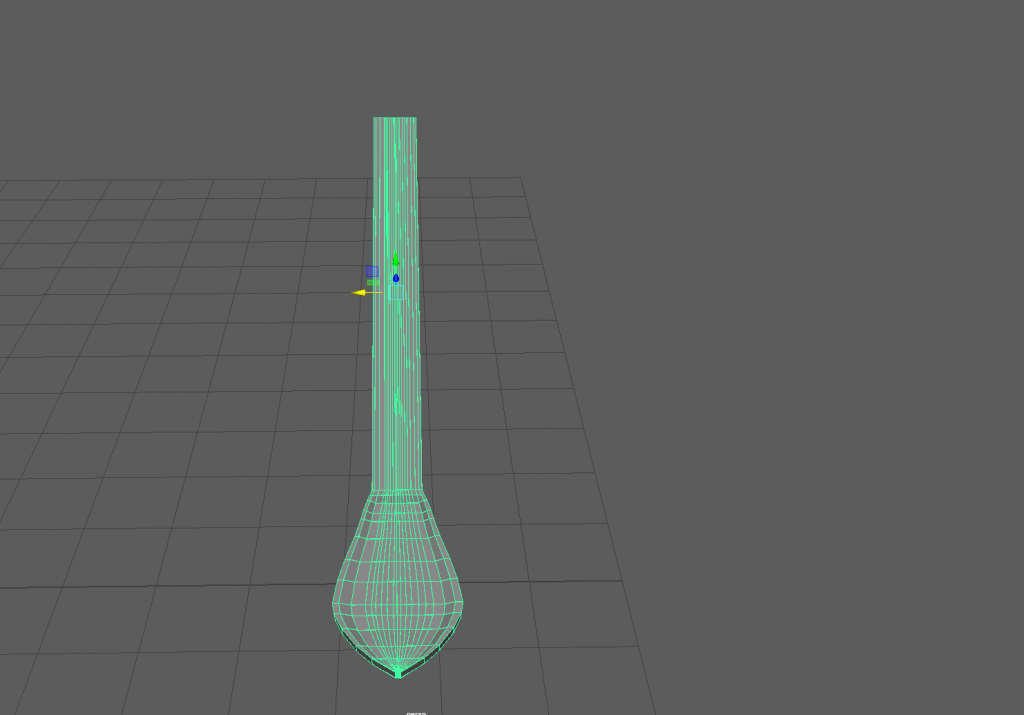
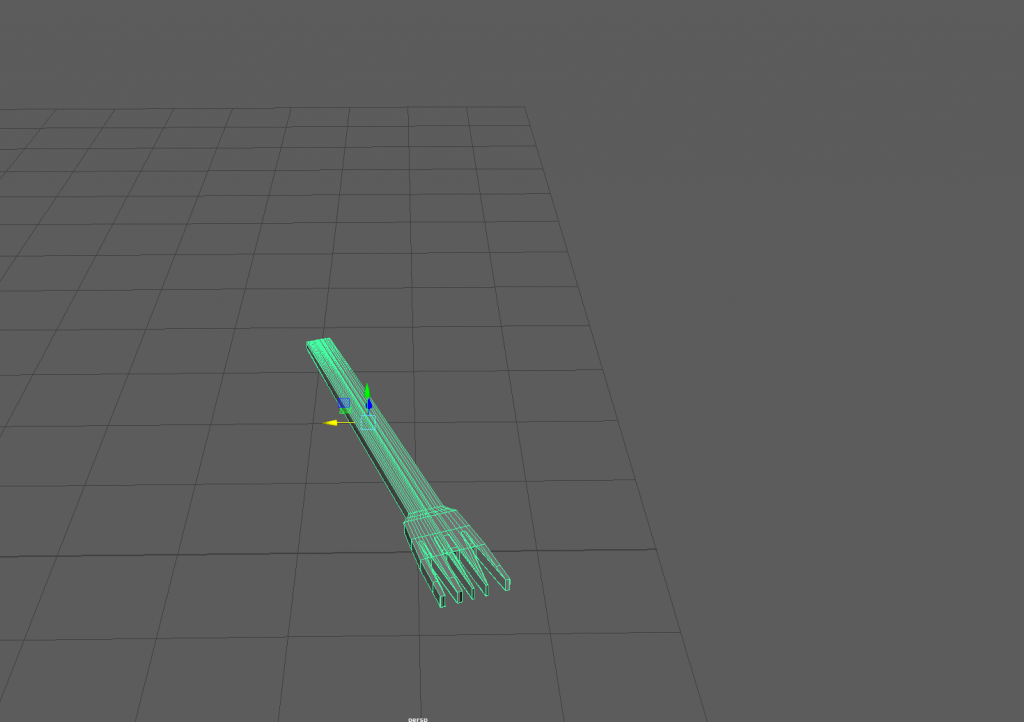
To begin with I created a bowl which would be the main piece of this 3D asset, I did this by starting off with a cylinder which i extruded upwards and to it’s sides, I then went in face view and removed all of the faces on the top of the cylinder, this is to make the top of the bowl open. After this i moved onto the plate, for this I created a simple circle plane which I then manipulated slightly inside the vertices tab, this was to create a realistic curve to the plate where the bowl would be situated inside of, I then beveled the plate to give it a smoother and more realistic view. After this I moved onto the cutlery, for these 2 items i made simple cubes which I elongated and then extruded specific faces into the shapes of a spoon and a fork, this was quite challenging as I needed to get them spot on to look in place. Finally I decided to make another circle plane which I made into soup which would sit inside the bowl itself and imitate what the soup would look like.
Texturing
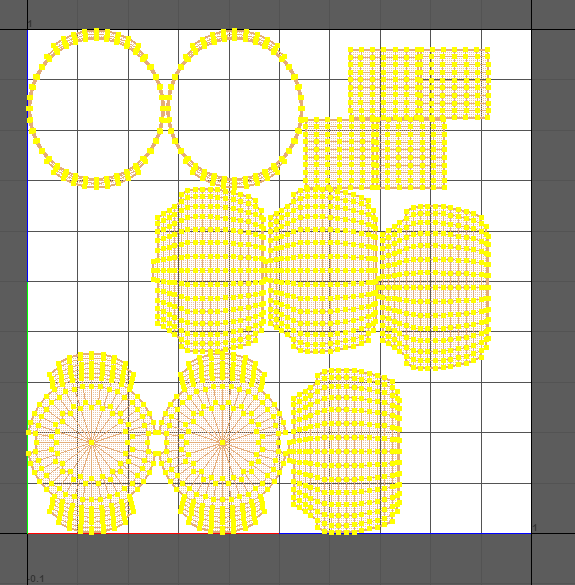
For this asset, I added some simple textures from substance painter onto my model, for the bowl itself I have a ceramic type texture to it, for the plate i did the same, for the spoon and fork i added a metallic texture to them both, and finally for the soup I cultured it brown and gave it a bit of transmission so that it is not a solid looking object, but slightly transparent.