Categories
Category: Level creation
Categories
Creating assets for level.
For my level I decided to create my own assets, this was because i wanted my own style for my assets instead of a mix match of premade assets on the unreal marketplace. Below are going to be images and short descriptions of what i did to create the assets.
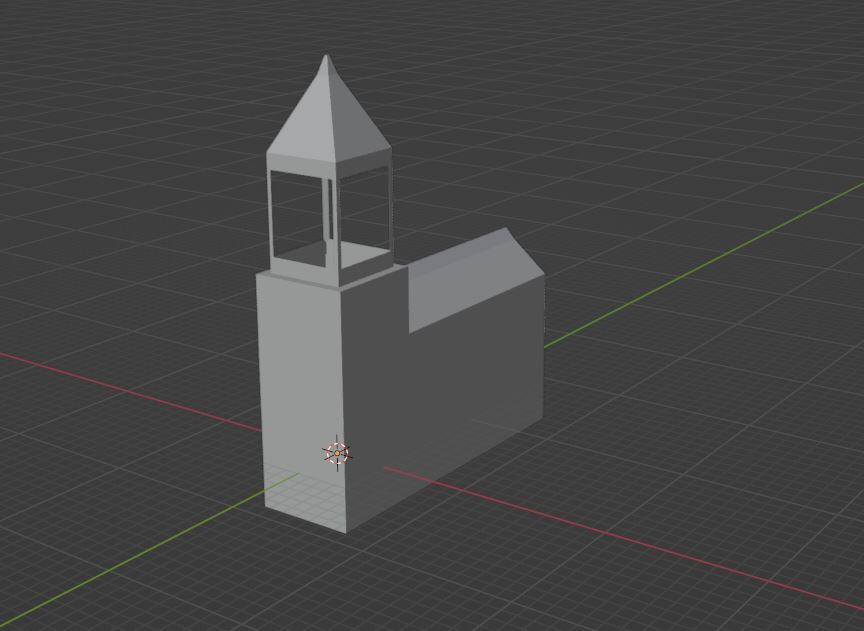
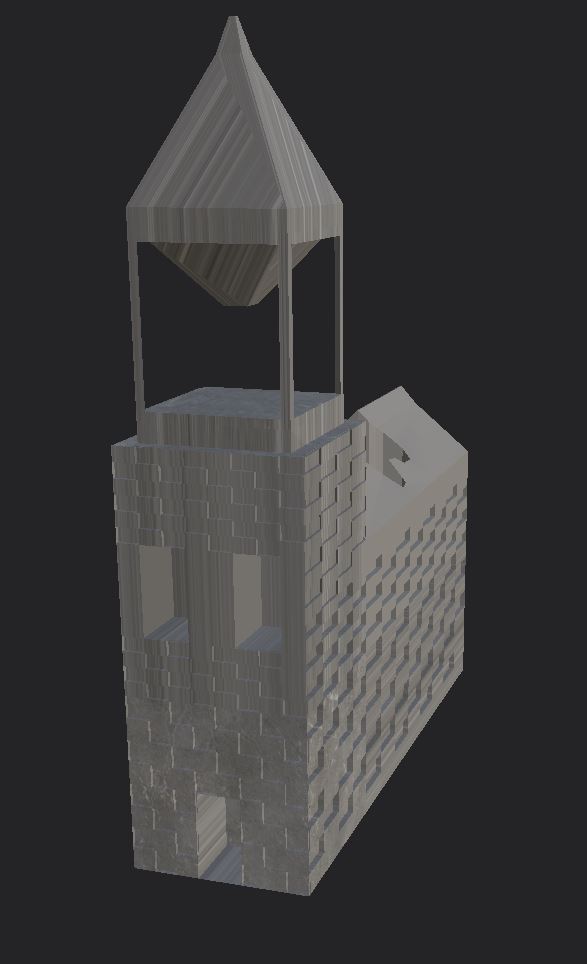
Church
I made my church by making a simple cube and extruding it outwards and upwards, i then brough some faces back to make the long part of the church and also created the bell tower by doing the same thing, i also cut out 4 faces to let you see inside.
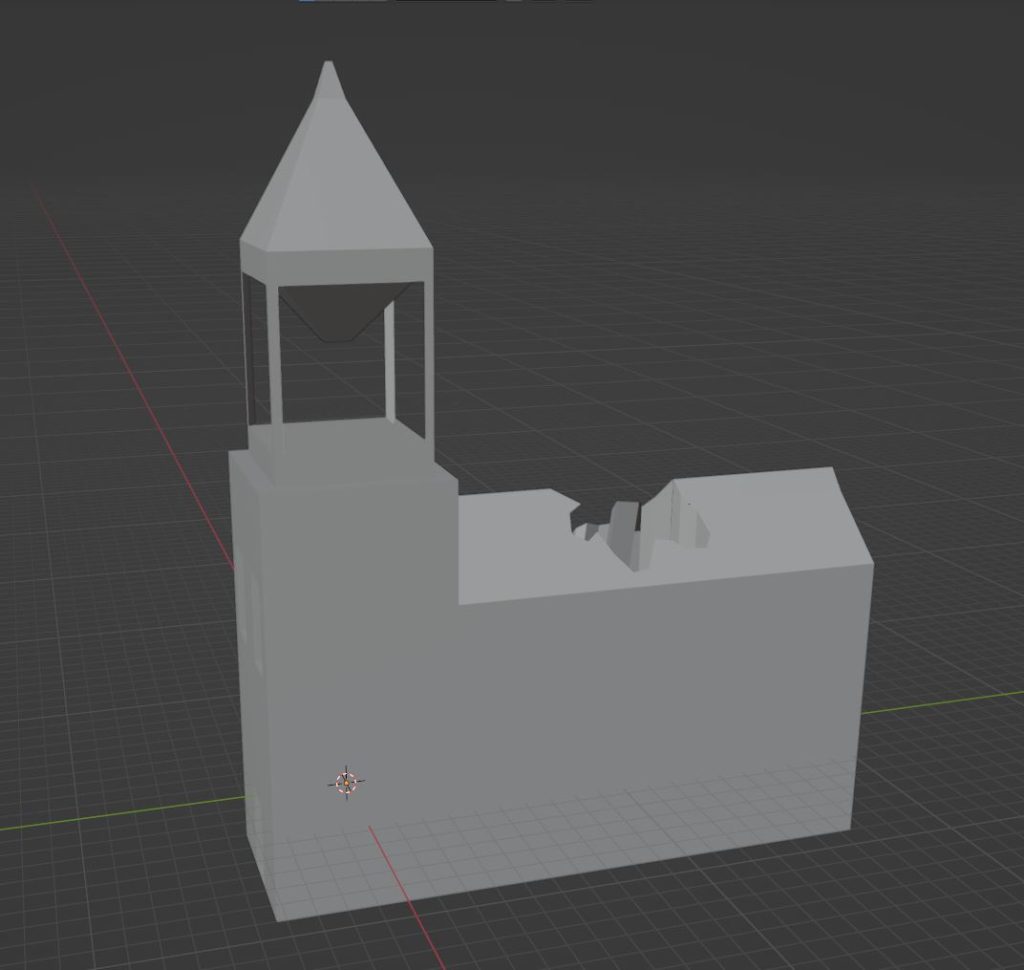
I then cut out a hole for damage to the church.
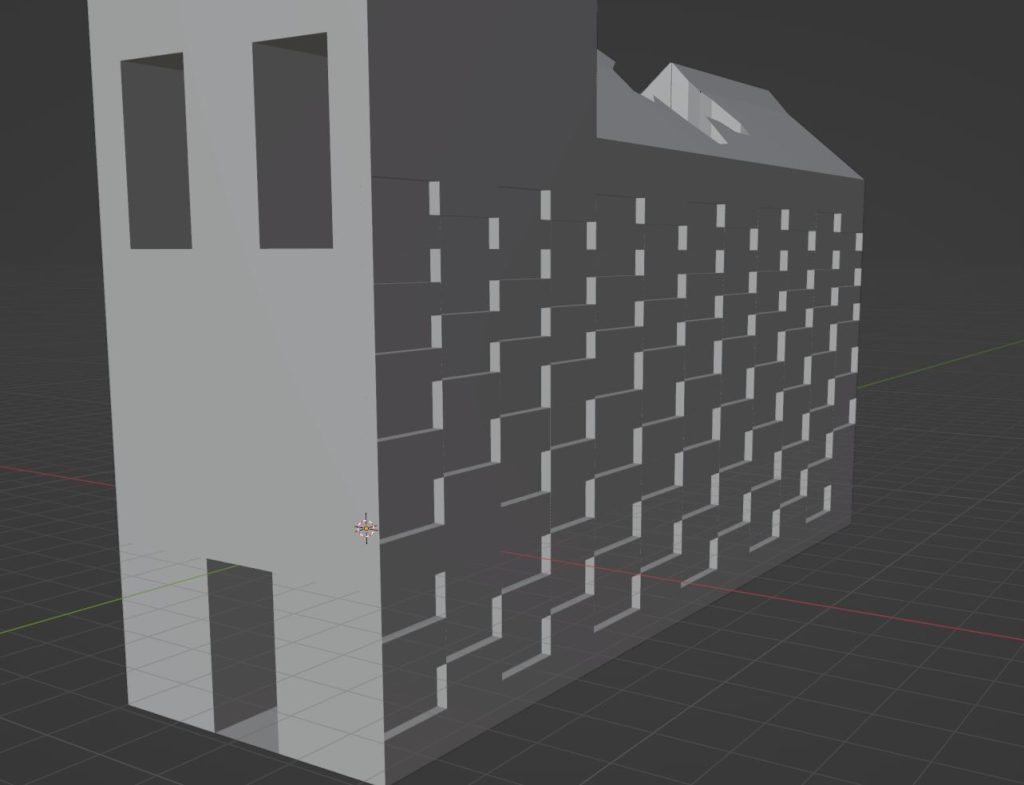
Finally I added some bricks around the walls.
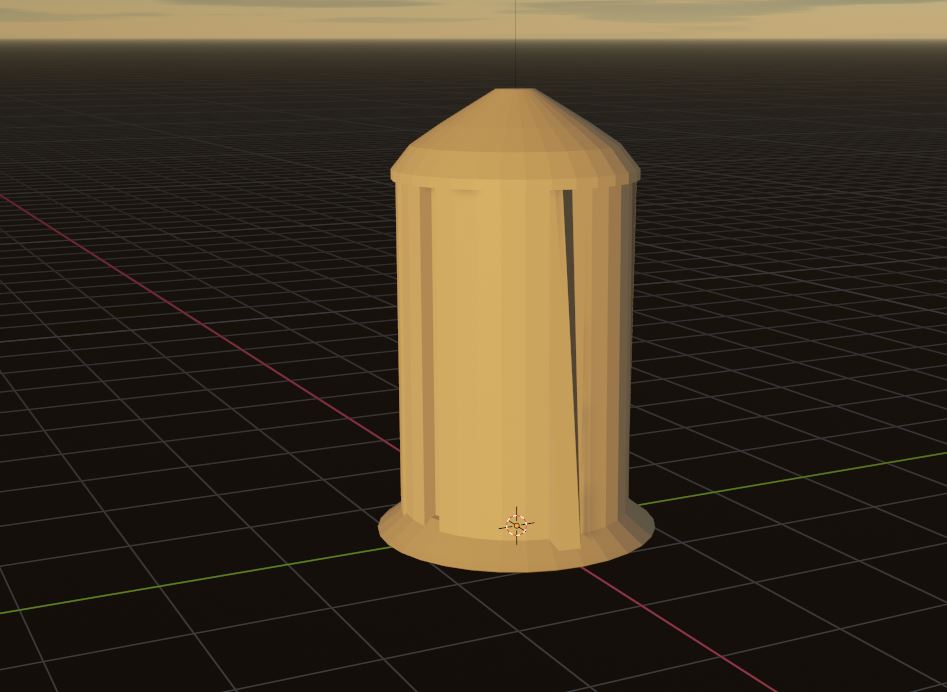
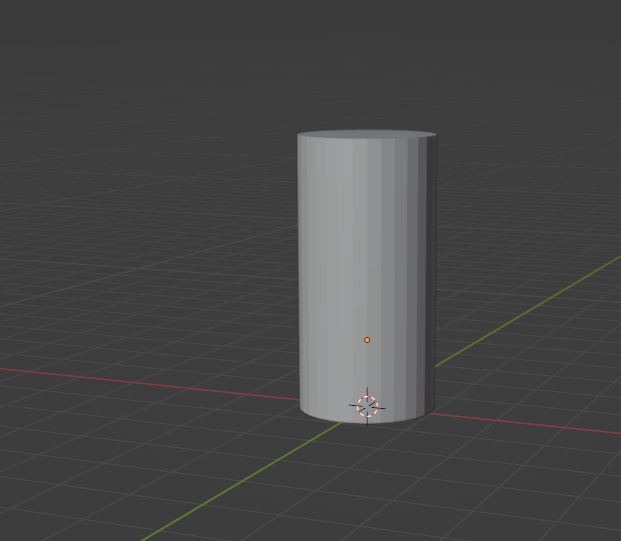
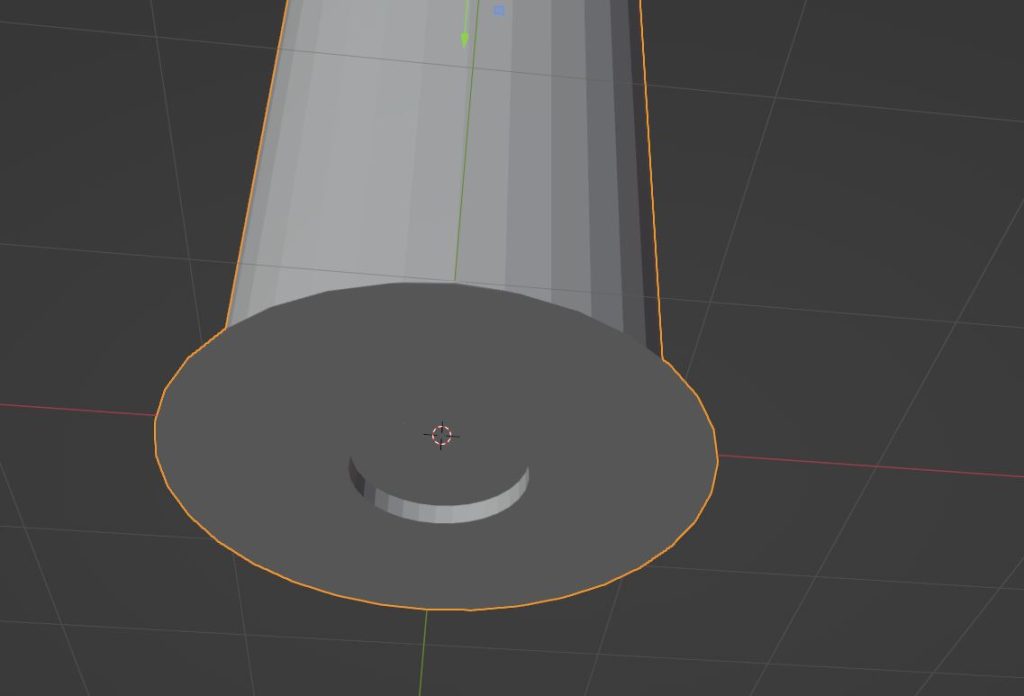
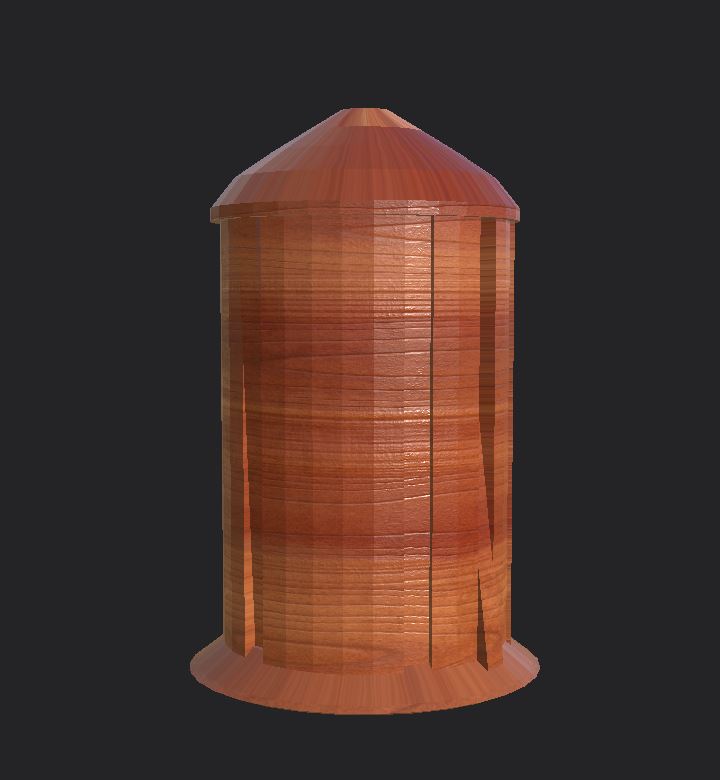
Barrel
For the barrel I used a cylinder, and gave it two wider faces at the top and bottom.
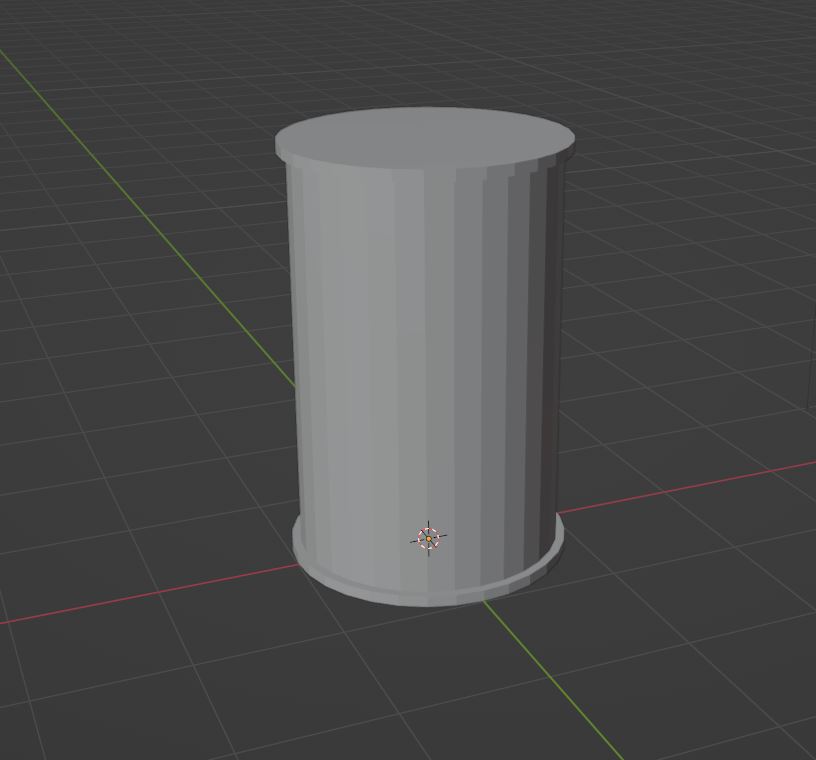
I then moved some of the faces on the outside to create uneven wood planks.
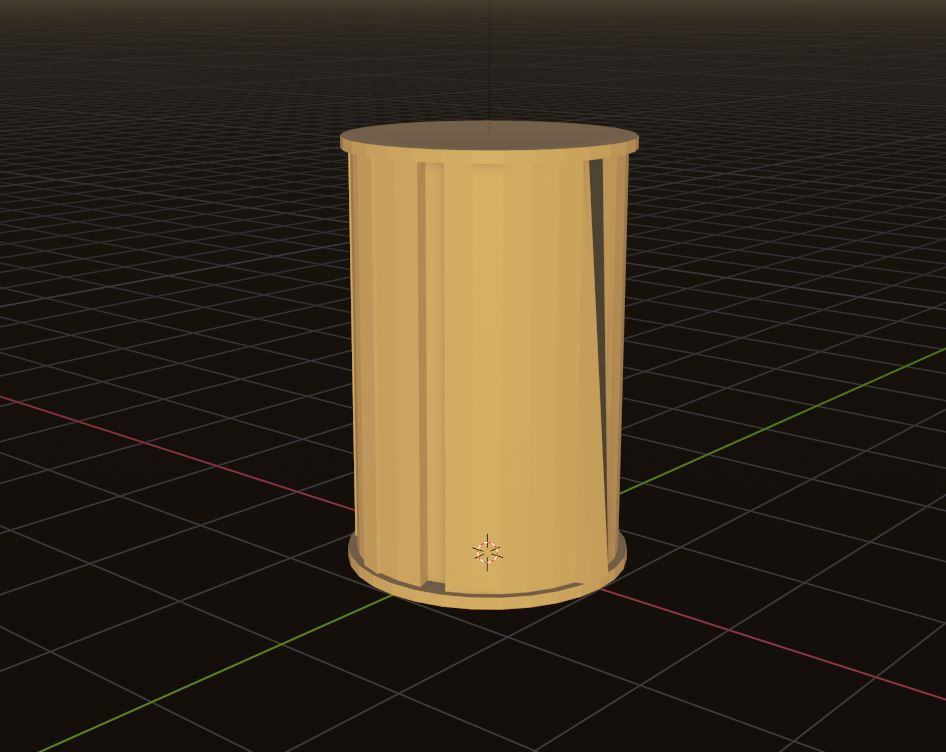
Finally i gave it a dome at the top.
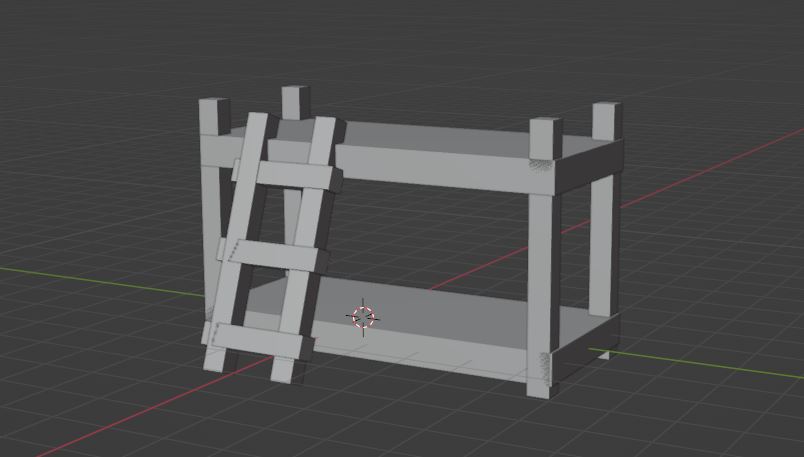
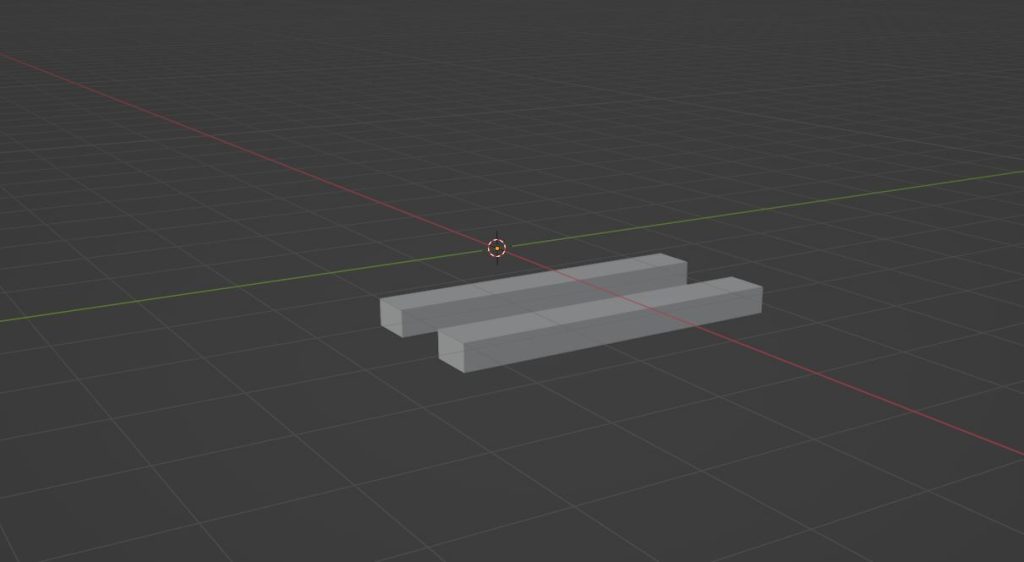
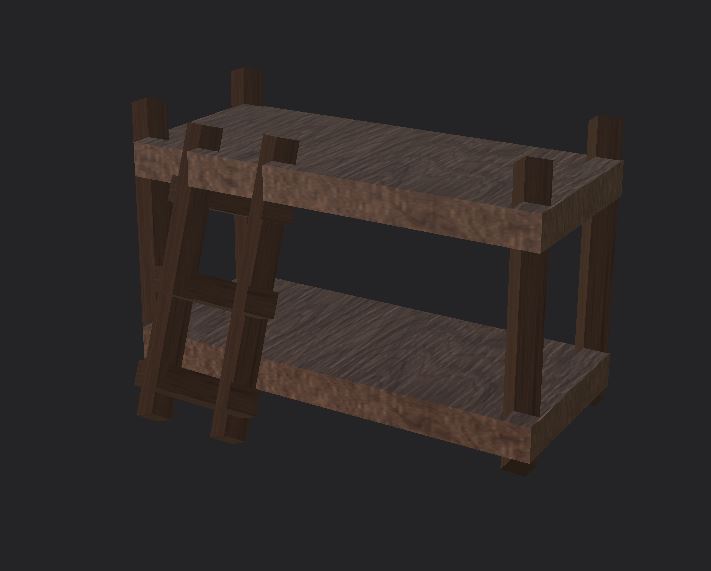
Bed
For the bed I just used used simple cubes which I made longer or shorter and arranged them to look like a bed.
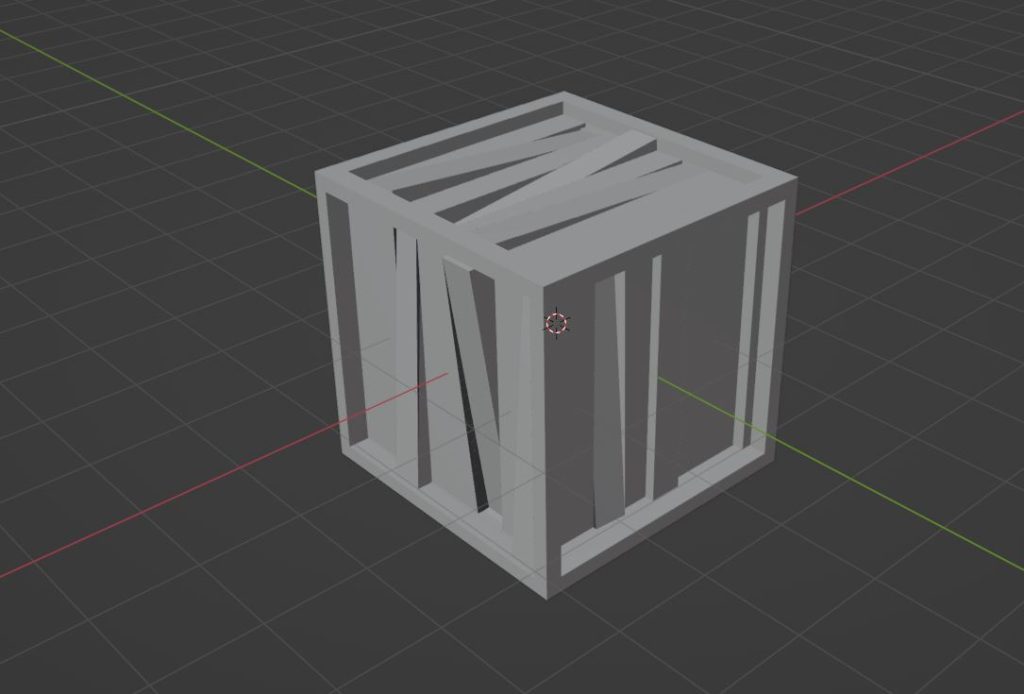
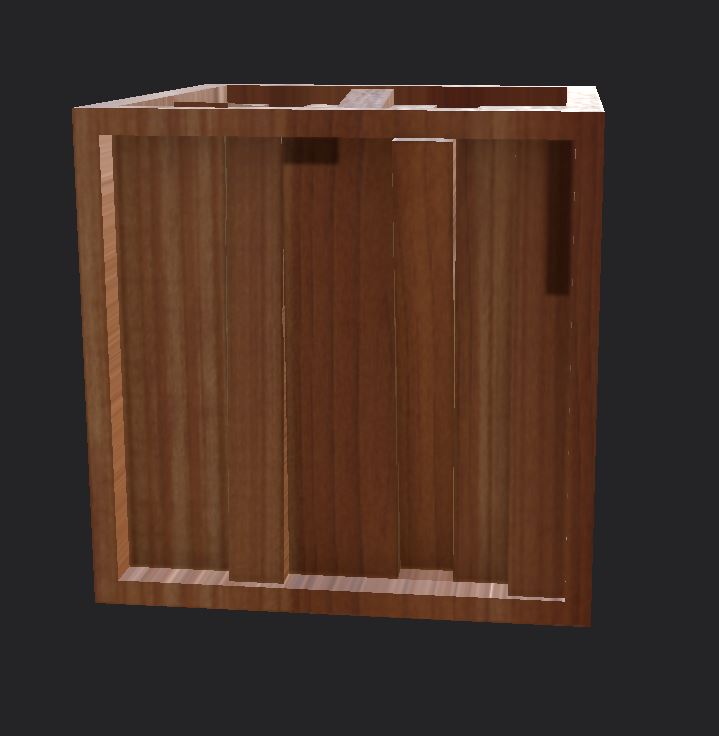
Box
For the box i did a similar thing like the barrel, i indented the side and top faces down a little bit, then i moved some of the faces around to create an uneven plank.
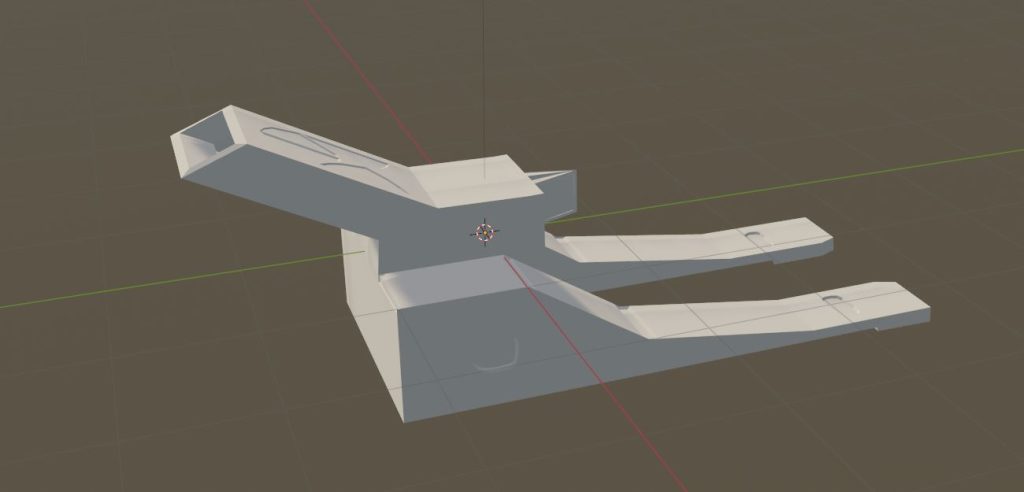
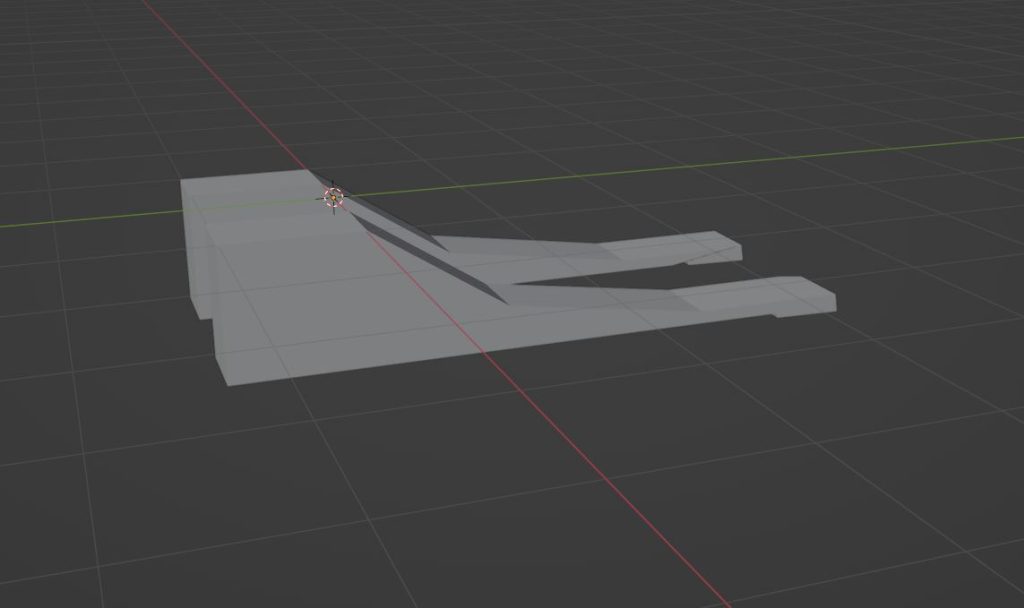
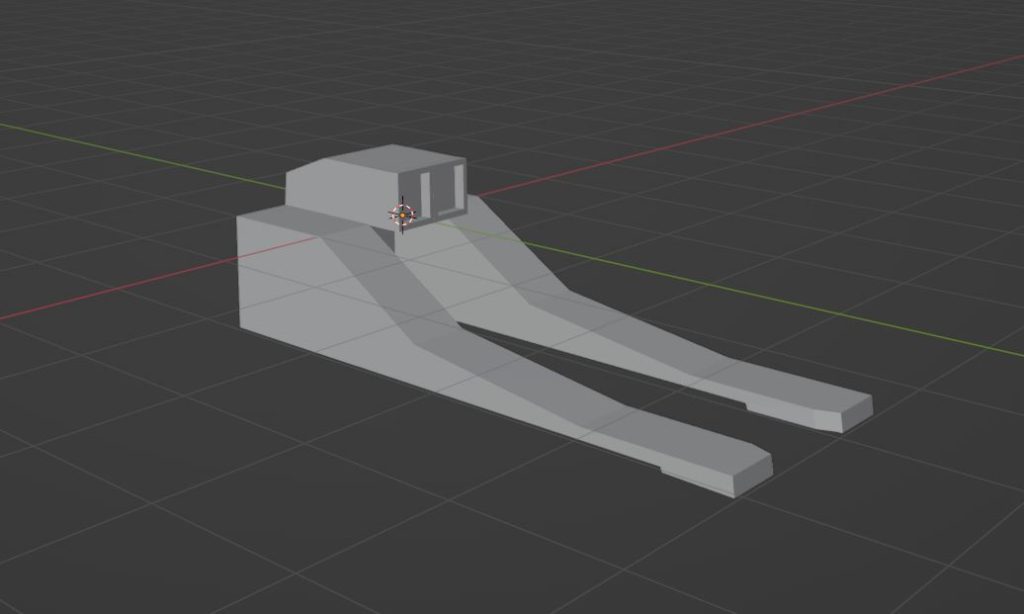
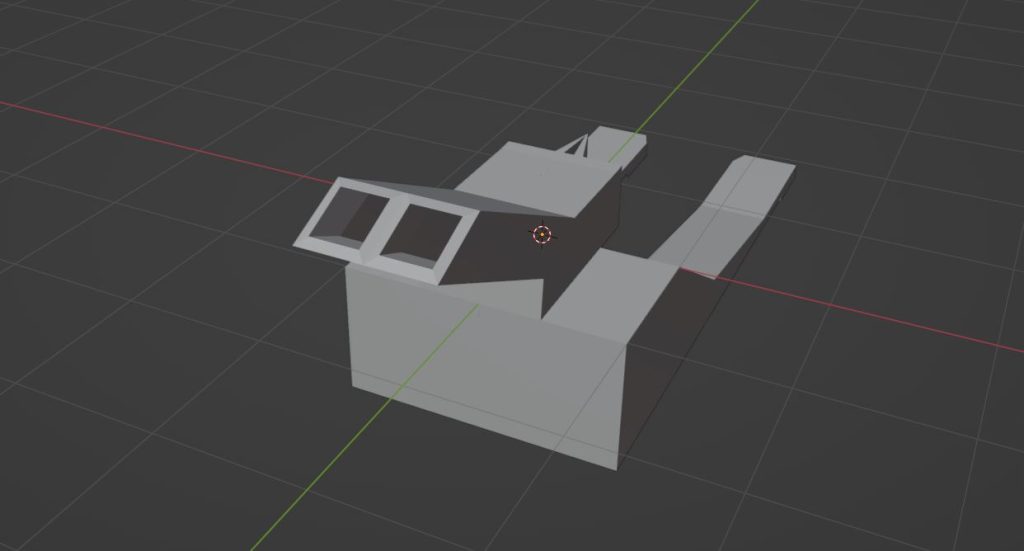
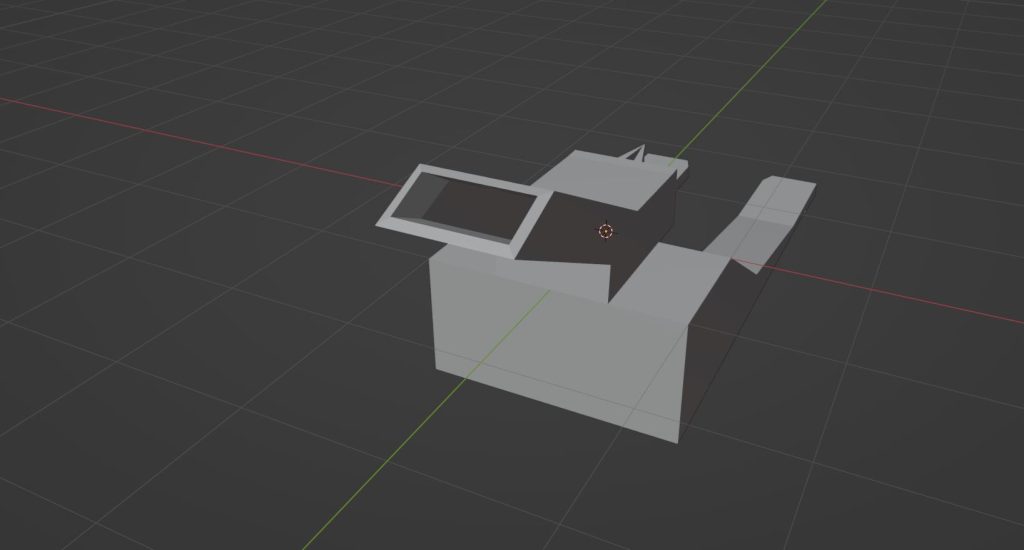
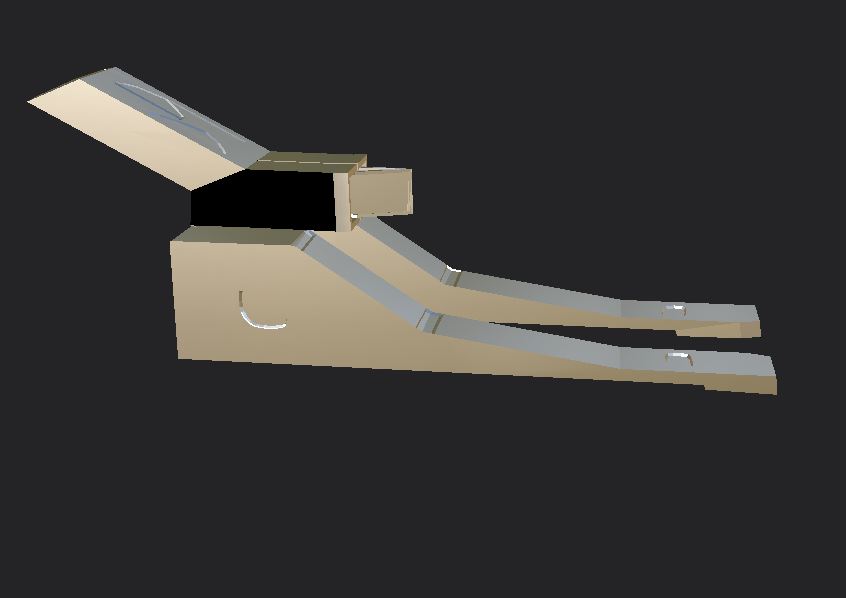
Canon
For the canon i used a mirrored cube and i extruded them to the left to create the tracks for the canon. I then moved the faces at the top together and then moved both up to create the barrel of the canon. I then cut out the inside and added some detail to it.
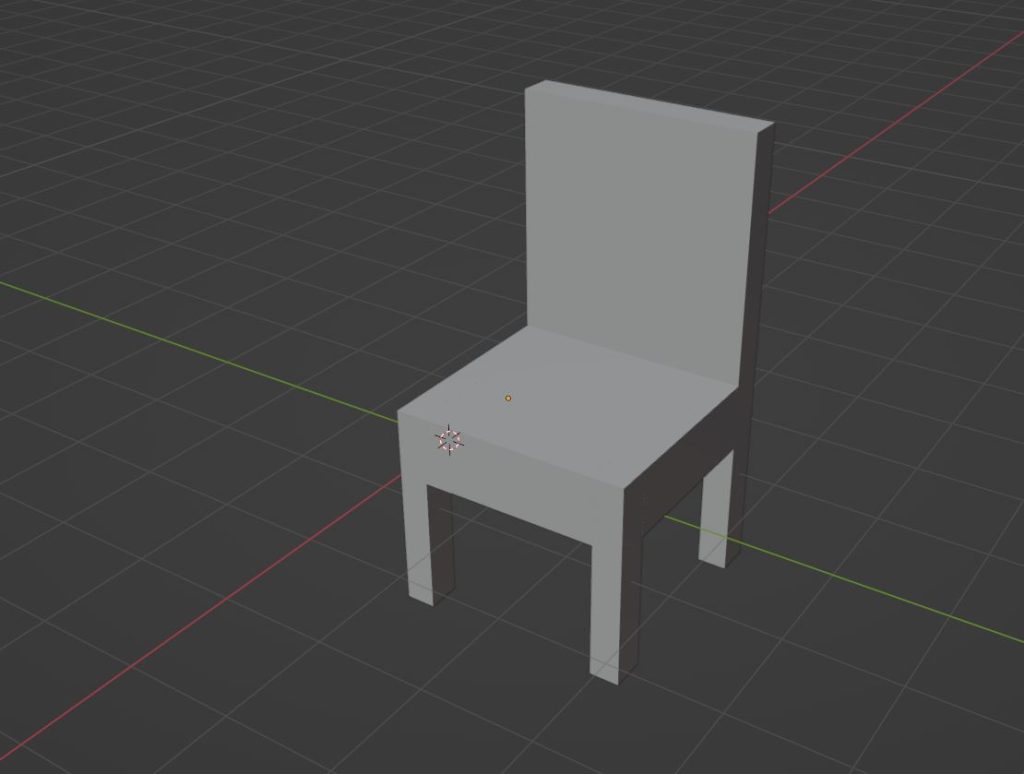
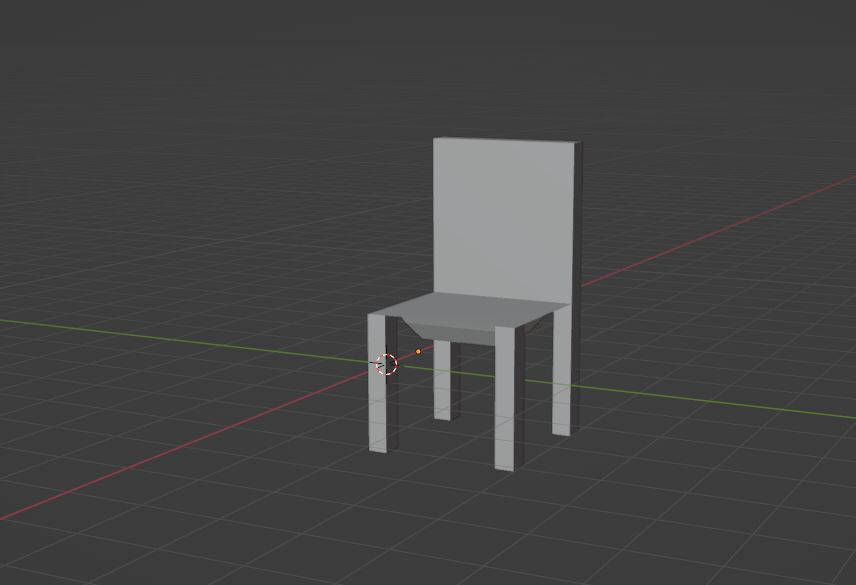
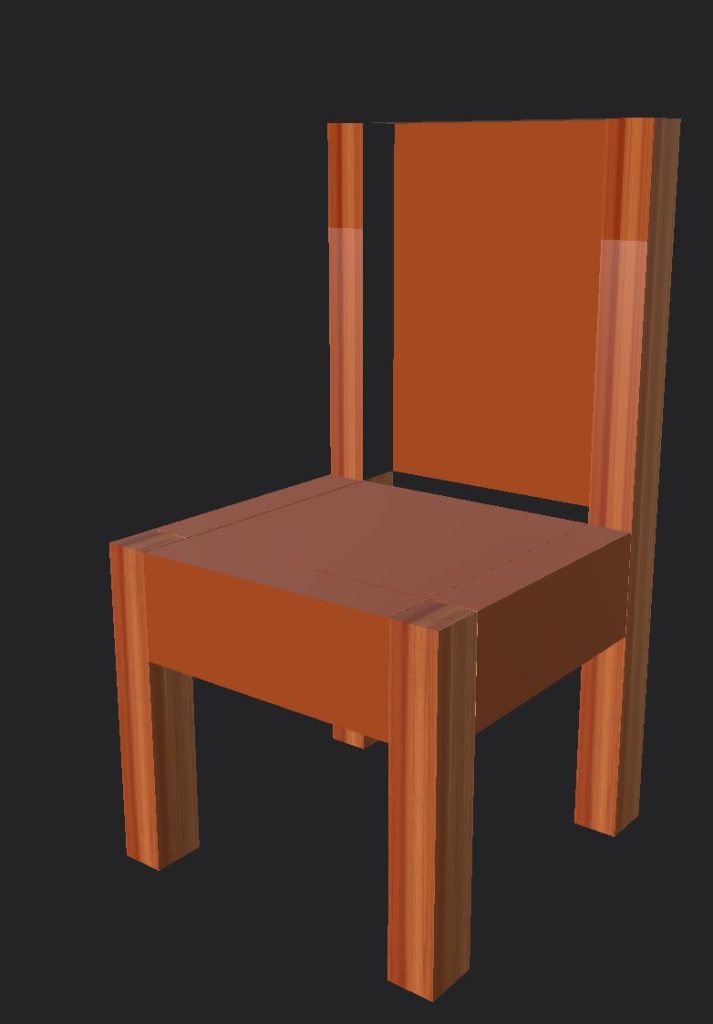
Chair
For the chair i just used 4 simple cubes, brought them upwards, joined the top of them together and then made a loop cut towards the back and made the back of the chair.
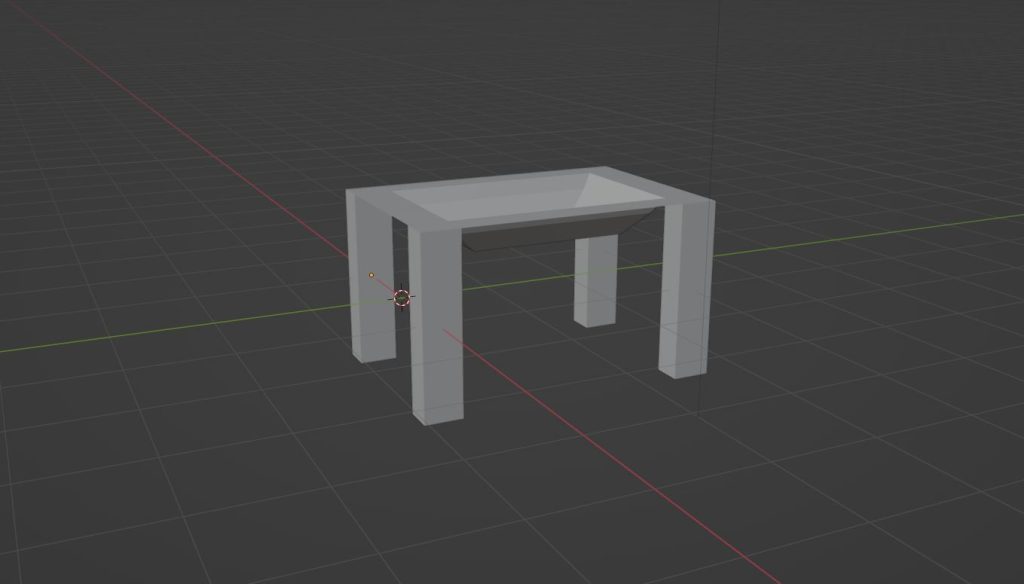
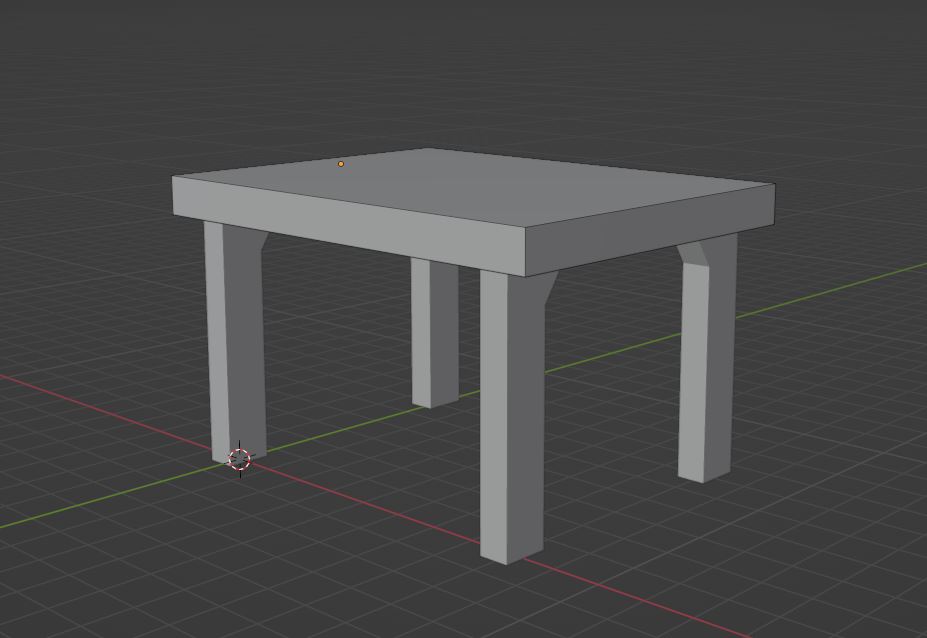
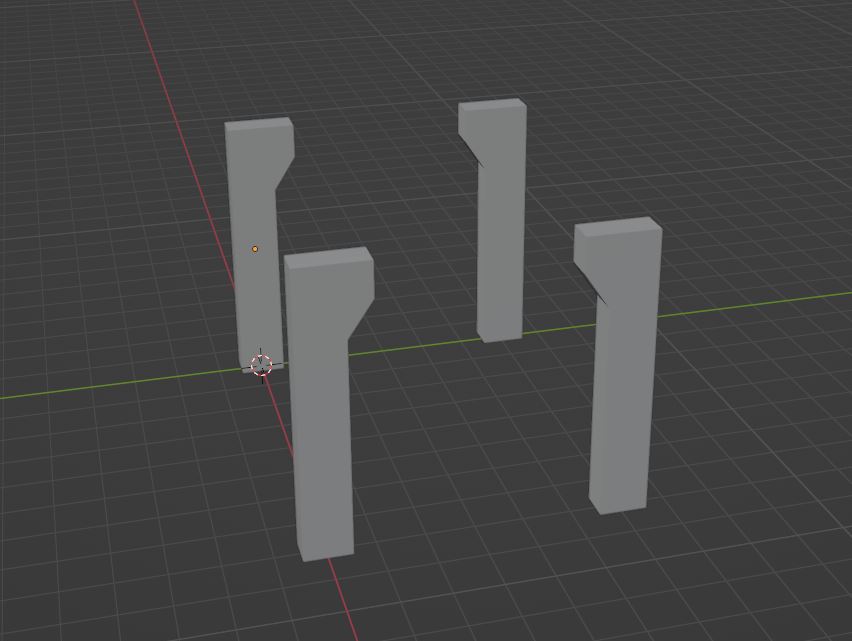
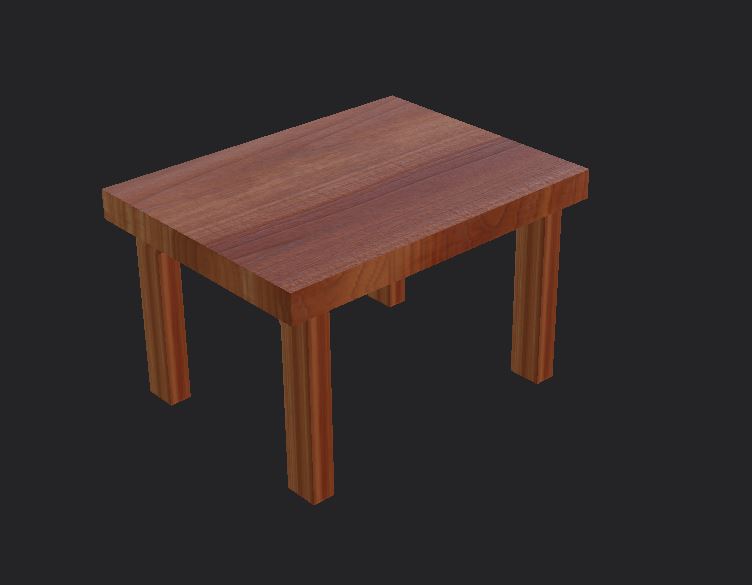
Table
For the table I did a similar thing to the chair where i pulled the 4 legs upwards and then joined the top and extruded that a little bit.
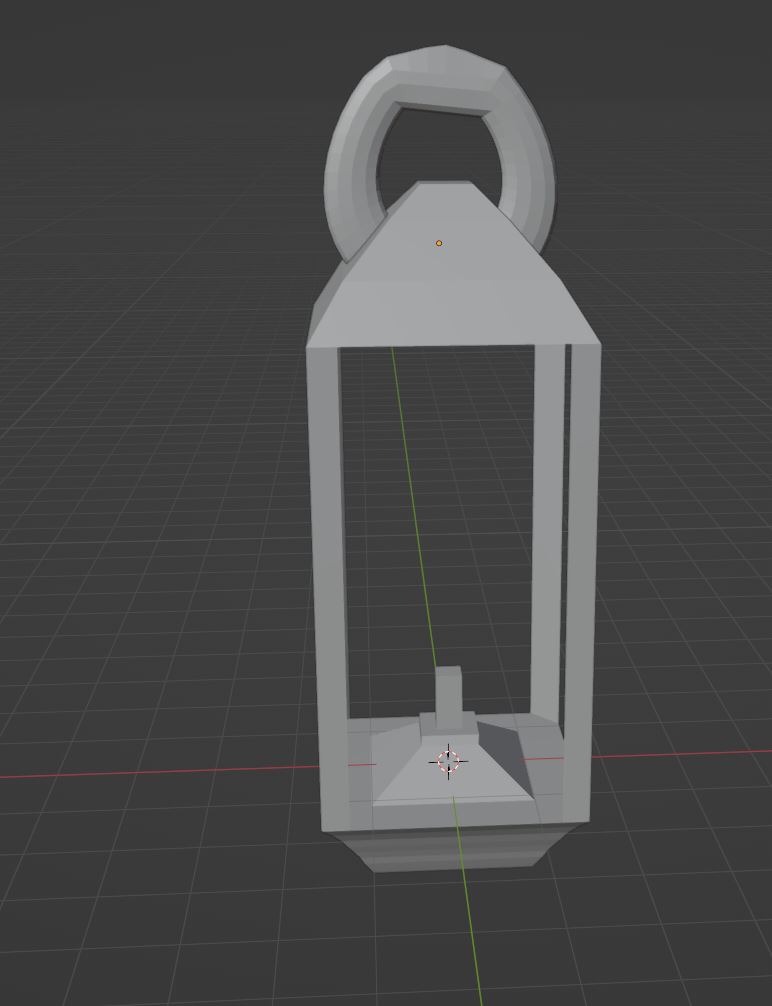
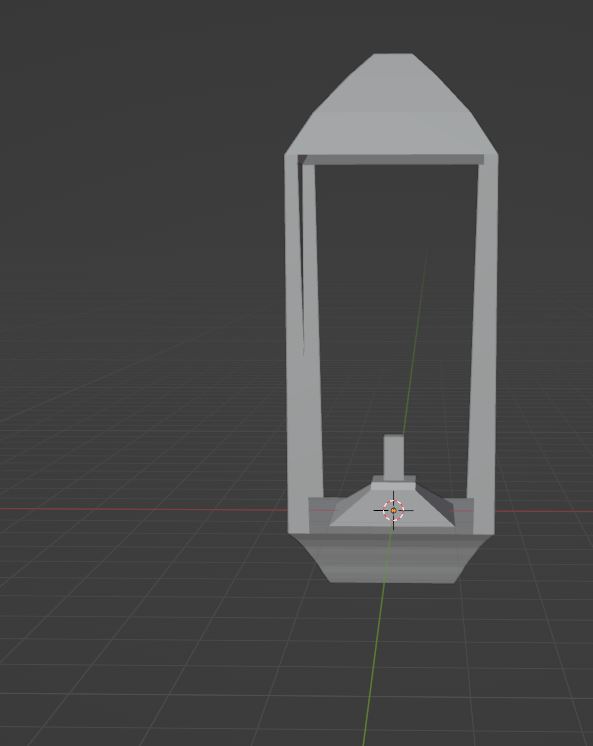
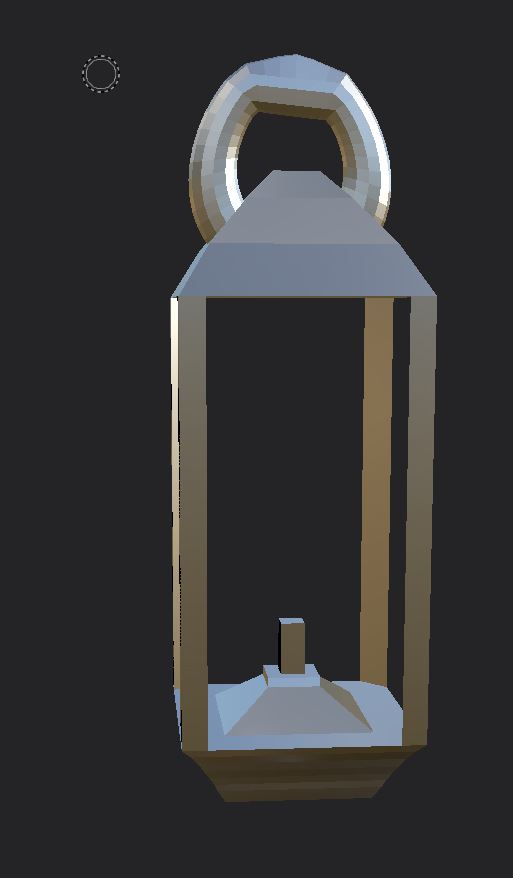
Lamp
For the lamp I used a cube, extruded the faces up and out a little bit and created the top of the lamp, I then cut out the middle faces to create an inside to the lamp.

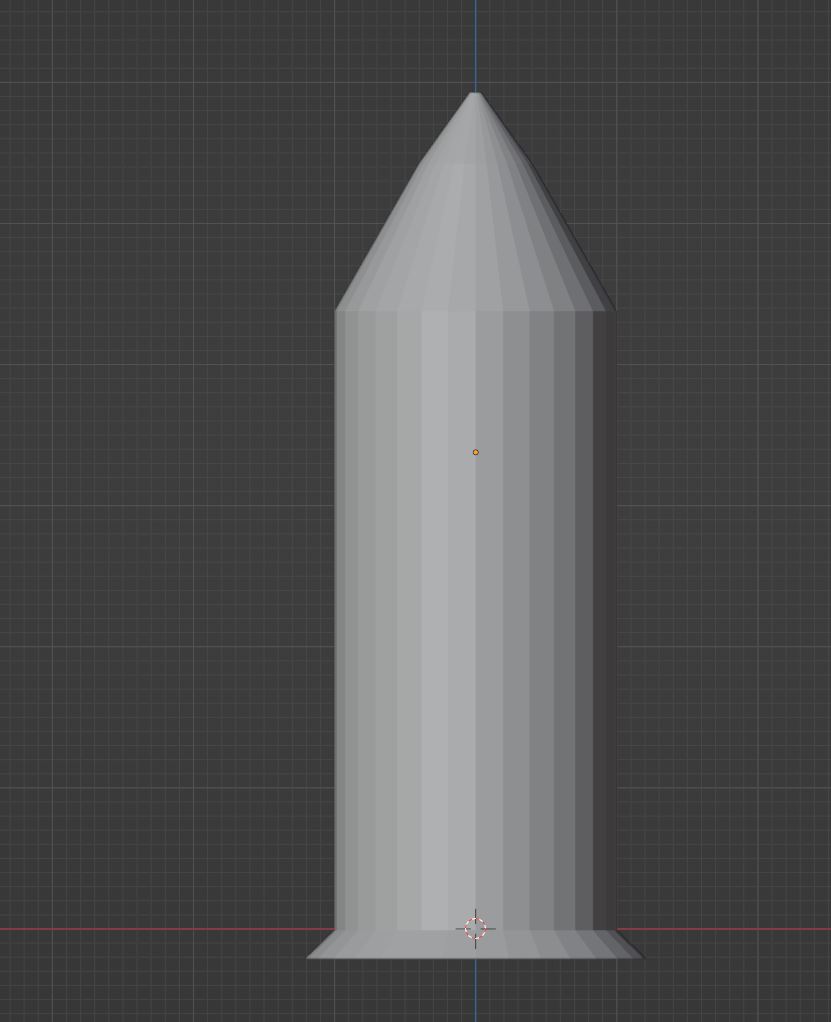
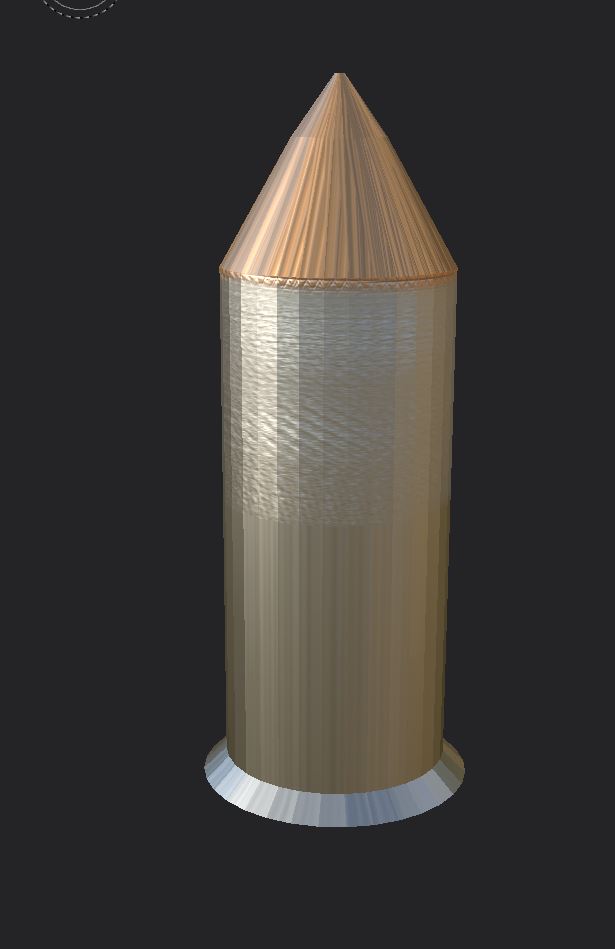
Shell
For the shell i used a cylinder, extruded it upwards, then made the bottom faces wider to make the bottom and then the top part of the model come together like a cone.
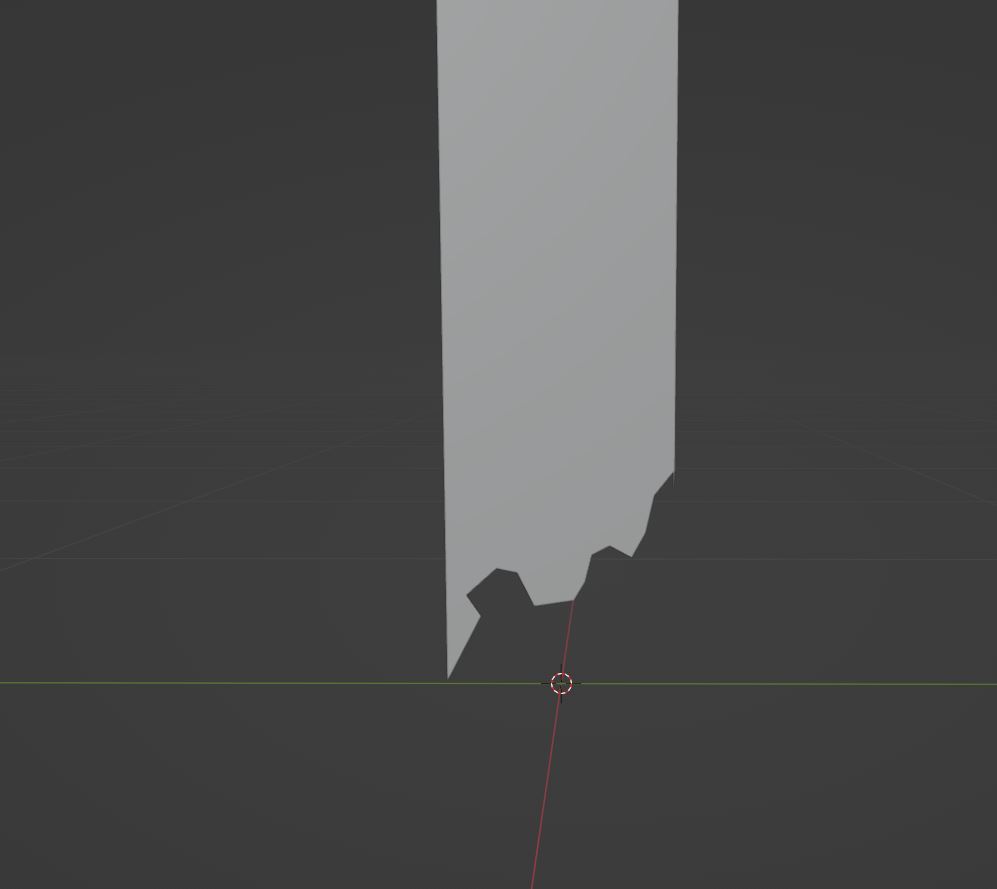
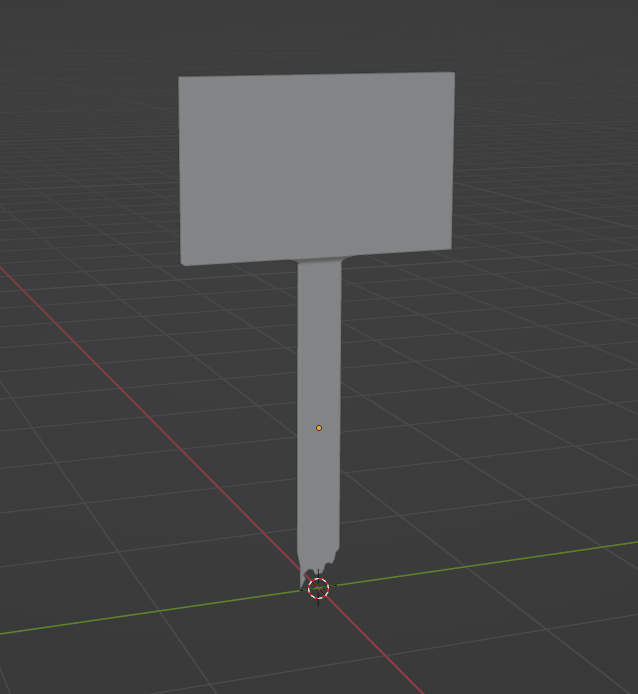
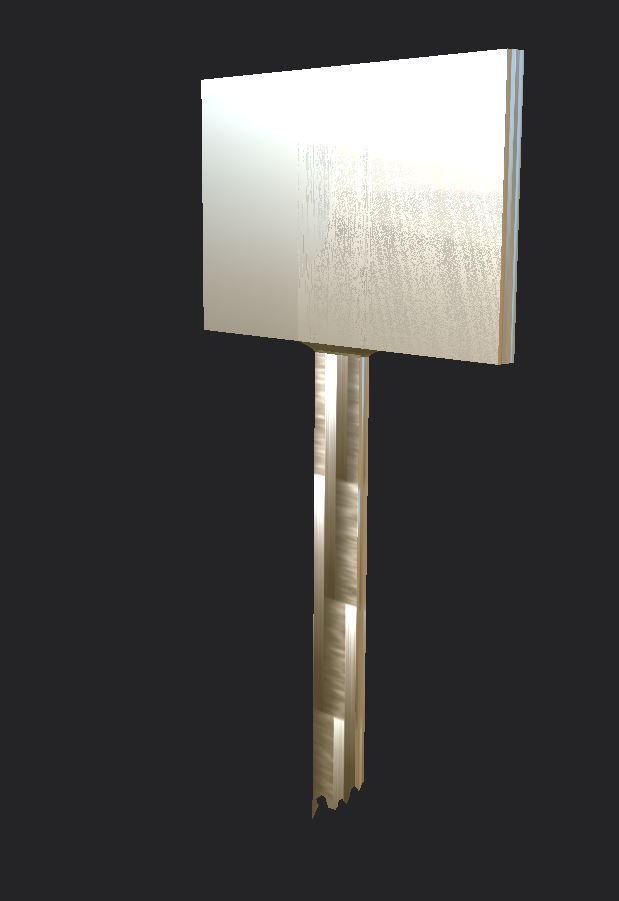
Sign
Finally for the sign i made a cube, flattened it and cut out some faces at the bottom, i then made a square at the top where stuff is going to be kept.
Categories
Texturing assets for level
After I created my assets I moved onto texturing my assets that I’m going to include in my level. Below are pictures of each asset after they have been textured.
Barrel
Bed
Box
Canon
Chair
Church
Lamp
Shell
Sign
Table
Categories
Texturing my levels landscape.
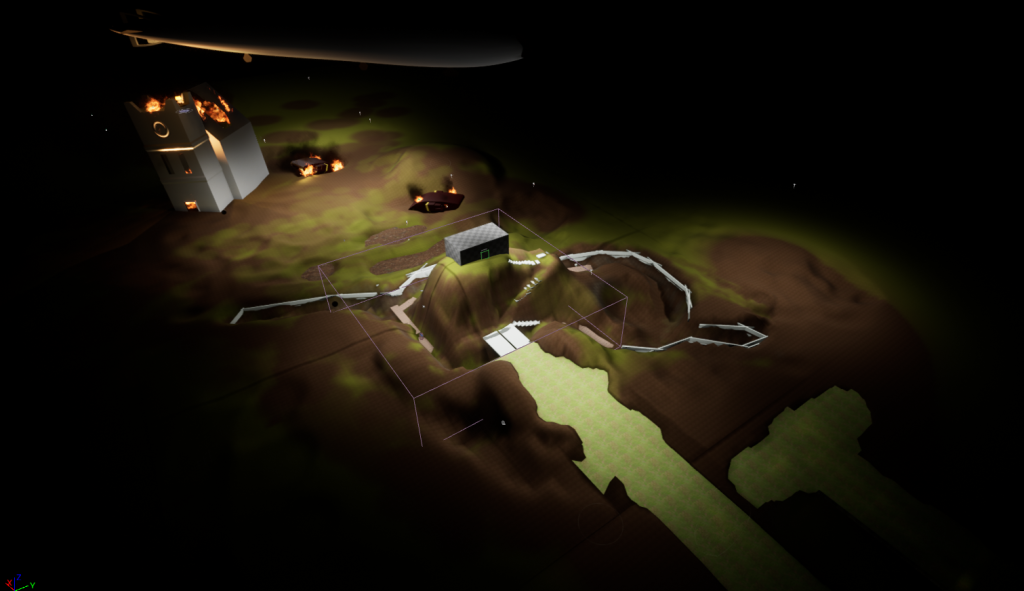
As I have completed my blockout I began by texturing the ground around my trench.
First of all I used a grass texture from Quixel bridge for the base material of the ground within the trench and the ground surrounding the trench.
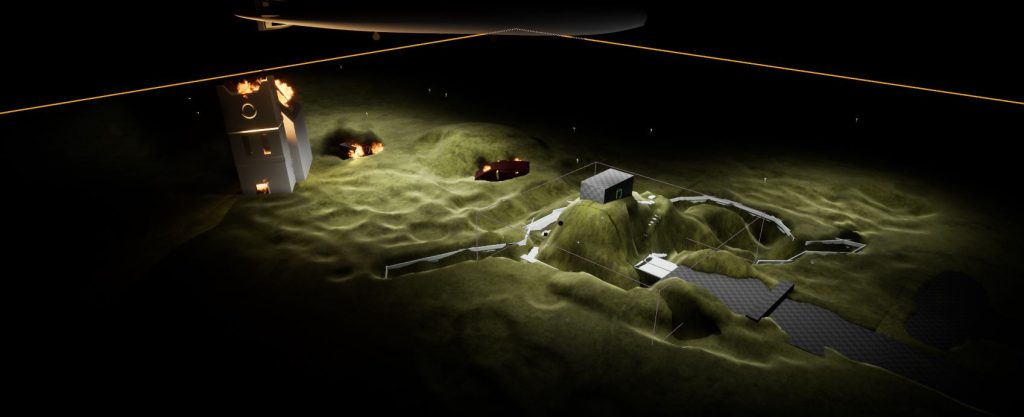
After making the base colour, I added different layers to it in the node editor of the landscape texture. I used a debris material, grass material and a forest floor/mud material.
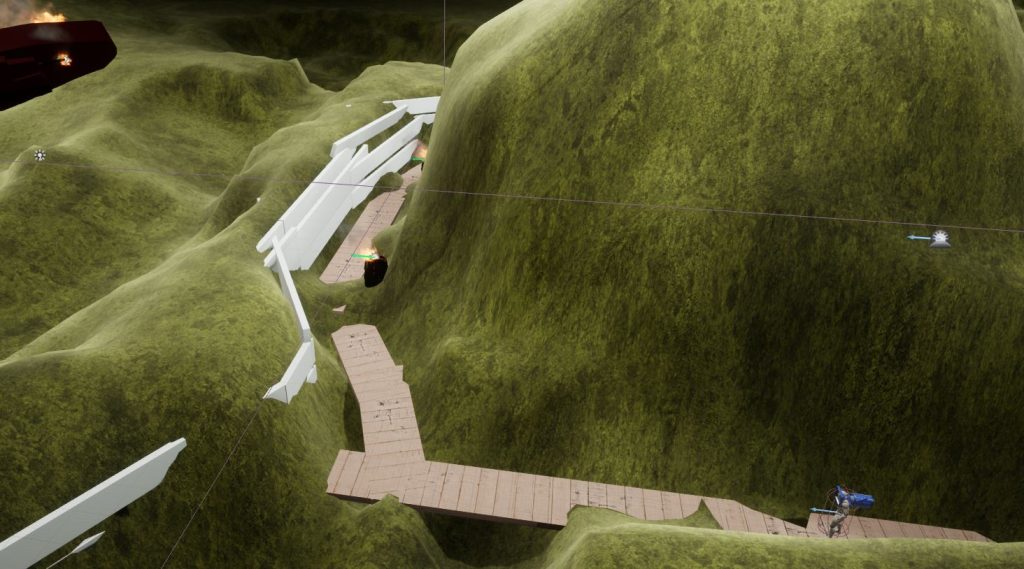
I then moved onto the trench boards which the player will walk on inside of the trench. I used a wood texture from Quixel for this and added it to each board that the player will stand on.
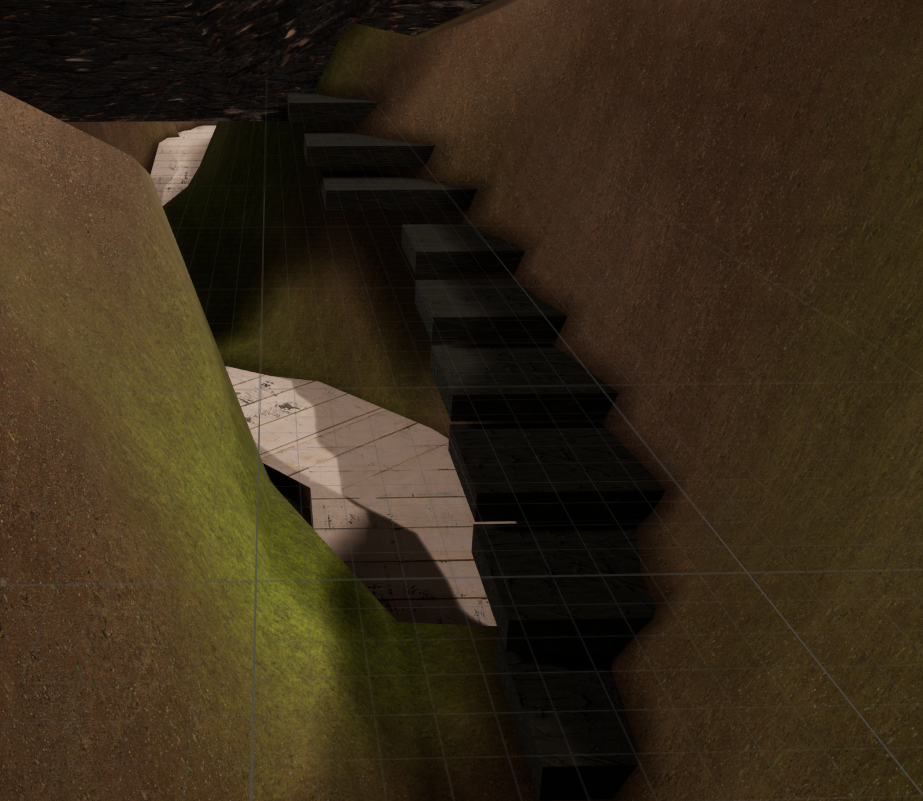
Once the trench boards were textured i moved onto the underground bunker tunnel, I used the same material from the trench boards and added it to the ceiling of the tunnel.
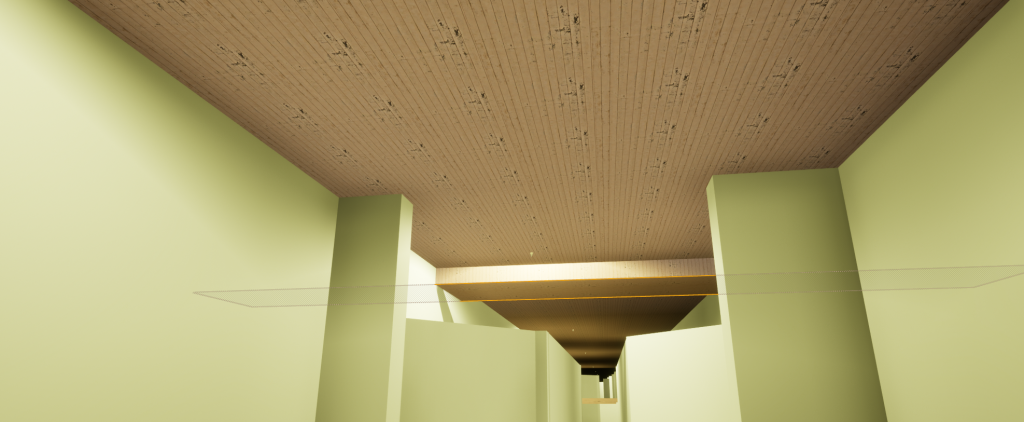
I then moved onto the walls and the floor, I decided to go with a darker wood texture as I feel that would look nicer within the tunnel and it would also make i feel bigger if the player struggles to tell the difference in depth due to the dark material.
I added a black wood material to the stairs going up to the bunker
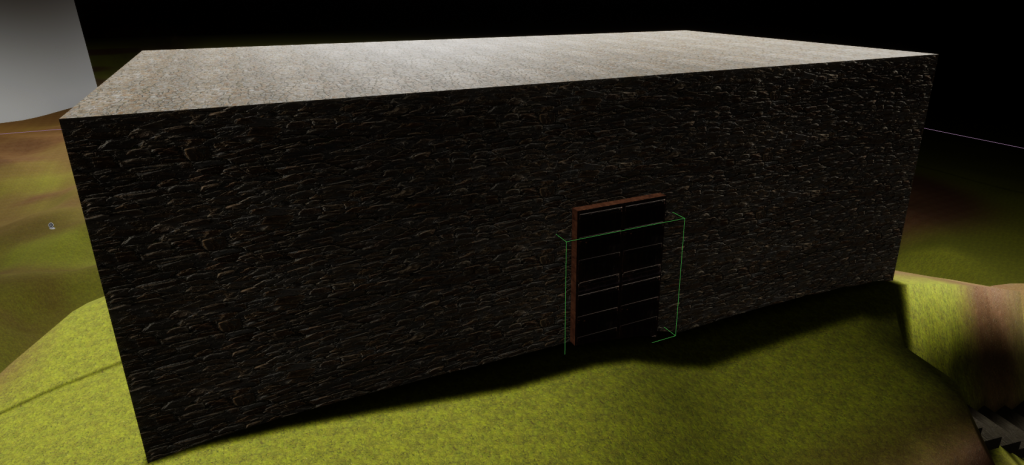
Finally for the outside area I textured the bunker with a stone type material, I then changed up some settings within the material to make each face fit together and line up. Then for the door I used a wood material that I previously used and then layered a door decal on top of it.
Categories
Improving upon level feedback.
Throughout my levels development I have had multiple sets of feedback through playtesting on what doesn’t work or what should be improved upon. In this post I will go through those bits of feedback and improve upon them.
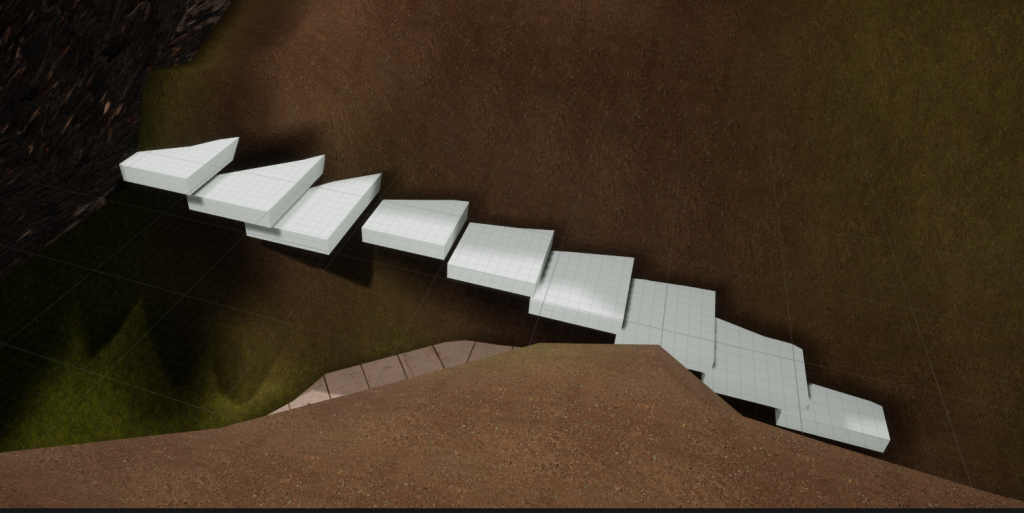
Firstly the stairs up to the bunker were a main feature of feedback, multiple people mentioned that it was difficult to travel up due to the player needing to jump at multiple ones and it not being a seamless set of stairs. I took this feedback in and re-arranged the stairs to let the player smoothly walk up them without needing to jump at all. This will be good for reviews of the game as people will no longer be frustrated with it.
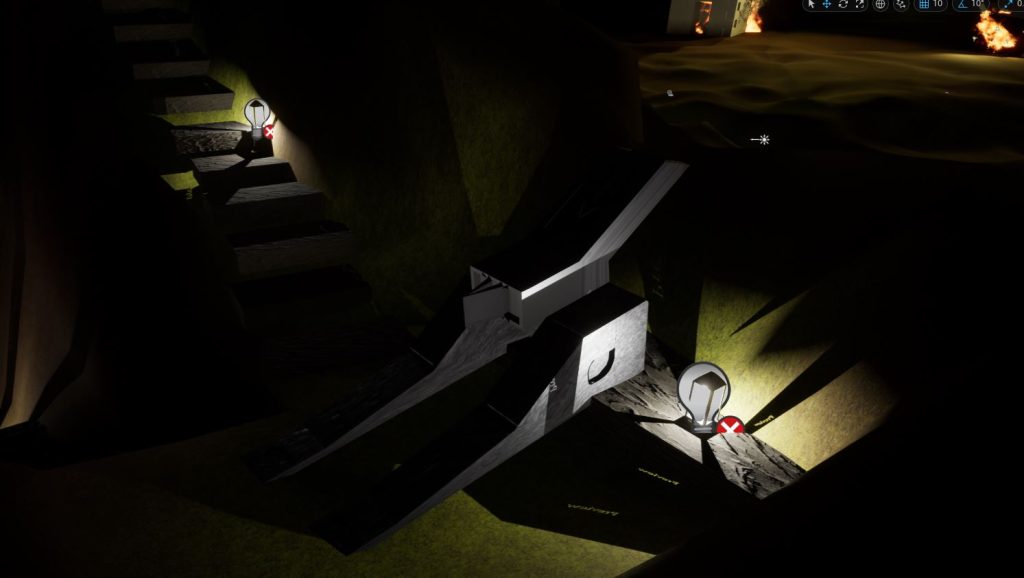
After I fixed the stair issue i moved onto the underground tunnel, in this area I recieved a couple of complaints about part of the map being broken so that the player can fall through and get frozen.
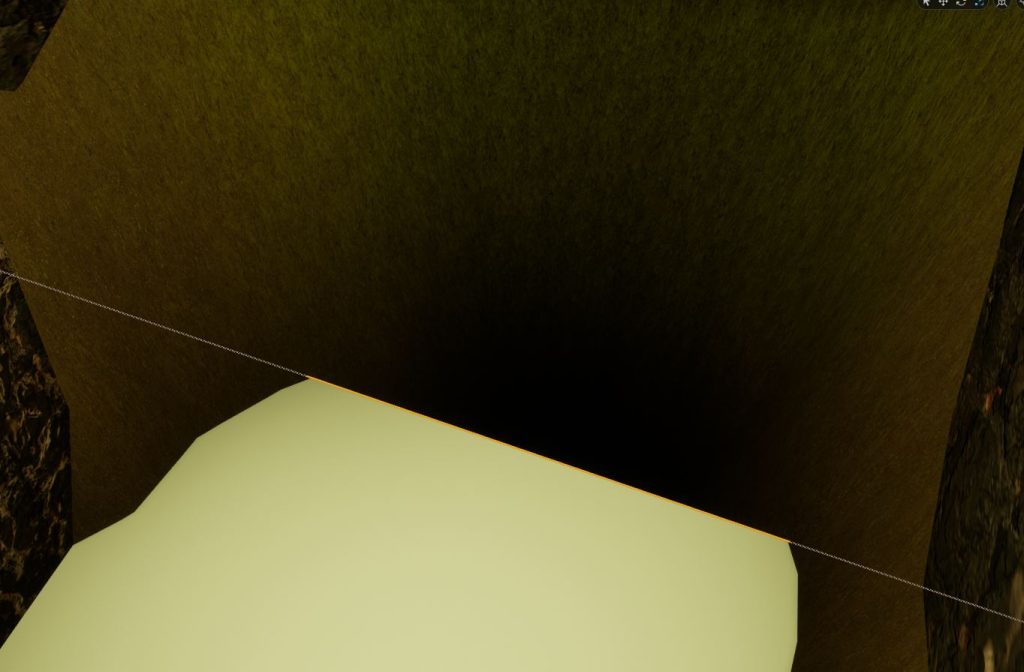
This image is before I fixed it.
All i did to fix the problem was enlarge the ground and drag it to close the hole where you can fall through.
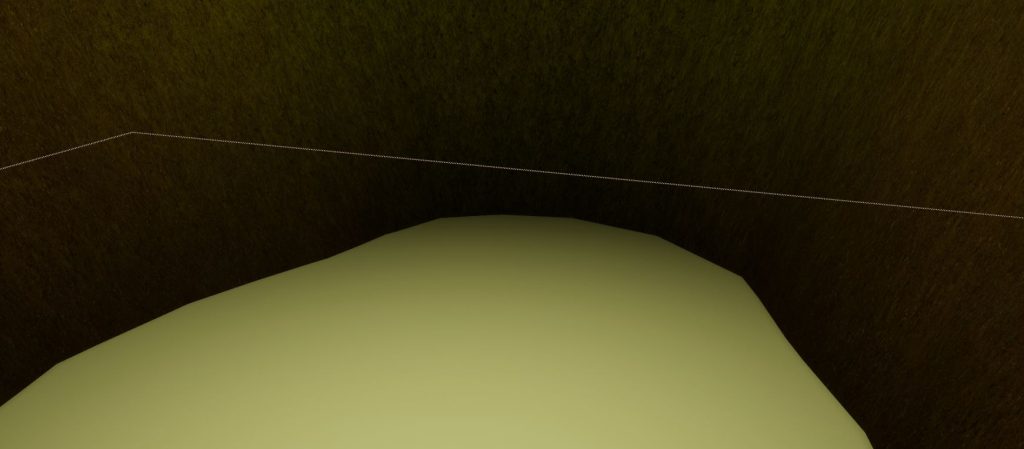
Here is the problem after it was fixed.
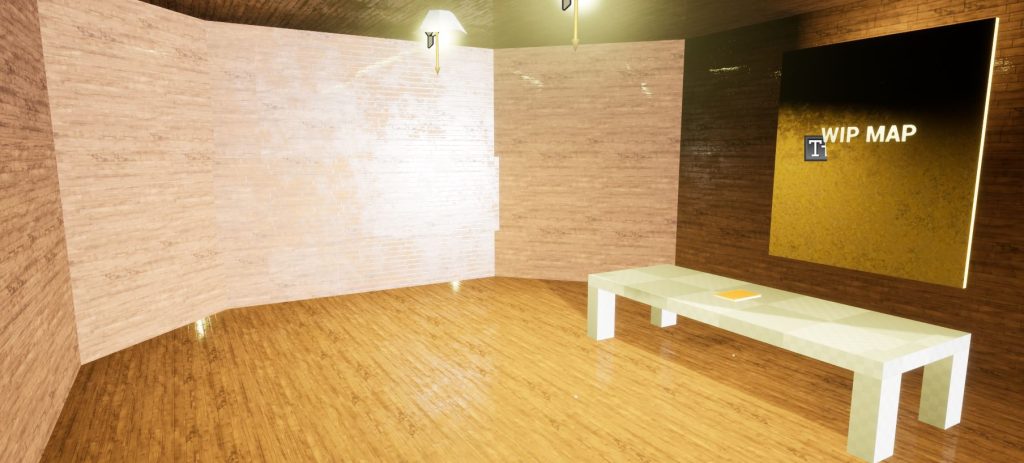
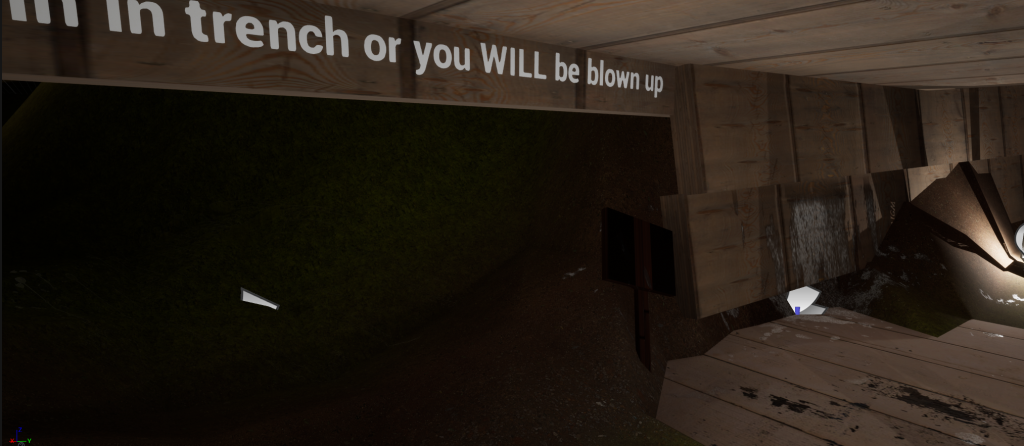
Another piece of feedback I had was that the player would not be motivated to leave the trench as I have a feature implemented that when you leave the trench, you are blown up by an explosion. This would not work if players were not “tempted” to leave the trench, Therefore I modified my landscape a little bit and added some text above the hole pictured below.
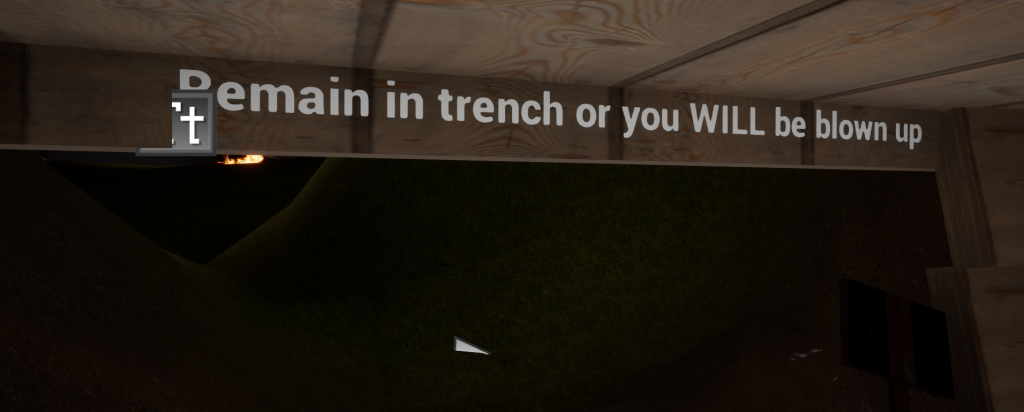
This text can tempt the player to leave the trench as they may try to “beat” the explosion and get past it towards the destroyed tank and church.
In my level there is an “endgame” to it, this being when you step away from the trench and travel 20 ft. then you will be killed by an explosion from an artillery shell, I’ve done this to stop players leaving the playable area without a hard border being visible.
To do this I used several blueprints the first being an “on death” blueprint, this highlights what will happen if the player stands outside of the trench and playable area. Below are some images of this blueprint.
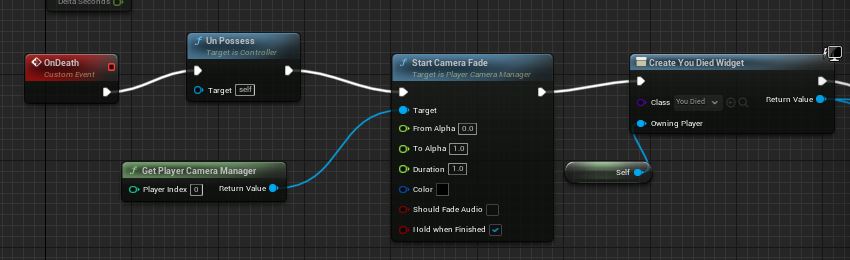
In this image it shows that once the player is killed then the character will be unpossessed and the camera will be stuck to one location. After this the camera fades into the text which says “You died”. This is done by the widget blueprint that i created, shown below.
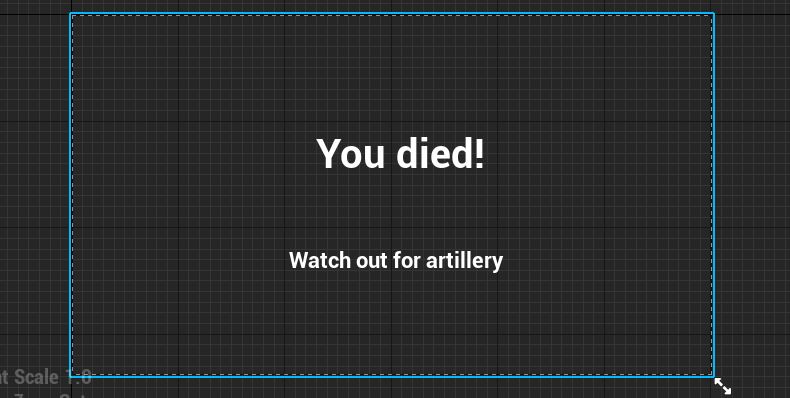

These 2 images display what the widget is like in the editor, and what it looks like when playing the level.
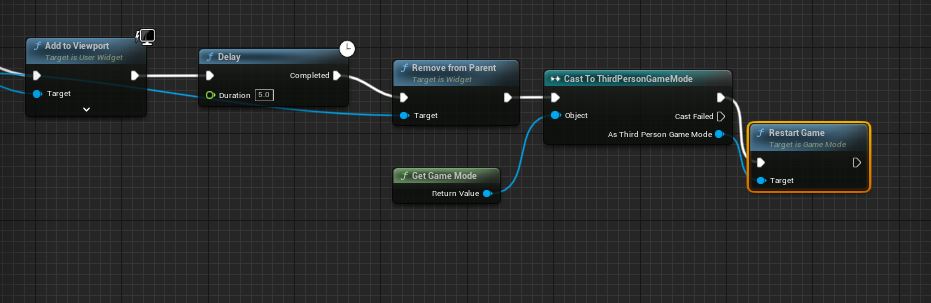
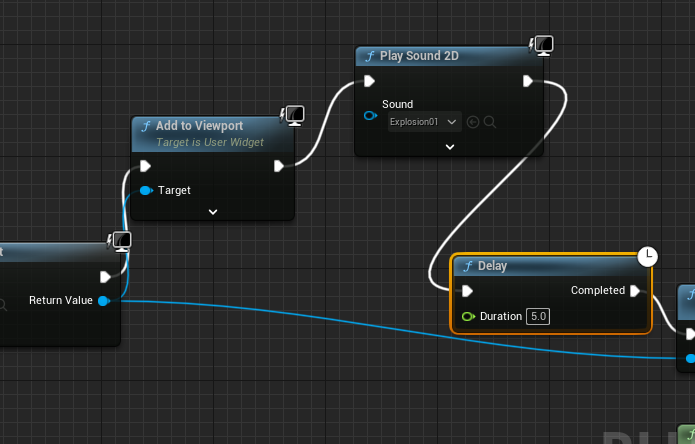
Here is the second part of the blueprint the first part shows the text widget on the players screen, without this there would just be a black screen. Then after this there is a delay, this is for 5 seconds as that is how long I wanted the death screen to appear for, after this it is removed from the parent and the level is then restarted.
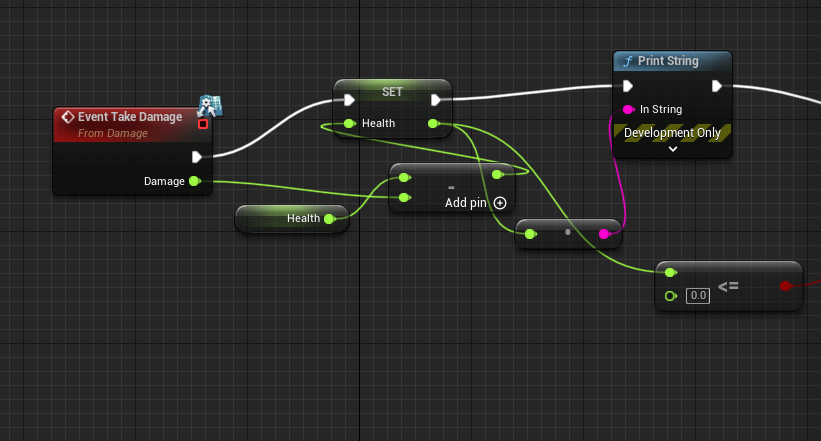
I also gave my character some health, I did this so that the death screen would work when you walk into the box trigger. Firstly I outlined how much health my character was going to get, this being 100. I then made it display itself in the game itself, this is in the top left of the game screen. This part of the blueprint is below.
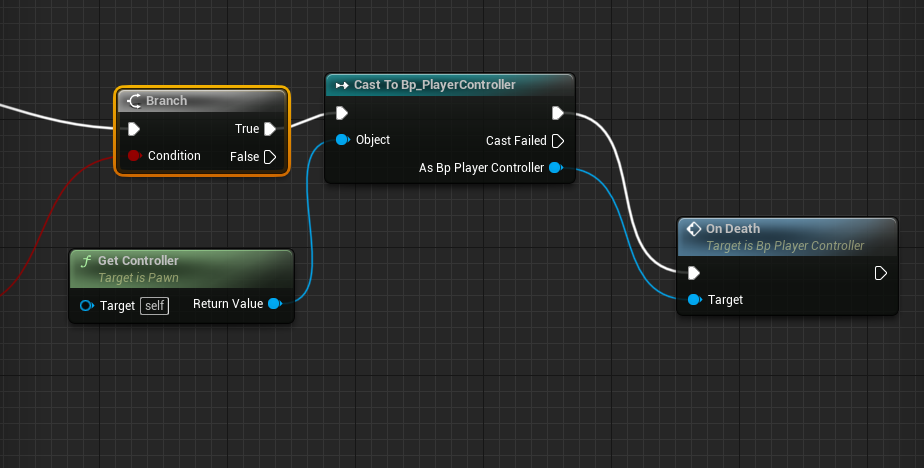
After this I branched it and casted it to the Bp_playercontroller that I created earlier.
Finally I set the damage of the box trigger to be 110 so that it will outright kill the player when they step foot inside of it. This is shown below.

Categories
Texturing the inside of my bunker.
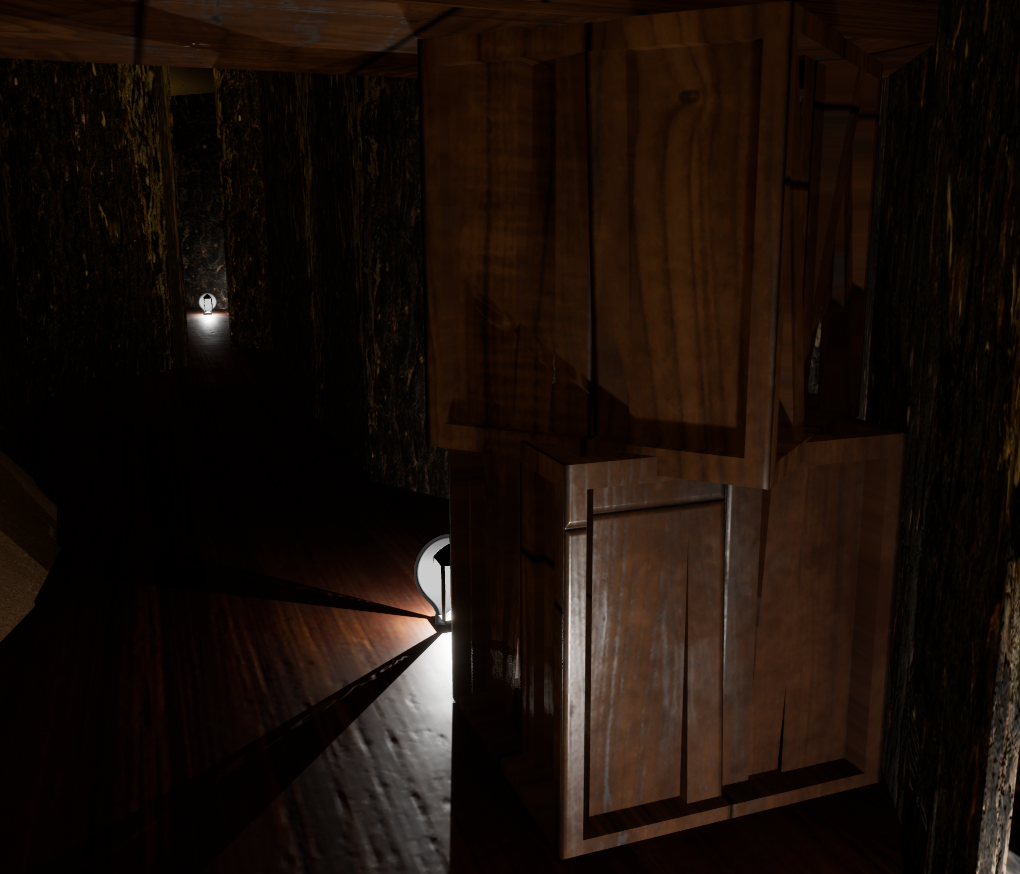
My bunker has quite a simple design, so I decided to go with some simple textures for my walls etc. The first texture is a wood plank texture which covers the vast majority of the walls inside the bunker, this is a brown type of wood and goes well within the bunker.
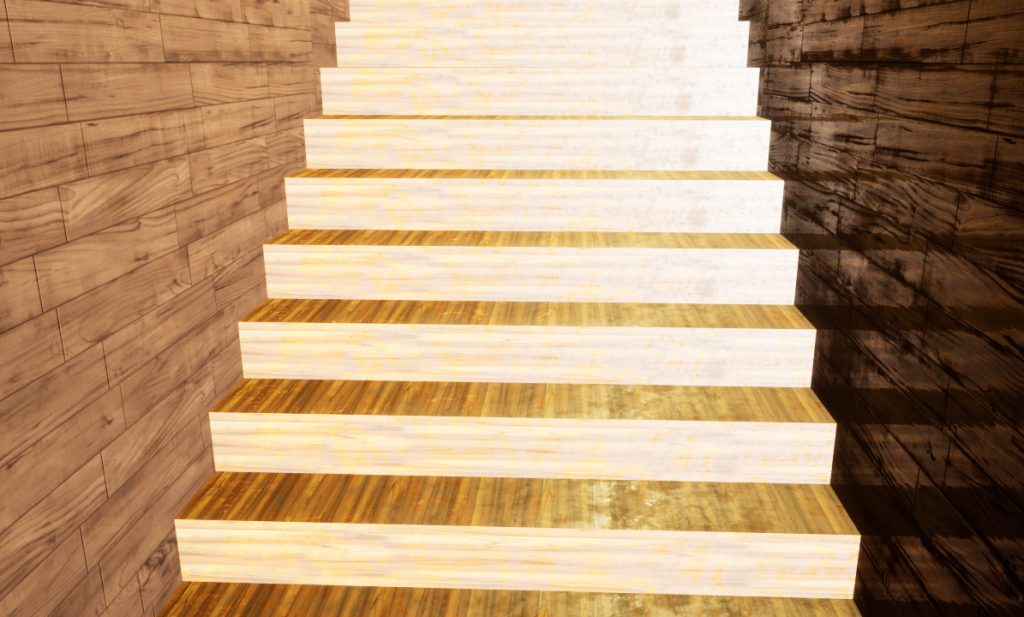
Secondly I used a different texture for the stairs, this was done so the player can tell the depth between the floor and the stairs. The texture was a brighter version of what the walls and floors use.
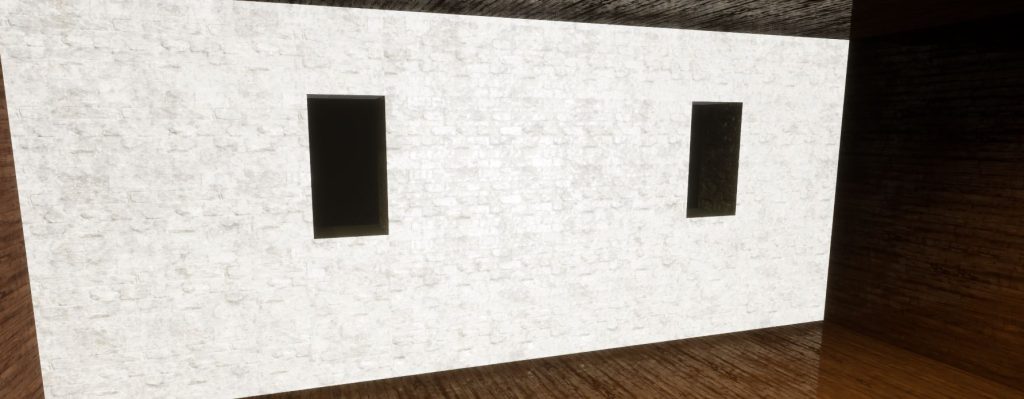
Finally i used a stone material for the front of the bunker where the two cannons are located. I did this to give a stark contrast between the “living areas” and the fighting areas.
Categories
Adding my assets to my level
Once I finished the landscape texturing and trench texturing I moved onto adding my premade assets into the level. I did this by importing them into individual folders to make sure they are in an orderly fashion. Below are images of each of my assets inside my game level.
Box
Here is the box that i created, i have used this asset in multiple locations of my level, the first being in this screenshot within the underground tunnel where I added 7 in total for players to crouch under aswell.
I also added them inside the bunker next to the shell model that i made
Shell
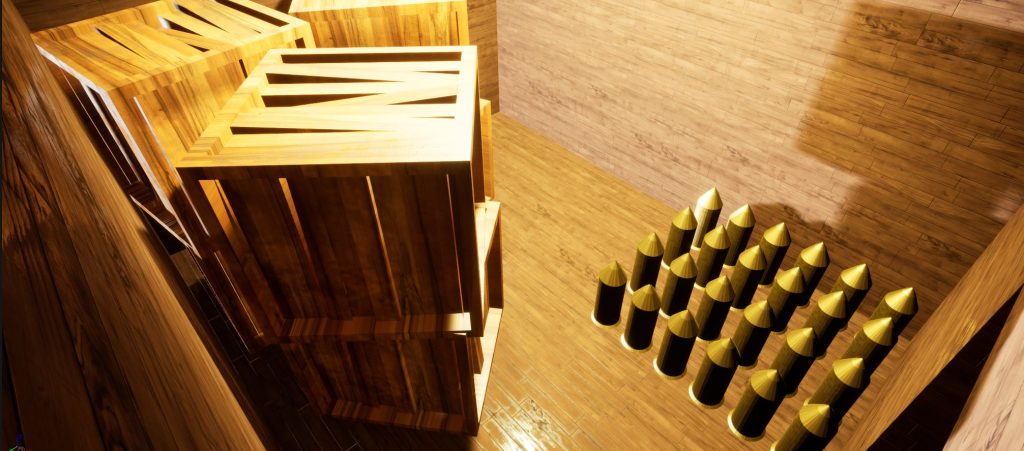
Here are the shells that I created, I added these into my bunker within the ammo room as that is where they would be in real life, I also did this to fill out my level and make it less empty and to create an atmosphere that people would live in and work in.
Chair and table
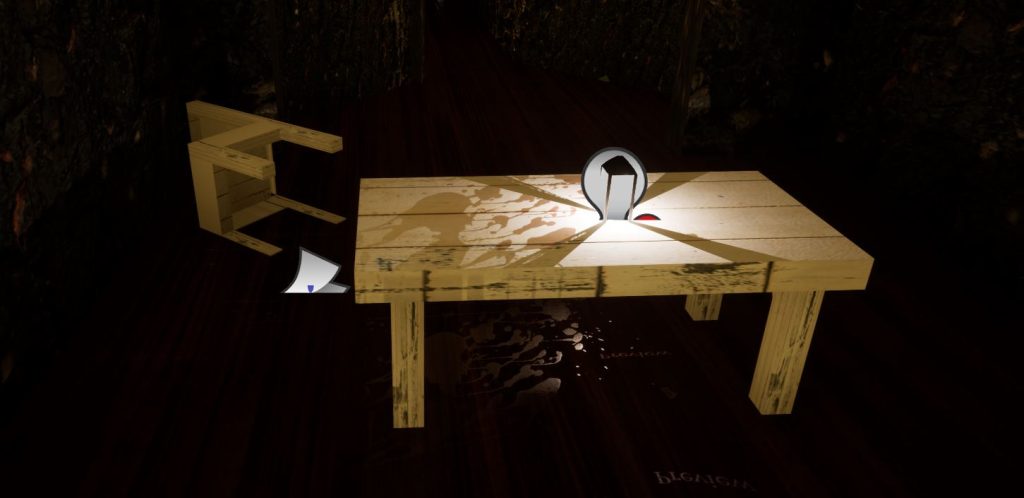
I added the table and chair to the underground tunnel right at the entrance, I also included blood on top and around them to bring a sense of dread and suspense to the level.
Lamp
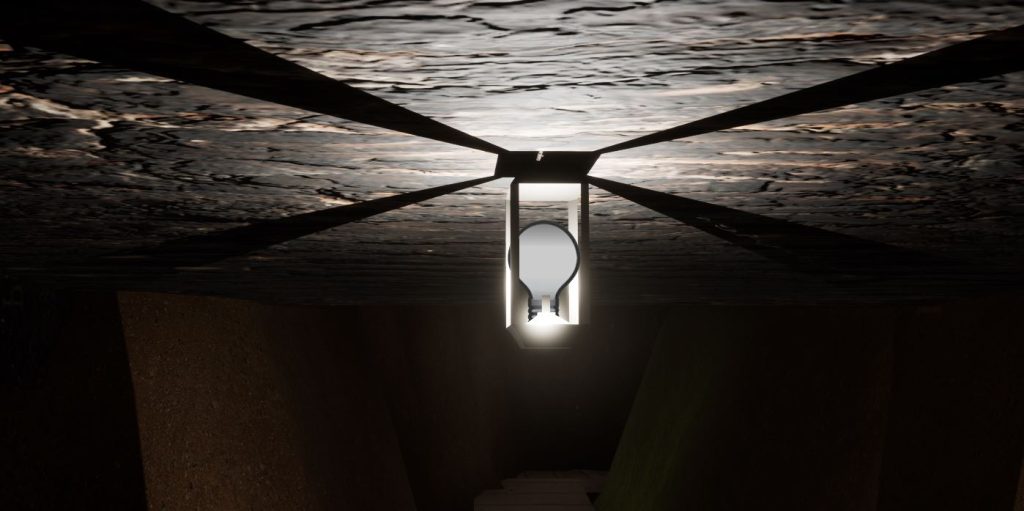
I added my lamp all around the level to light it up, I did this so I didn’t have to rely on spot lights all around in the sky, when in reality they wouldn’t exist.
Cannon
The cannon is located in 2 different areas of my level, the first one being an overlook position over the trench, and the second being inside of the bunker where there are 2 of them in firing positions.
Church
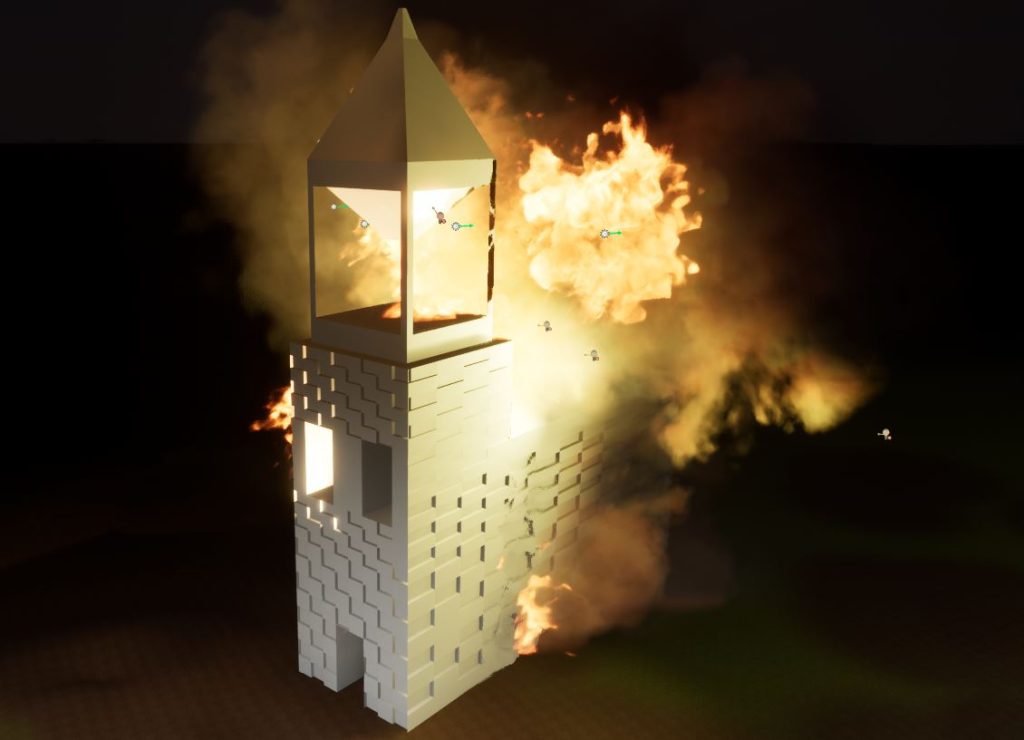
My church is the main weenie of the level as its well lit, on fire and quite large, it is located directly in front of the trench which makes the player want to go over and have a look, despite the danger of being blown up.
Bed
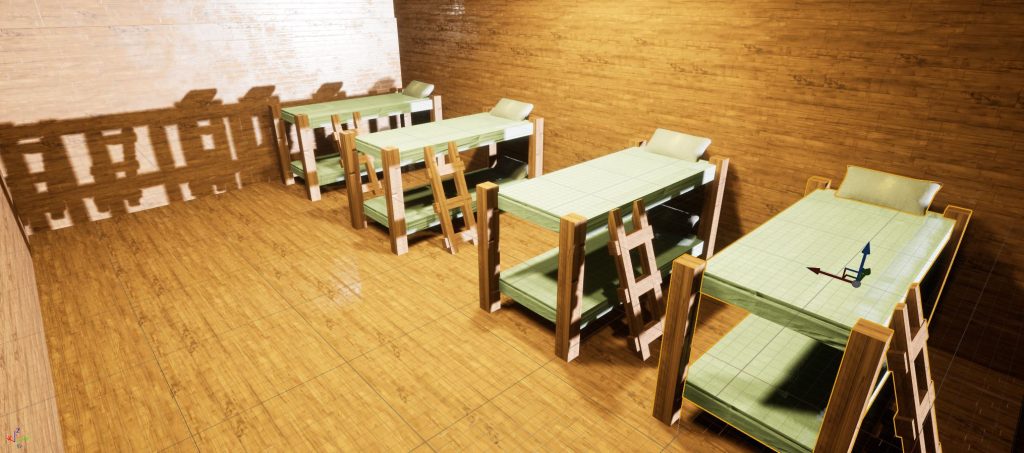
The beds that I made are used within the bunker part of my level, this is done so that I can create environmental storytelling around my bunker, this is to make the player think they are not alone in this level.
Sign
Here is the sign that I made, I decided to give it a wood material and leave it on a slant, as if it was knocked over or broken, this could make the player think that something could be roaming the trench causing the damage.
Categories
Adding sounds to my level
The final part of my game was the sound, I added the sound by exporting a YouTube video as mp3 files then converting it to a .WAV files so that it are compatible with unreal engine.
Firstly I found a video of ww1 trench sounds which I thought would go well with my level as it is a trench map. I then converted it to a .wav file and imported it into my sound effect folder inside of unreal engine.
I then right clicked on the sound file and added an audio cue to it. After this I then changed the sound to quite low so that it would be in the background and not super loud for the player.
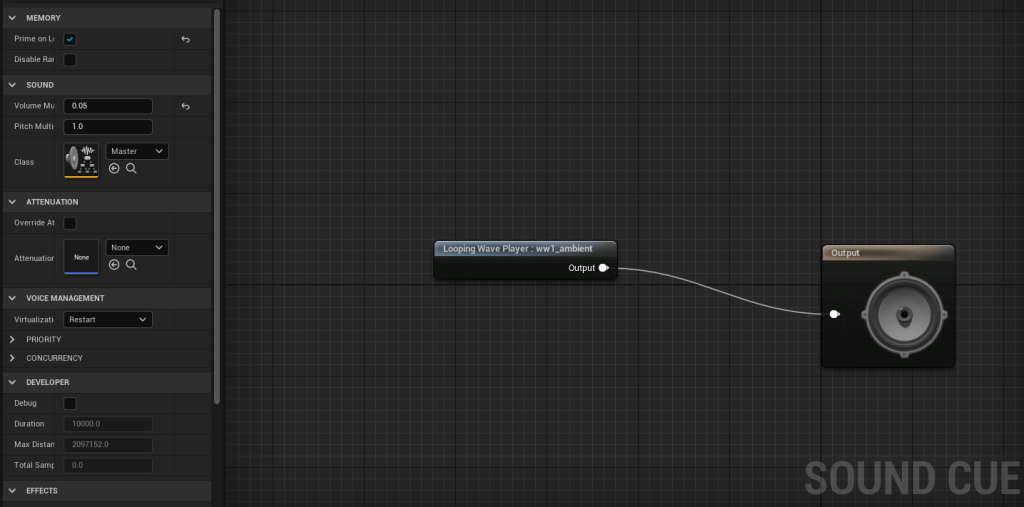
This is what the audio cue looks like.
I then added a sound for my death screen, this was easy as I used a standard explosion sound for unreal engine. I added this to the viewport part of my death screen blueprint so that when the player dies they will hear this sound as well as being able to see the death screen.
References:
Youtube (World War 1 Sound Effect Background), Available online: http://https//www.youtube.com/watch?v=dv4DrUEy1IA [Accessed 17/01/22]