Categories
Team Project

Dev Blog Week 7

This week I created the battery.

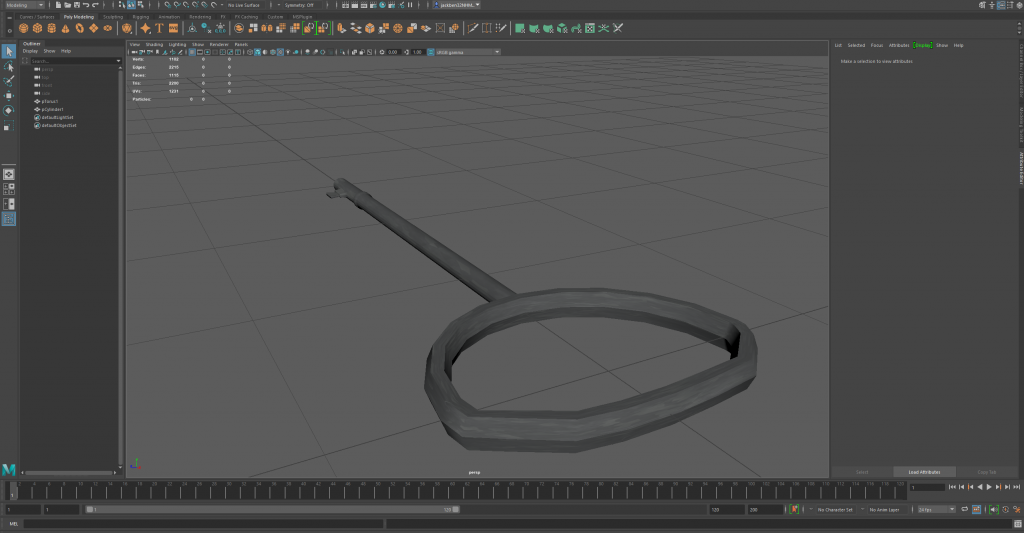
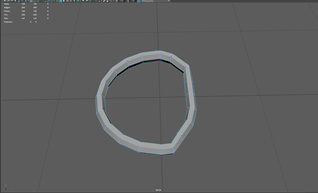
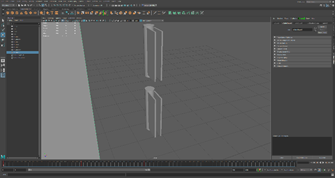
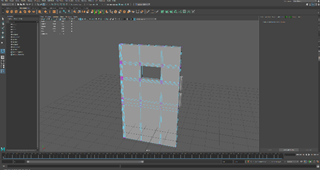
Firstly I started off by creating a cube which would be the base for the model, I enlarged it to become more of a rectangle shape and then added loop cuts to it to create a cutout at the bottom.

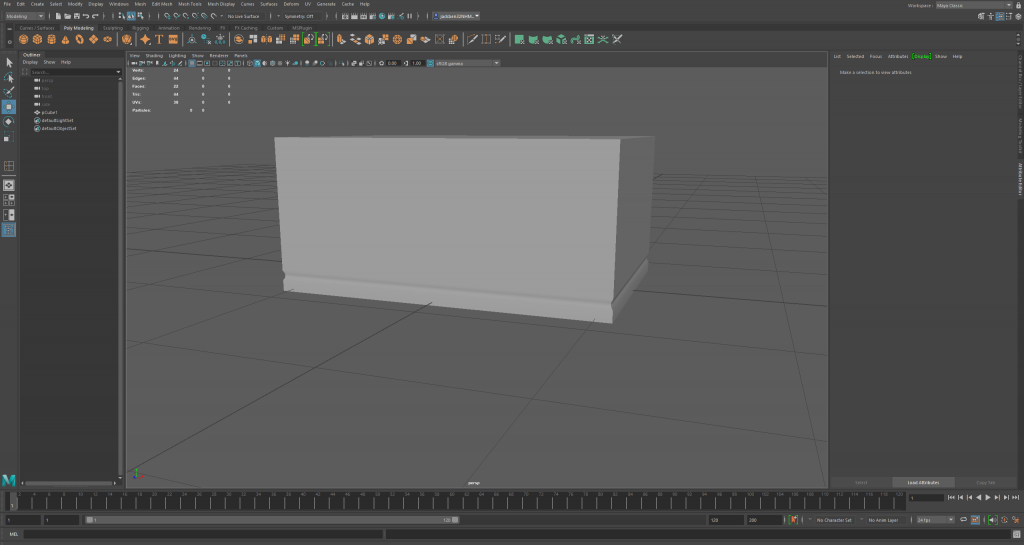
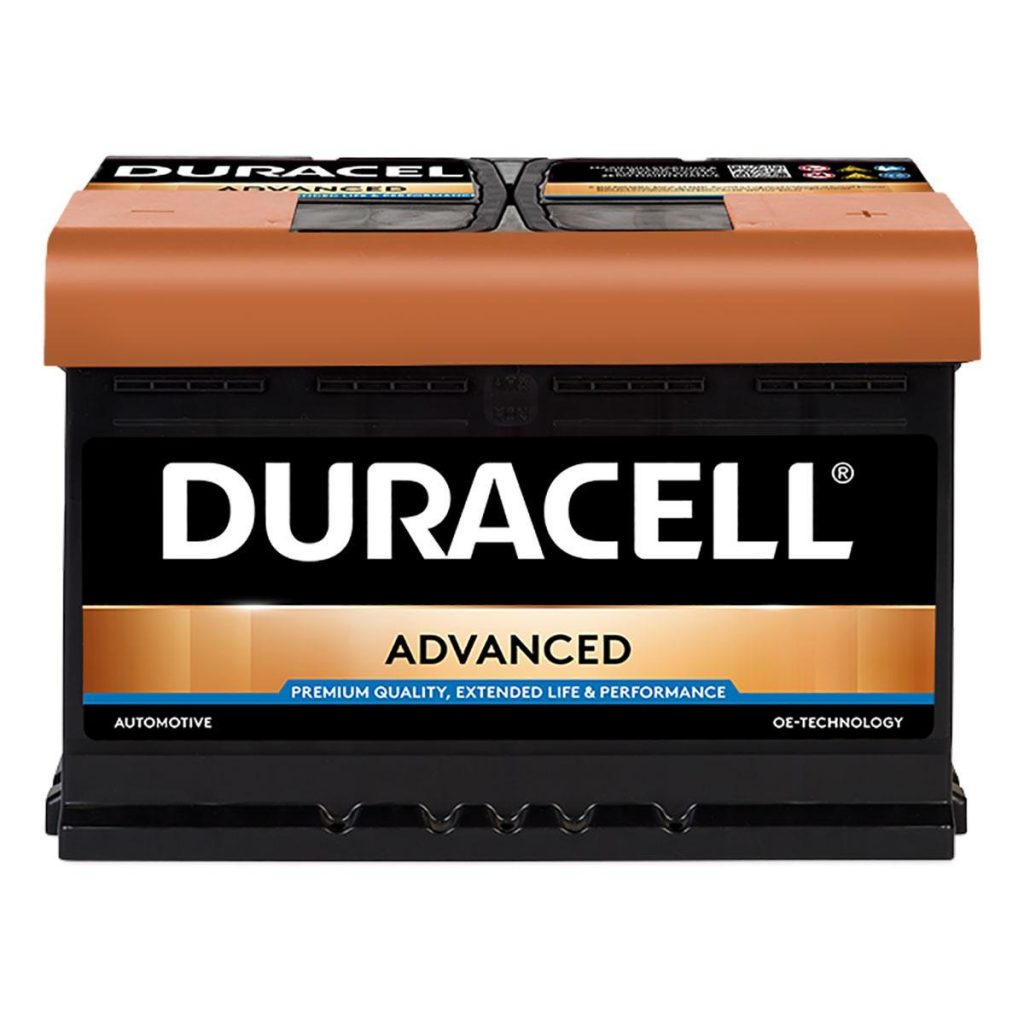
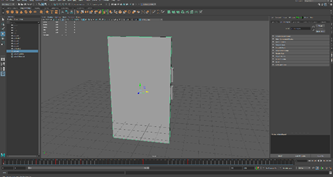
After I created the base, I then created little details in the box compared to the reference image that i have chosen for this asset (seen below).

Figure 1, Battery

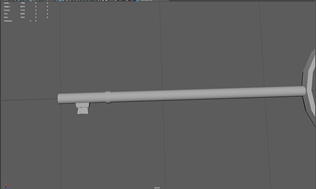
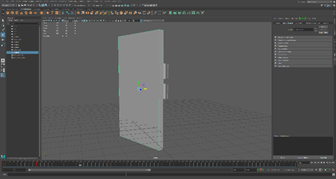
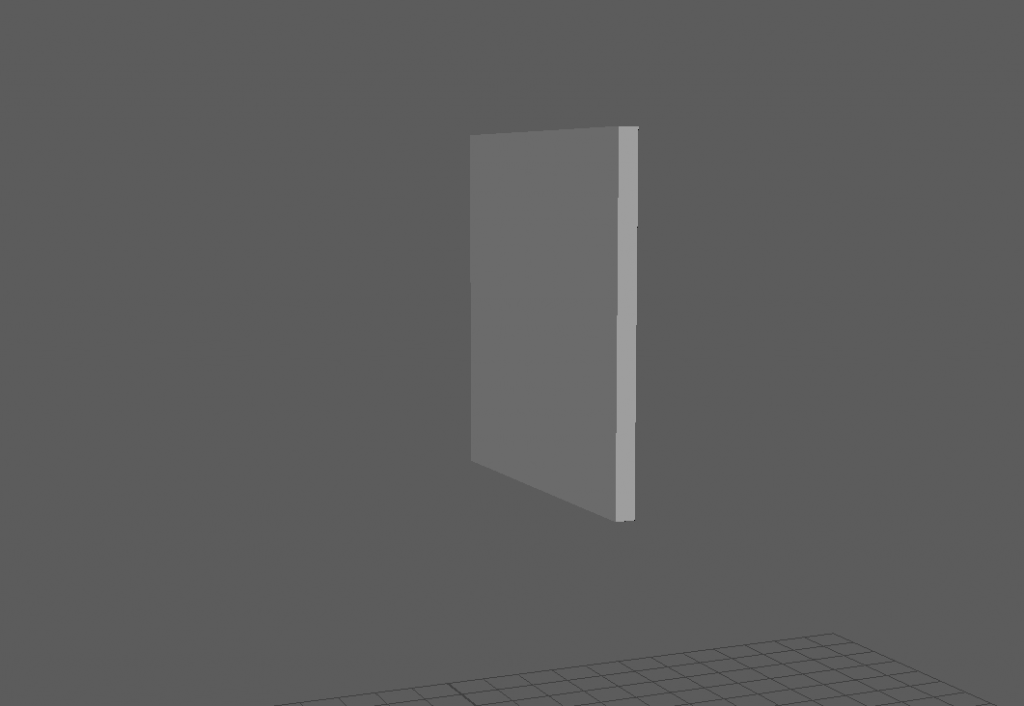
I then moved on to the top area where I extruded the edge areas upwards and then outwards to slighlty imitate the reference images top.

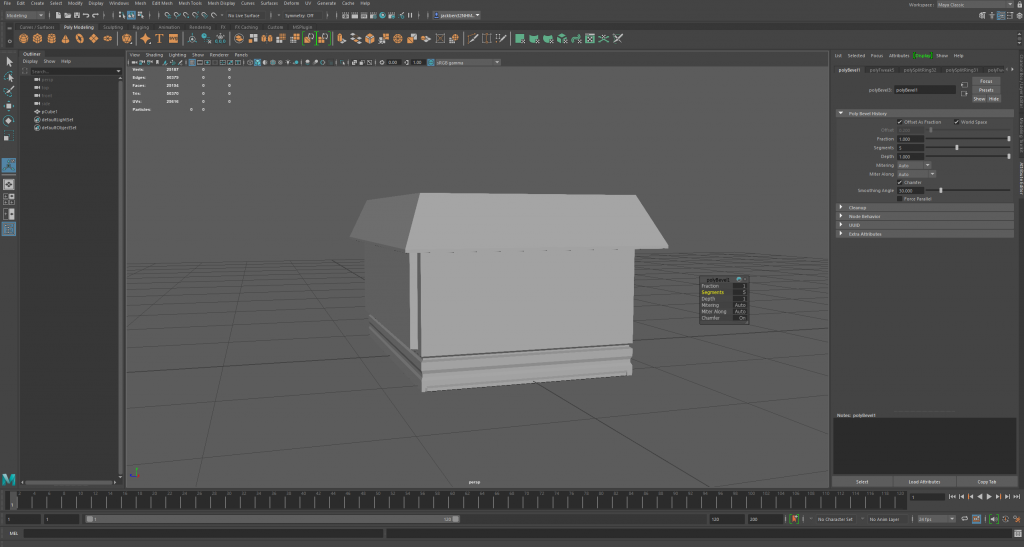
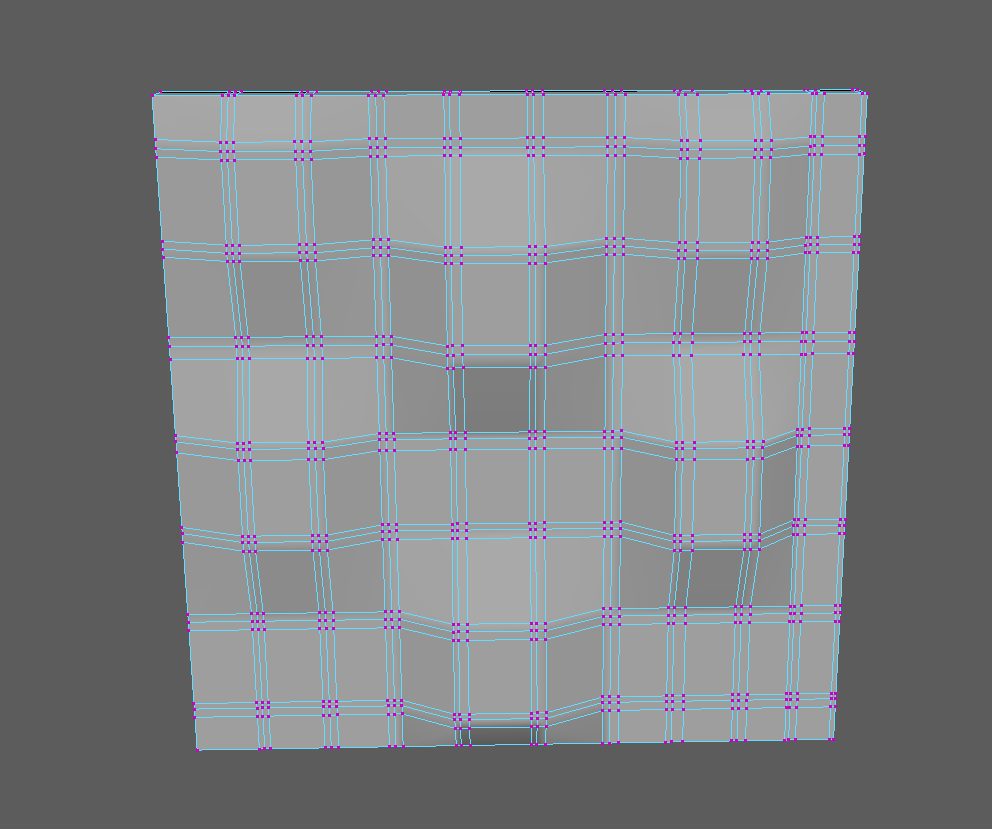
Here I beveled the edges to smooth them out and make them look a bit amore realistic.

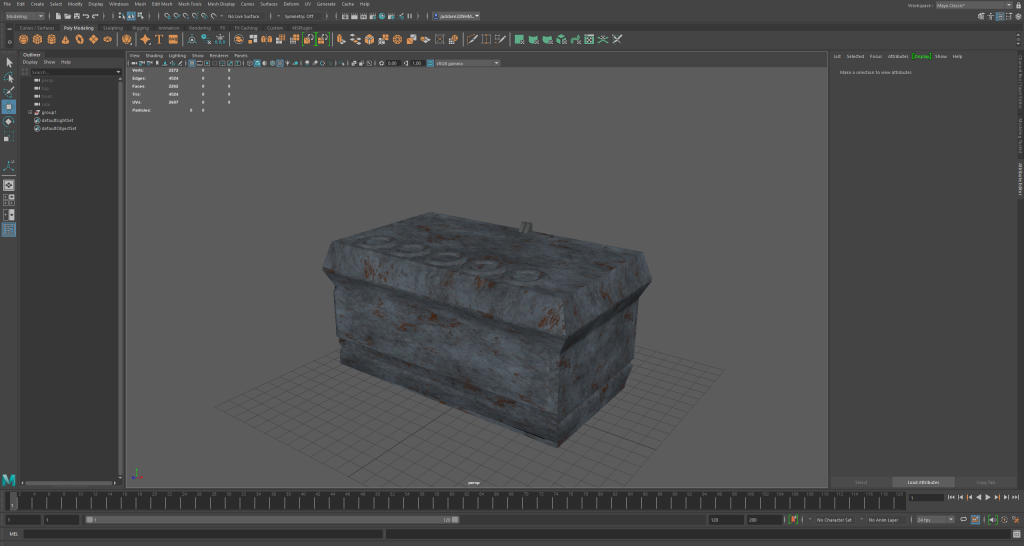
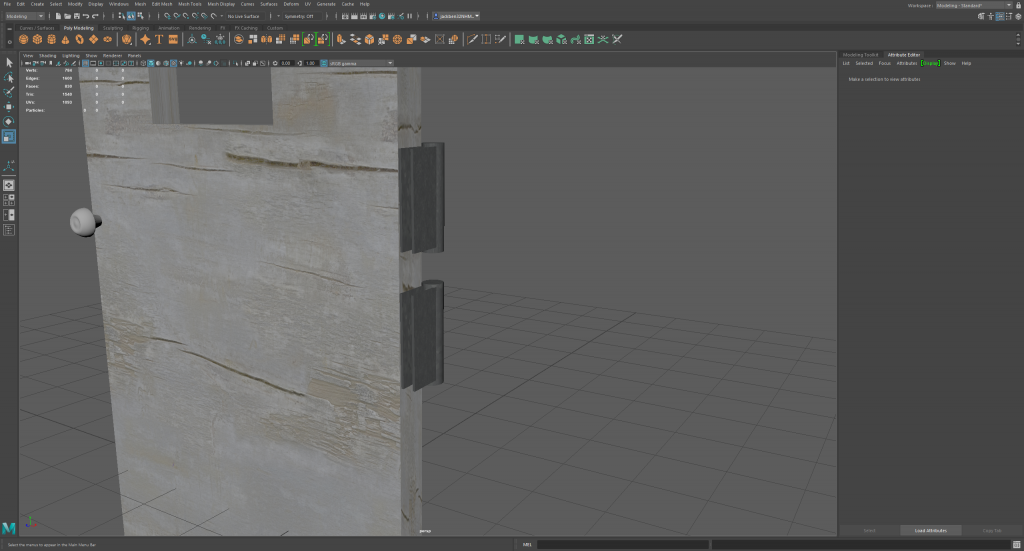
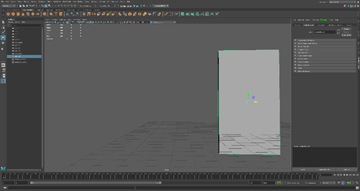
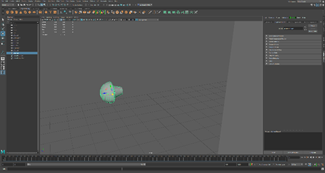
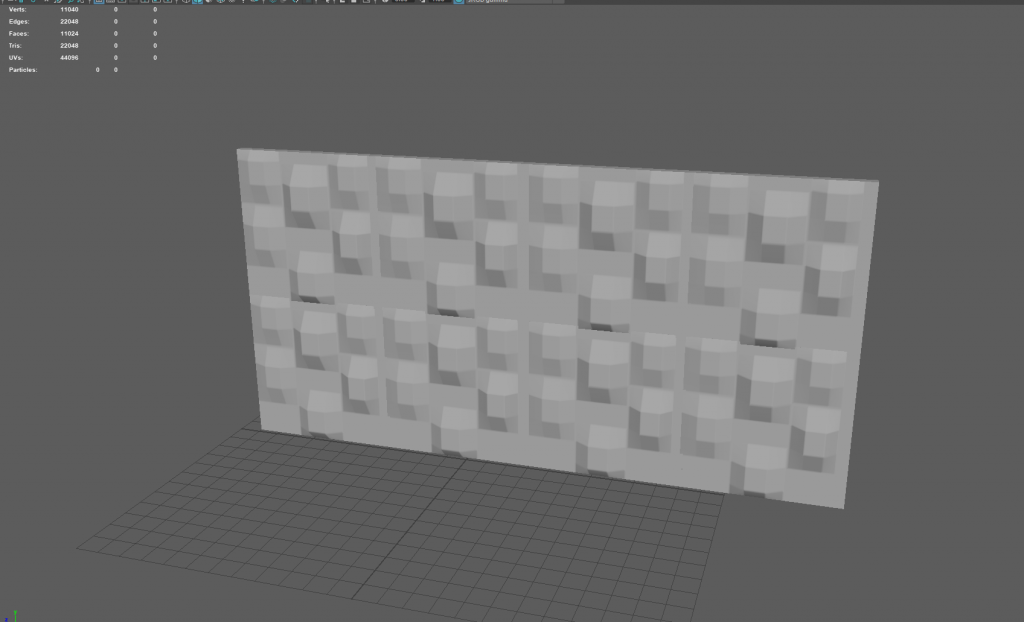
Finally I textured the model I added a metal texture to it as I struggled creating an actual texture for the asset. However i think the texture doesn’t take anything away from the model too much.

References

Car battery (2020) Duracell 096 / DA74 Advanced Car Battery – www.batterycharged.co.uk [Accessed 16/03/21]

Categories
Team Project

Dev Blog Week 6

This week I textured my assets, I went on a site called “CCO Textures” as the textures there are in public domain and free of copyright.

Firstly I started out with the door which I used 2 textures for, the first being a metallic texture which I used for the hinge mechanism for the door, the second one being a wood texture for the door and handle. I thought these were good textures to use as I feel it imitates doors of the time period well without.

Here is a image of the door after I fully textured it, i think it would look quite good in the game once I send over the files.

Next I moved onto the Wall, for the wall I used a simple tile texture because the asset itself was tiled. This fitted together well as it didn’t look that out there once the texture was on the asset.

For the last 2 assets, I added a simple concrete texture to the floor, this also included some foot prints to make the floor look worn out like the floors in hospitals would. And finally for the key I gave it a metal texture so that it would appear to be metal.

Categories
Team Project

Dev blog Week 5

This week I created the key that would be used within the game.

Firstly I started by adding a torus to the scene, I lowered the subdivision height and width and then increased the radios and scaled the torus down to make a larger circle inside of the torus. I then manipulated the vertices on one side of the object and moved them to make a slight ovel shape.

I didn’t want it to look perfect so that it would look more realistic as a key from the 19th century as the keys back then weren’t perfect.

After I created this piece, I moved onto the main body of the key. Firstly I created a cylinder, which I positioned in line with the handle , I then elongated it to make it proportional to what 19th century keys looked like, and then created a some loop cuts to create the part which is useful for locks. I extruded some of the vertices downwards to create the lock part.

Categories
Team Project

Dev Blog Week 4

This week I began work on my door, firstly I had a look on the internet for some doors and found a door which I liked the look of reference pic here:

Figure 1, hospital hallway with door

This image was very helpful with the creation of my door as it gave me a rough idea of the door I wanted to make.

I began by creating a cube which I made tall and thin, this was to be the basic shape of the door and a reference for the hinges that I was going to create.

After this I created 2 hinges which I then grouped with the main frame of the door, after this I decided I would animate them so that once in the game, the player can open them up with ease. I did this by creating a start keyframe for one of the hinges, then moving the object and adding another keyframe, I had to do this with both hinges as I could not do them both together. After this I did the same with the door, making sure that it would keep in line with the hinges, and not look out of place compared to everything else.

(Start point)

(Resting place after animation complete)

Once I was done with this, I created a handle which was a simple sphere which I cut in half, extruded the bottom vertices into a cylindrical shape and then gave the main bit a bevel to make sure that it looked smooth and not choppy. I then moved on to animating the handle along side the door so that It would look in sync with the door and so that it would not clip through it when it is moving.

After this I created a window in the top centre half of the door, imitating the image in which the door had the same type of window, thus finishing my model before I will texture it.

References:

Pinimg,com, Available online: https://i.pinimg.com/originals/44/f0/29/44f029d314fc36ee11a6ad53e2ccff90.jpg [Accessed 17/03/21]

Categories
Team Project

Dev Blog Week 3

This week I began by creating some of my models. I created the floor, and the wall assets for the game. Below are the steps that I went through.

Wall:

To create the wall I started out with a simple cube which I reshaped and extruded to make it long, wide and flat, this is what I needed for the initial shape of the wall.

Here is the initial shape for the wall that I created.

After this I added some loop cuts to the object, and extruded pieces out to create tiles on the object. I then reshaped it a little bit as the tiles looked off, however I eventually got the shape that I wanted.

After this I then copied it a few times to create a wall that contains 8 of these blocks, I put them together and created the wall asset, ready to be textured.

Final Wall asset (untextured)

Floor asset:

For the floor I started out similar to the wall, I created a cube and made it smaller, however keeping the original length and width of the top and bottom squares. After this I once again used loop cuts to create tiles in the object, I made them uneven though as I thought it would look better than an

Categories
Team Project

Dev Blog week 2

This week we began by creating a mood board as well as an asset list for the assets that we are going to create for the game, below is a screenshot of the asset list:

Here is the complete asset list for the game that we wish to use, I will be creating the environment for the game, such as doors, floors, and walls, along with a key and a battery which will be used within the game.

A couple of ideas that I currently have are tiled floors and walls, along with a door which is similar to the doors in hospitals from the 19th century this door probably won’t look too out there as it would just be a simple door with a window that is in the upper middle portion of the door. Also, for the battery I might create a large one so that it is easily recognizable to the player playing the game and finally, I might create the key to imitate large keys of the 19th century, keeping everything in line with the time period of the hospital.

Categories
Team Project

Dev Blog Week 1

Today we began by gathering ideas for our team project game, we came up with an idea of a horror game within some sort of abandoned hospital, some of the first ideas about the game was about items that would be included inside of it, like flashlights or a dark environment for the setting. Below is an image from the document we created for ideas:

These are the ideas that we have decided for the game, we might expand upon it depending on what extra ideas we have.

After this we decided on the roles for the game. We have 4 people who are 3D modelers (Including myself) a person who will do 2d art for the games pause menu or main menu, and finally one person who is doing the code and putting everything together once we complete the game.

Finally, we decided a name for the game, the game will be called “Prescription grade spooks”. Below is a document that we created when we decided for the name of the game: