Categories
character animation

Character Animation 1: The character

The character that I will be animating is different to the model that I created previously. This is due to a couple factors, the first being that I wasn’t as happy with the final outcome of my model and second being that the topology was not good enough to rig and the model had far too many polygons which would slow everything down and limit my options when it would come to animation.

The model I chose was the stock female model that was given as a second option if the model i created wasn’t good enough. I chose this as i thought the topology was beyond adequate for animation As well as rigging which would make the module a lot easier compared to what it would’ve been like if i used my own model.

I modified the stock character to make it appear more like my own model, this was to fit it in with the theme of that model so that I wouldn’t stray too far from my original ideas for my animation sequences.

Below are comparisons between the two characters, the first being the one i made myself, the second being the stock model that I have used to animate my sequences with.

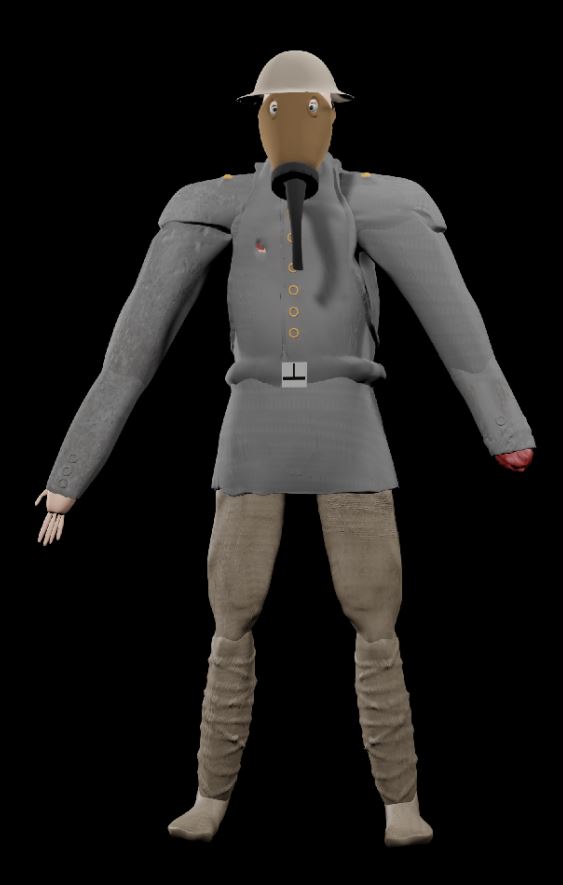
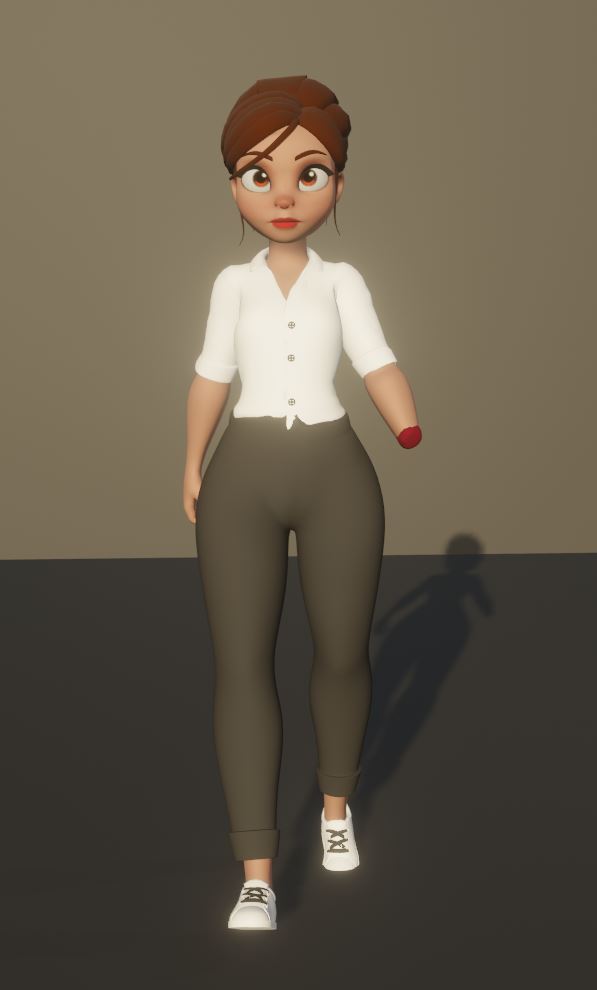
I chose to only change the hand on the stock model because in my opinion that is all that I really needed to change to convey the point of my character

To free up some errors when it came to rigging the character I decided to remove the characters tie and braces

Categories
RP

Voice Prototype Game

Categories
RP

Prototype 3: 10 second game

Categories
RP

Prototype 2: Paper

Categories
RP

Game 1: Fragments

Quixel bridge (Rock pack), Available on Quixel bridge within unreal engine 5. [Accessed 26/02/22]

Quixel bridge (Chair pack), Available on Quixel bridge within unreal engine 5. [Accessed 26/02/22]

Quixel bridge (Book pack), Available on Quixel bridge within unreal engine 5. [Accessed 26/02/22]

Quixel bridge (Wood Material pack), Available on Quixel bridge within unreal engine 5. [Accessed 26/02/22]

Categories
Level creation

Box link for game

https://universityofhull.box.com/s/rypbtmalopftzkjeltd2lljo8b6z07je

Categories
Level creation

Creating assets for level.

For my level I decided to create my own assets, this was because i wanted my own style for my assets instead of a mix match of premade assets on the unreal marketplace. Below are going to be images and short descriptions of what i did to create the assets.

Church

I made my church by making a simple cube and extruding it outwards and upwards, i then brough some faces back to make the long part of the church and also created the bell tower by doing the same thing, i also cut out 4 faces to let you see inside.

I then cut out a hole for damage to the church.

Finally I added some bricks around the walls.

Barrel

For the barrel I used a cylinder, and gave it two wider faces at the top and bottom.

I then moved some of the faces on the outside to create uneven wood planks.

Finally i gave it a dome at the top.

Bed

For the bed I just used used simple cubes which I made longer or shorter and arranged them to look like a bed.

Box

For the box i did a similar thing like the barrel, i indented the side and top faces down a little bit, then i moved some of the faces around to create an uneven plank.

Canon

For the canon i used a mirrored cube and i extruded them to the left to create the tracks for the canon. I then moved the faces at the top together and then moved both up to create the barrel of the canon. I then cut out the inside and added some detail to it.

Chair

For the chair i just used 4 simple cubes, brought them upwards, joined the top of them together and then made a loop cut towards the back and made the back of the chair.

Table

For the table I did a similar thing to the chair where i pulled the 4 legs upwards and then joined the top and extruded that a little bit.

Lamp

For the lamp I used a cube, extruded the faces up and out a little bit and created the top of the lamp, I then cut out the middle faces to create an inside to the lamp.

Shell

For the shell i used a cylinder, extruded it upwards, then made the bottom faces wider to make the bottom and then the top part of the model come together like a cone.

Sign

Finally for the sign i made a cube, flattened it and cut out some faces at the bottom, i then made a square at the top where stuff is going to be kept.

Categories
Level creation

Texturing assets for level

After I created my assets I moved onto texturing my assets that I’m going to include in my level. Below are pictures of each asset after they have been textured.

Barrel

Bed

Box

Canon

Chair

Church

Lamp

Shell

Sign

Table

Categories
Level creation

Texturing my levels landscape.

As I have completed my blockout I began by texturing the ground around my trench.

First of all I used a grass texture from Quixel bridge for the base material of the ground within the trench and the ground surrounding the trench.

After making the base colour, I added different layers to it in the node editor of the landscape texture. I used a debris material, grass material and a forest floor/mud material.

I then moved onto the trench boards which the player will walk on inside of the trench. I used a wood texture from Quixel for this and added it to each board that the player will stand on.

Once the trench boards were textured i moved onto the underground bunker tunnel, I used the same material from the trench boards and added it to the ceiling of the tunnel.

I then moved onto the walls and the floor, I decided to go with a darker wood texture as I feel that would look nicer within the tunnel and it would also make i feel bigger if the player struggles to tell the difference in depth due to the dark material.

I added a black wood material to the stairs going up to the bunker

Finally for the outside area I textured the bunker with a stone type material, I then changed up some settings within the material to make each face fit together and line up. Then for the door I used a wood material that I previously used and then layered a door decal on top of it.

Categories
Level creation

Improving upon level feedback.

Throughout my levels development I have had multiple sets of feedback through playtesting on what doesn’t work or what should be improved upon. In this post I will go through those bits of feedback and improve upon them.

Firstly the stairs up to the bunker were a main feature of feedback, multiple people mentioned that it was difficult to travel up due to the player needing to jump at multiple ones and it not being a seamless set of stairs. I took this feedback in and re-arranged the stairs to let the player smoothly walk up them without needing to jump at all. This will be good for reviews of the game as people will no longer be frustrated with it.

After I fixed the stair issue i moved onto the underground tunnel, in this area I recieved a couple of complaints about part of the map being broken so that the player can fall through and get frozen.

This image is before I fixed it.

All i did to fix the problem was enlarge the ground and drag it to close the hole where you can fall through.

Here is the problem after it was fixed.

Another piece of feedback I had was that the player would not be motivated to leave the trench as I have a feature implemented that when you leave the trench, you are blown up by an explosion. This would not work if players were not “tempted” to leave the trench, Therefore I modified my landscape a little bit and added some text above the hole pictured below.

This text can tempt the player to leave the trench as they may try to “beat” the explosion and get past it towards the destroyed tank and church.